
· One min read

1. Editor Improvements

Enhance your typing experience. The editor is available across our platform. Give it a try here.

1.1. A popup appears when you move to the next line

When you move to the next line, a popup will appear on the right suggesting the next elements you should use, such as headings or images.

editor.png

1.2. A popup appears when you select text

editor-pop-up-selector.png

1.3. You can add a table

When creating a table, you can:

  • Add, remove, or edit columns
  • Add, remove, or edit rows

editor-table.png

1.4. Add Latex

Click to Sigma Icon

editor-add-latex.png

edior-latex-editor.png

Add your LaTeX code between $$ symbols. Press "Update" to see the result below:

result.png

2. Improvements to the Exam Builder

We have been making the attendees' view better.

exam-new-view.png

To build your own exam, go to "Your Organization" > "Exams" > "Add".

· 7 min read

In the increasingly digital age, creating and using QR codes on your blog is an effective way to enhance the reading experience for your customers. QR codes (Quick Response) are a simple yet powerful technology that allows readers to quickly access documents, websites, or other information that you want to share. Below is a detailed guide on how you can create and place QR codes on your blog to create a more engaging reading experience for your customers.

Why does using QR codes provide a better experience for readers?

1. Convenience

Customers can easily access information, products, or documents related to the content they are interested in without having to type URLs or search on other pages. This saves time and creates a user-friendly and convenient experience for users.

i1

2. Interactivity

QR codes can be used to foster interaction between your blog and readers. For instance, you can utilize QR codes to direct readers to contests, surveys, or related articles, creating opportunities for them to engage and interact with that content.

i2

3. Quick Access

By scanning the QR code on their mobile phones, readers can access the content they need in just a few seconds. This creates a visual and fast reading experience, making it easy to access information.

4. Performance Tracking

You can track the performance of QR codes using tracking or analytics tools. This allows you to know how many times the QR code has been scanned, helping you gain a better understanding of reader interest and adjust your content accordingly for your blog.

One practical application is using QR codes for event check-ins, making it extremely easy and convenient to track the number of attendees who have participated and checked in.

i3

5. Customized Experience

You can customize QR codes with colors, sizes, and even add your blog's logo, creating a beautiful and unique QR code that reflects your blog's personal touch.

For example, if you want to create a QR code for a link to a delivery or transportation app or any other activity, you can choose a frame that suits the spirit of the product or post and helps your QR code blend seamlessly with images or other marketing materials. You can experience here.

i15

How to Effectively Place QR Codes on Your Blog

Step 1: Choose Content for the QR Code

First, you need to determine the content you want to share with customers through the QR code. This can include:

  • Links to specific blog posts, webpages, or products on your blog.
  • Contact information: email address, phone number for customers to reach you quickly.
  • Information about events or contests currently happening on your blog.
  • Discount codes or special offers for readers.

Step 2: Create the QR Code

Once you've decided on the QR code's content, you need to use an online QR code generator tool. There are many free and user-friendly tools available, such as qr-code-generator, CourseMind, qrstuff.com, and more. Visit one of these websites, then input the necessary information and generate the QR code.

You can customize the color, size, or even add your blog's logo to the QR code to brand it. After you've finished customizing, download the QR code to your computer.

Creating a QR code using CourseMind QR Generator

  1. Access https://coursemind.io/qr-gen

i12

  1. Enter the URL you wish to convert into a QR code.

i13

  1. Choose the display styles for the QR code to suit your preferences.

i14

  1. Upload a logo and select colors according to your preferences.

i15

  1. Download your QR code

Click 'Save Image' to automatically save the QR code you have just generated.

Step 3: Place the QR Code on Your Blog

Now, you have a customized QR code ready to share with your readers. To place the QR code on your blog, you can use plugins or widgets that support QR codes on the platform you're using. Alternatively, you can treat it as an image and position it where you prefer. After placing the QR code, make sure it's in a visible and convenient location for readers to scan using a QR code reader app on their mobile phones.

Step 4: Provide Instructions for Readers

Finally, don't forget to provide a brief guide for readers on how to use the QR code. They need to know that they can use their phones to scan the QR code and access the content you've shared.

Common Types of QR Codes

You can incorporate various types of QR codes into your blog, each serving a different purpose.

1. URL - QR Code

i4

This is an important solution for converting any URL into a scannable QR code. You can utilize this type of code to create QR codes for posts on your blog, enabling readers to access them quickly on their mobile phones and improving your SEO ranking.

2. Social Media - QR Code

i5

This type of code is an effective way to consolidate all your social media links into a single QR code. This helps readers find and connect with your social pages more conveniently, enhancing your interaction and visibility on these platforms.

3. App Store - QR Code

i6

If you have a mobile app, using this QR code makes advertising your app easier than ever. With just one scan, users will be directed to the Google Play Store or App Store to download and install your app.

4. Landing Page - QR Code

i7

This allows you to create QR codes leading to custom landing pages or QR codes for elements within a page without the need for coding knowledge or building a website. These landing pages can include videos and multiple images, providing a unique experience for scanners and potentially improving website conversion rates. Nowadays, many content creators or affiliate marketers are using landing pages like these (e.g., Beacons) to reach users and generate significant income.

5. VCard - QR Code

i8

This QR code stores your contact information, including your mobile phone number, email address, social media links, and personal website. This simplifies contact and builds trust in social networks and communication.

6. Email - QR Code

i9

This QR code will store your email address, subject, and message content. By using the QR code, you can help readers send emails quickly and conveniently, reducing the hassle of entering data.

7. MP3 - QR Code

i10

This is a type of QR code capable of storing audio files such as MP3 and WAV, allowing the scanner to listen to music on their device or download important audio files.

8. File - QR Code

i11

This type of QR code is a dynamic and flexible solution, allowing you to store and share various file types such as PDF, JPEG, PNG, MP4, Excel, and Word.

Creating and placing QR codes on your blog is an excellent way to enhance the reading experience for your customers. This not only helps them access content quickly but also fosters better interaction and connection between you and your readers. Don't hesitate to experiment and leverage the benefits of QR code technology to improve the reading experience on your blog.

· 5 min read

Slides are one of the most popular tools for creating and sharing online presentations. Whether you are organizing an important meeting, presenting a product, or teaching, slides will help you convey information easily and effectively.

However, relying solely on traditional slides can limit interactivity and connection with the audience. To enhance the interactivity and utility of your presentation, you can optimize the power of slides by using QR codes. In this article, we will explore how to use QR codes in slides, starting with understanding why we should use QR codes for slides.

Why Use QR Codes for Slides?

1. Creating Interaction

QR codes can break the monotony of regular presentations. By integrating QR codes into your slides, you can interact more with your audience, providing them with more engaging content.

Instead of just viewing and listening, they can actively participate and interact with your content. The flexibility of QR codes can enhance the audience's level of engagement in various ways, creating a lively and memorable experience for attendees.

This applies specifically in many real-life situations. Imagine your audience simply raising their phones, scanning the QR code on your slide, and instantly participating in a mini-game on Kahoot or any other platform to make the program more enjoyable and dynamic. Or simply scanning the QR code to leave comments/feedback or connect with you on social media. Isn't that fantastic?

i1

2. Quick Access

By adding QR codes to your slides, your audience can instantly access a copy of the slide or any attached documents, websites, videos, or links without having to wait for you to share the links on social media after the event.

QR codes help you save significant time during your presentation or teaching session. Instead of spending time writing or entering long and complex URLs, you only need to display the QR code on the slide and use it for multiple occasions.

This allows you to focus more flexibly on presenting your core content. There's no longer any hindrance from typing, copying, or pasting links, and your viewers don't waste too much time accessing the necessary information. Instead, they simply need to scan the QR code to quickly and easily access all the information they need.

i2

3. Time Savings

Integrating QR codes into your slides can help both you and your audience save a significant amount of time.

A QR code you create can be stored and used indefinitely, attached to this slide, many subsequent slides, and shared on your blog or other media channels. It's both synchronized and optimized, resulting in time savings.

How to Integrate QR Codes into Slides

1. Download Files

Add QR codes to specific slides to allow the audience to access supplementary documents. This ensures that your presentation remains concise while providing the necessary information to the audience.

i3

2. Annotating Information

Include QR codes in your slides to link to interactive content such as images, videos, or relevant narratives. This makes it easier for remote participants to follow your content.

i4

3. Enhancing Interaction

Allow QR codes to lead to online survey platforms or create questions for your audience to scan QR codes and answer immediately. This will make your presentation more engaging.

i5

4. Connecting with the Audience

You can easily connect with your audience by using QR codes that lead to your social media platforms. This way, they can effortlessly connect with you after the presentation, making the process more convenient.

i6

5. Collecting Feedback

At the end of your presentation, consider adding a QR code that links to a Google Form where you can gather feedback from your audience about the presentation you've just delivered. This way, you can enhance interaction with your audience and quickly collect their opinions.

i7

How to Use QR Codes in Slides

1. Create a QR Code

First, you need to create a QR code corresponding to the content you want to share. There are many free online tools that make it easy to generate QR codes, such as CourseMind, QR Generator, Me QR, etc.

2. Insert the QR Code into the Slide

Once you have the QR code, you can insert it into your Google Slide. Use the "Image" feature within Slide to add the QR code to any slide you desire.

  • Attach reference documents

i8

  • Annotating Information

i9

  • Online Survey Link

i10

  • Gathering Feedback

i11

3. Add Instructions

Don't forget to include instructions for the audience on how to use the QR code. This can be a reminder on the slide or a motivating question encouraging their participation.

Procedures for Generating a QR Code for a Slide Using CourseMind

  1. Access https://coursemind.io/qr-gen

i12

  1. Enter the URL you wish to convert into a QR code.

i13

  1. Choose the display styles for the QR code to suit your preferences.

i14

  1. Upload a logo and select colors according to your preferences.

i15

  1. Download your QR code

Click 'Save Image' to automatically save the QR code you have just generated.

Why Choose CourseMind?

CourseMind QR Generator is the perfect choice for you because it offers all the features you need, including logo insertion, color customization, and frame selection for your QR code, along with the following five advantages:

  • No registration or login required.
  • No fees or costs involved.
  • No time limits for storage.
  • No advertisements.
  • No restrictions on the number of QR codes you can create.

In conclusion, by following a series of simple steps, one can effortlessly create a QR code and seamlessly integrate it into their presentation slides, resulting in a distinct impression and heightened interaction. Try it now!

· 2 min read

gdsc-event

The Sky Mavis Uni Tour event is a collaborative effort between Sky Mavis and the Google Developer Student Club - Hanoi University of Science and Technology (GDSC HUST) on September 30, 2023. The CourseMind platform has assisted the event organizers in accelerating the check-in process for attendees through the platform's event.

Here are some images of the automatic QR code scanning feature at the event.

1. Preparation before the event

To ensure the successful execution of the event, the CourseMind team met with the organizers to provide training on how to use this tool.

create-event

Training on how to create events, set up registration forms, and manage attendees was provided.

upload-data

Guide on how to upload the list of attendees to the platform

After the training session, the GDSC organizing team understood how the QR Code feature works and was prepared for event check-in.

2. The check-in process during the event.

The check-in process at the event proceeded extremely quickly and smoothly, earning high praise from the attendees for the user experience.

check-in

The organizing committee conducted check-in for participants through QR codes automatically generated when uploading the list of attendees to the system.

check-in-successfully

Successful check-in notification screen.

welcome-screen

Large screen displaying a welcome message for attendees at the event - showing the names of attendees checking in in real time.

manage-participants

The check-in event management interface is used to manage the check-in status of participants and calculate the number of participants.

Thank you to the GDSC HUST team for choosing CourseMind as a partner for event's check-in process and contributing to its successful outcome!

· 10 min read

Online learning and training have become an integral part of the education industry, with the involvement of many teachers, centers, and training academies. To attract and maintain the interest of learners, demonstrating the value of the courses you provide is crucial. They need to be able to address all the questions and issues that learners are facing.

In this article, I will guide you through specific steps to focus on. This is not a comprehensive and detailed article on what needs to be done, but you will get an overview of the process of successfully creating and selling online courses.

i0

Before starting to sell courses, course creators often have many questions:

  • How do I get started?
  • How long does it take to create a course?
  • What is the cost of creating a course?
  • How can the course interact with users?
  • How do I successfully sell the course to learners?

However, after considering the following steps, you will have a better understanding of the process of creating an online course, enabling you to leverage your knowledge for personal profit!

1. How to Create a New Course?

To create a new online course, you need patience, specialized knowledge or skills, experience, passion, and dedication, along with a reliable eLearning platform to help you organize your lessons. Remember that passion for your field of expertise will make this process easier for you.

2. How long does it take to create an online course?

i1

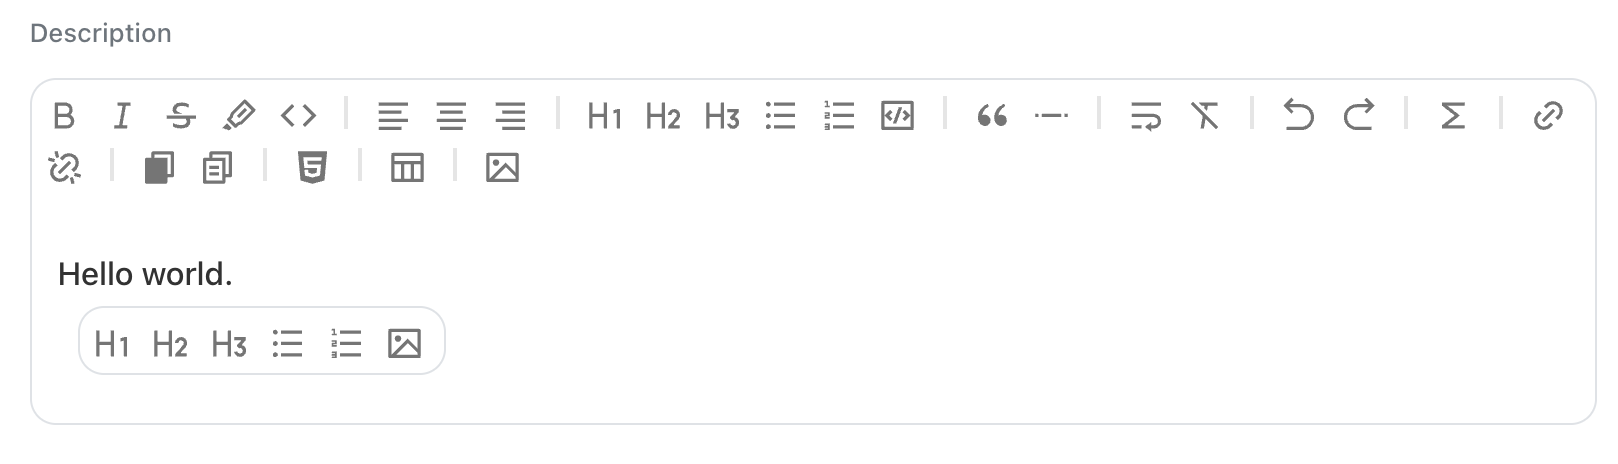
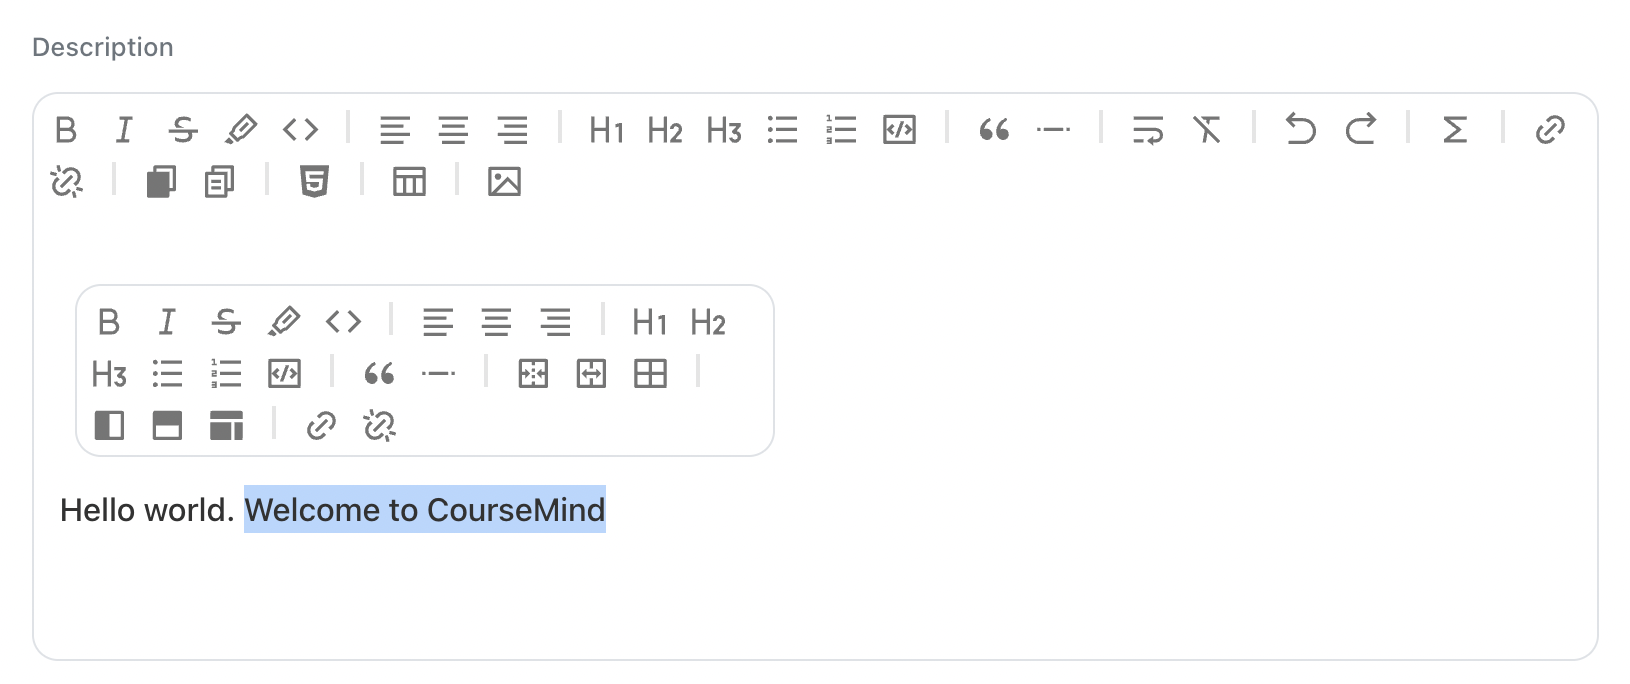
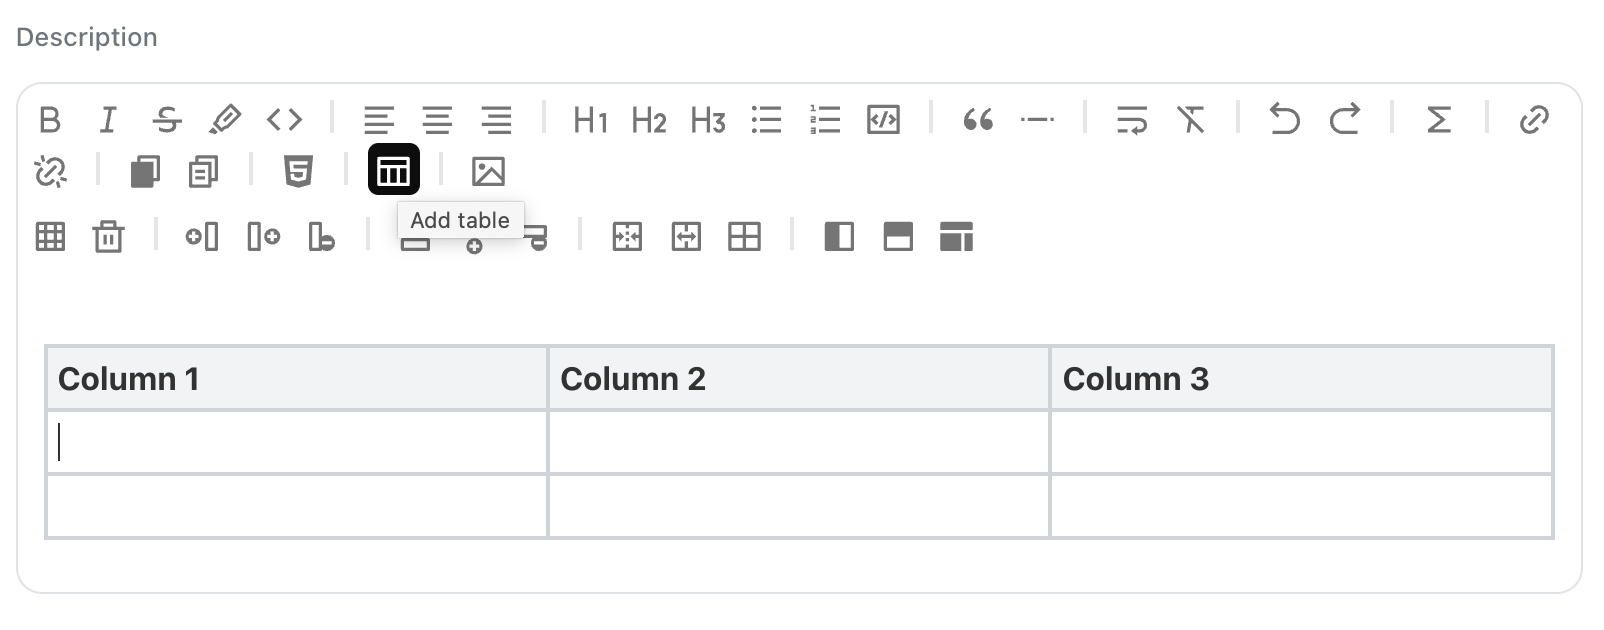
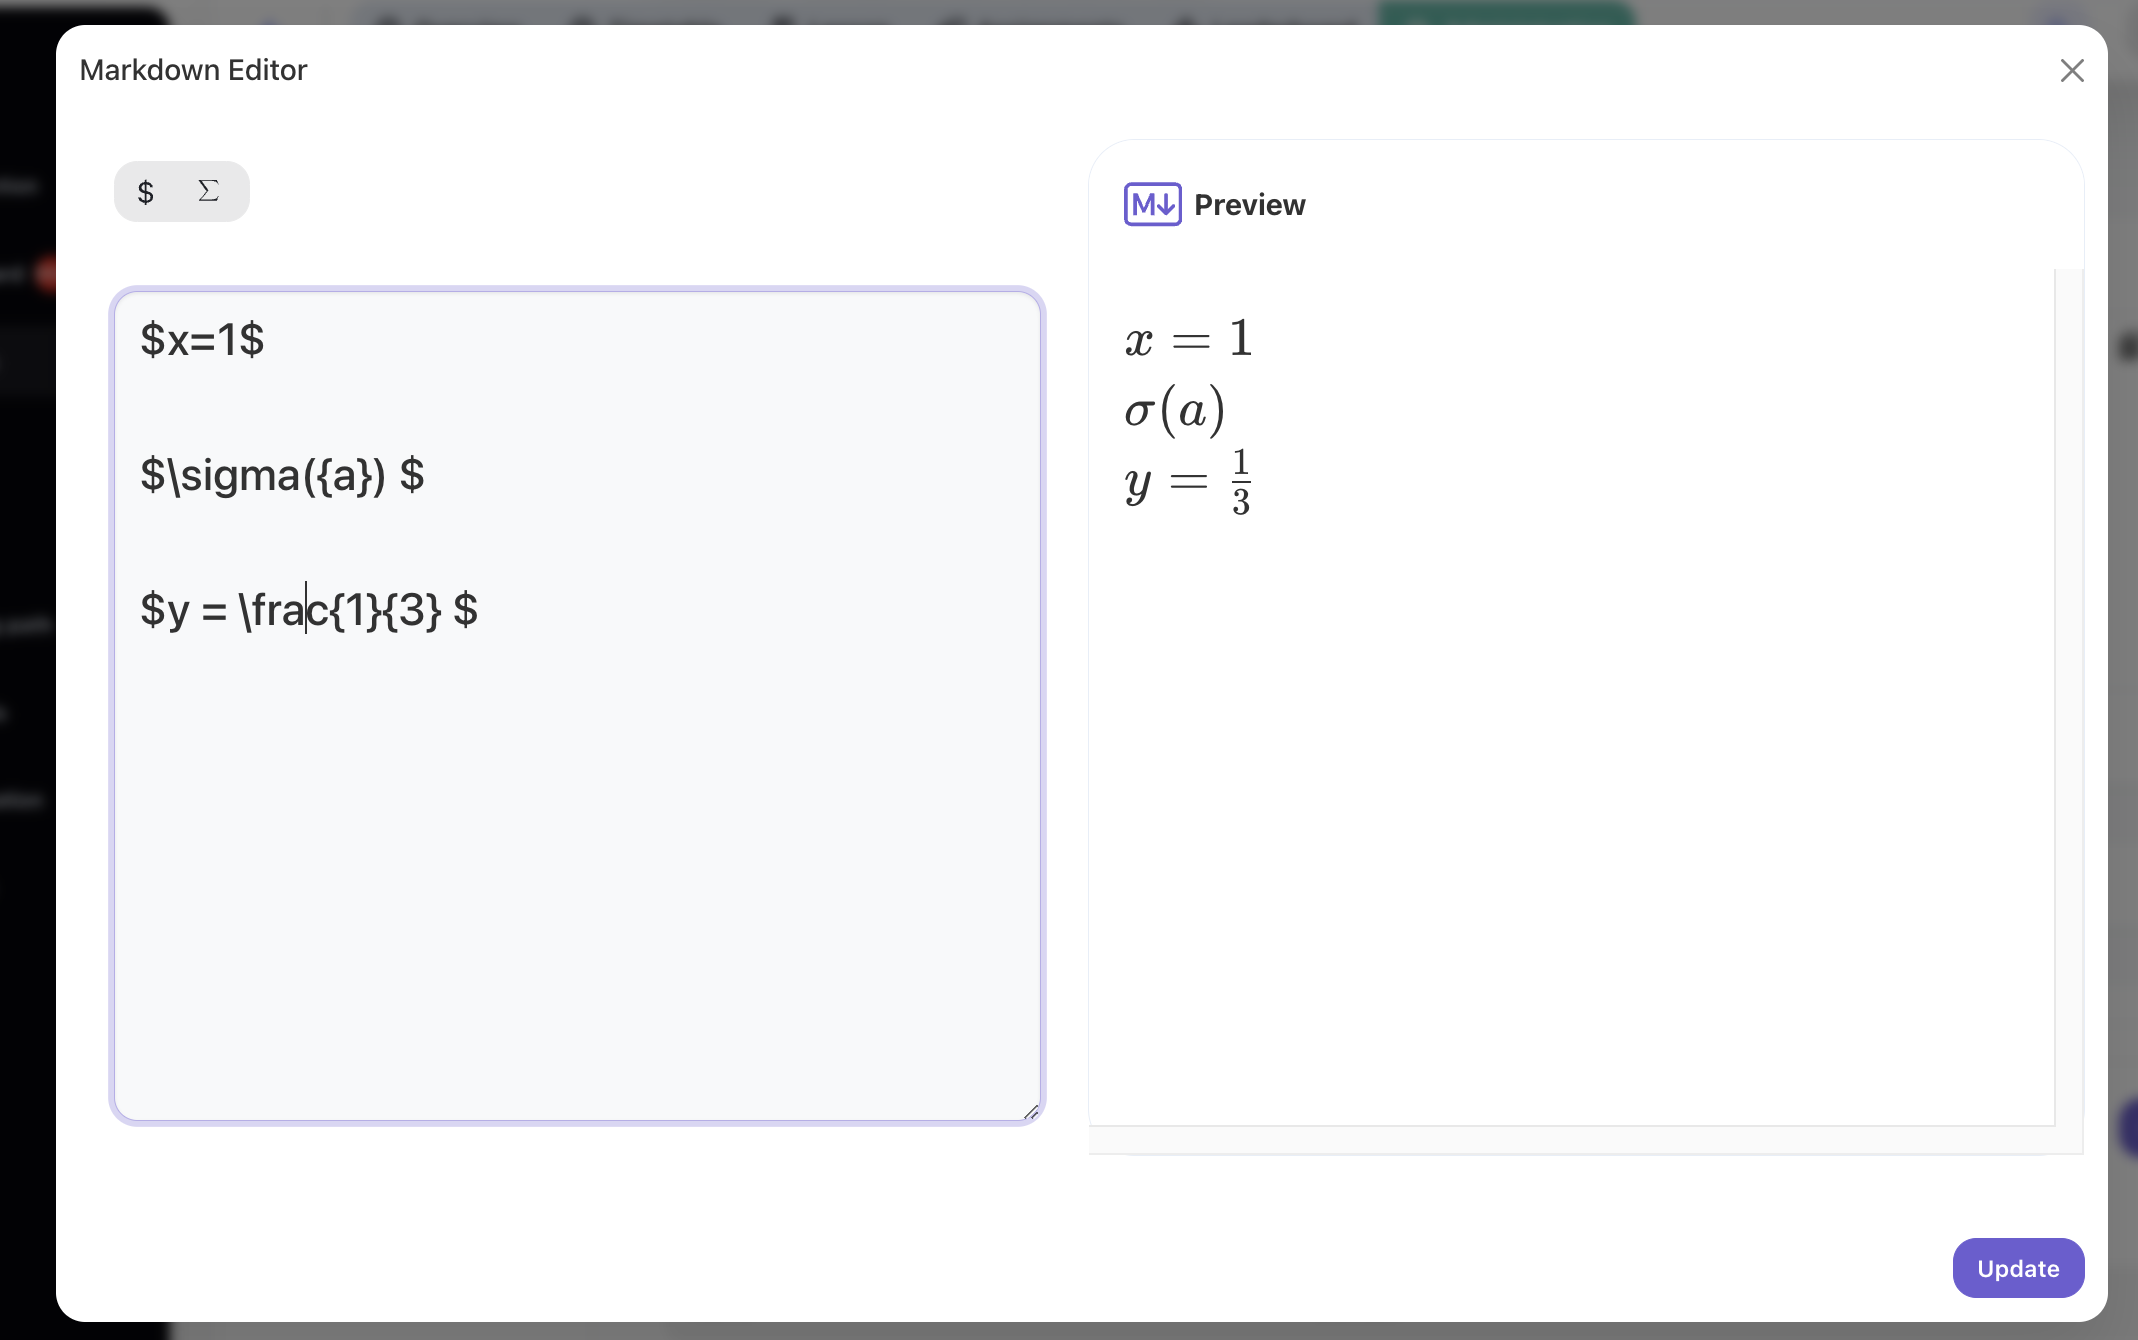
The time required to create an online course largely depends on the amount of lectures and materials you already have. If you already possess materials such as PDFs, videos, SCORM content, live session recordings, and quizzes, you can simply upload them to eLearning platforms that support online course creation and organize them into a structured course. The key is to develop a structured and educational curriculum from the content you've uploaded.

Therefore, the duration will vary from person to person. If you're starting from scratch, try to identify the topic you want to teach, your strengths, and refer to some existing courses on the market. From there, you will understand how to structure and develop the teaching content for your own course and start building from there.

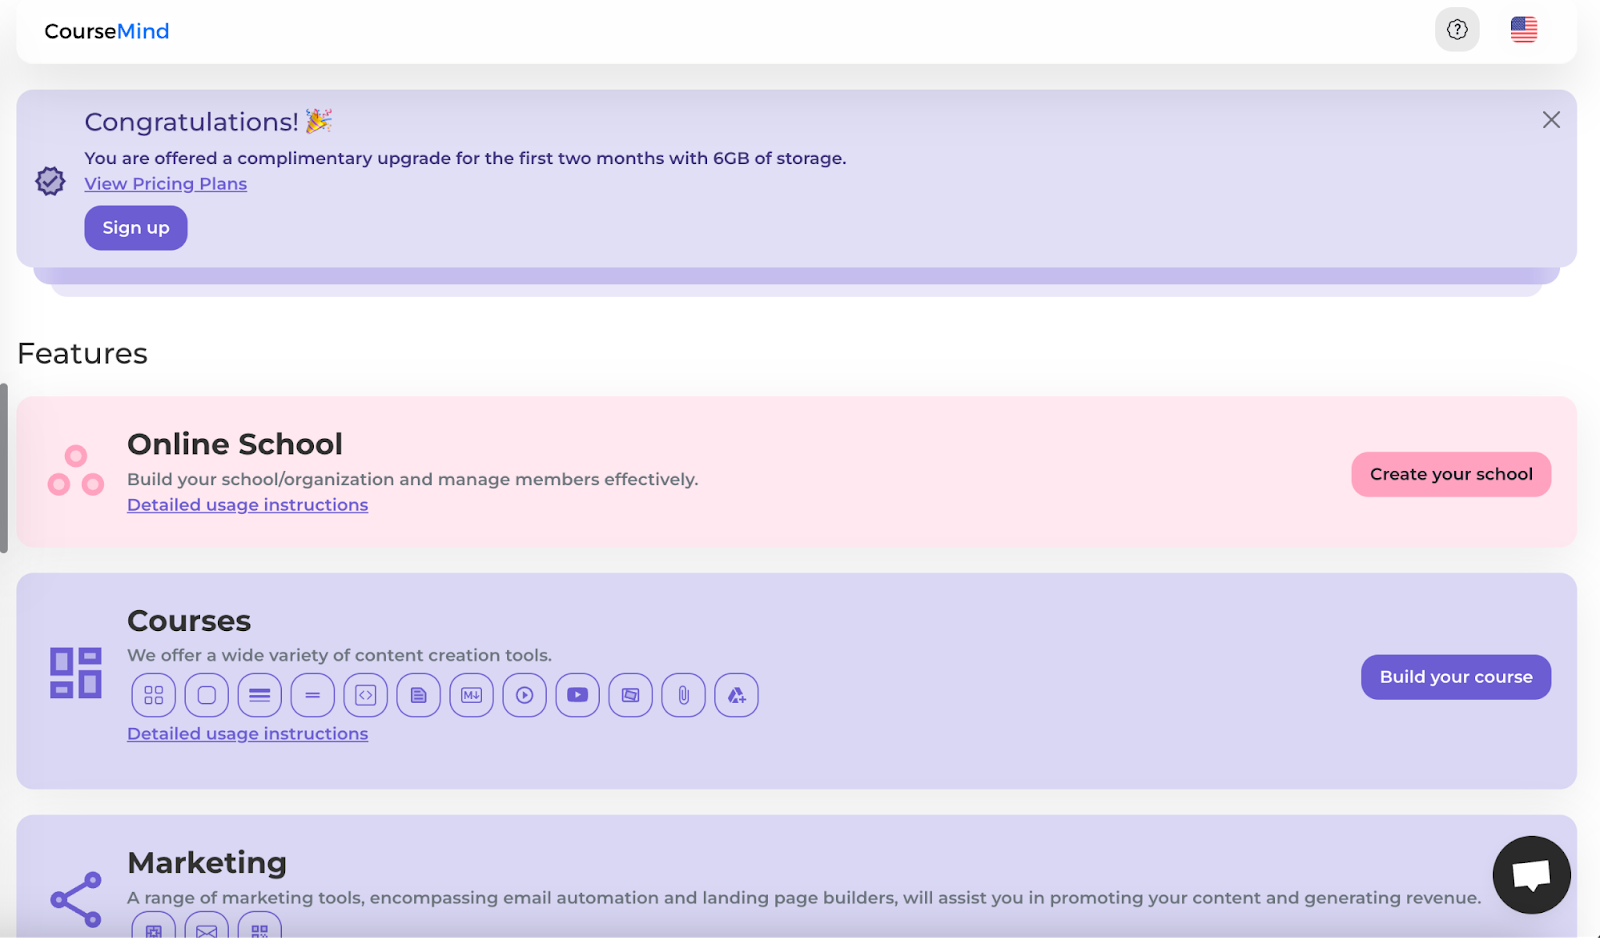
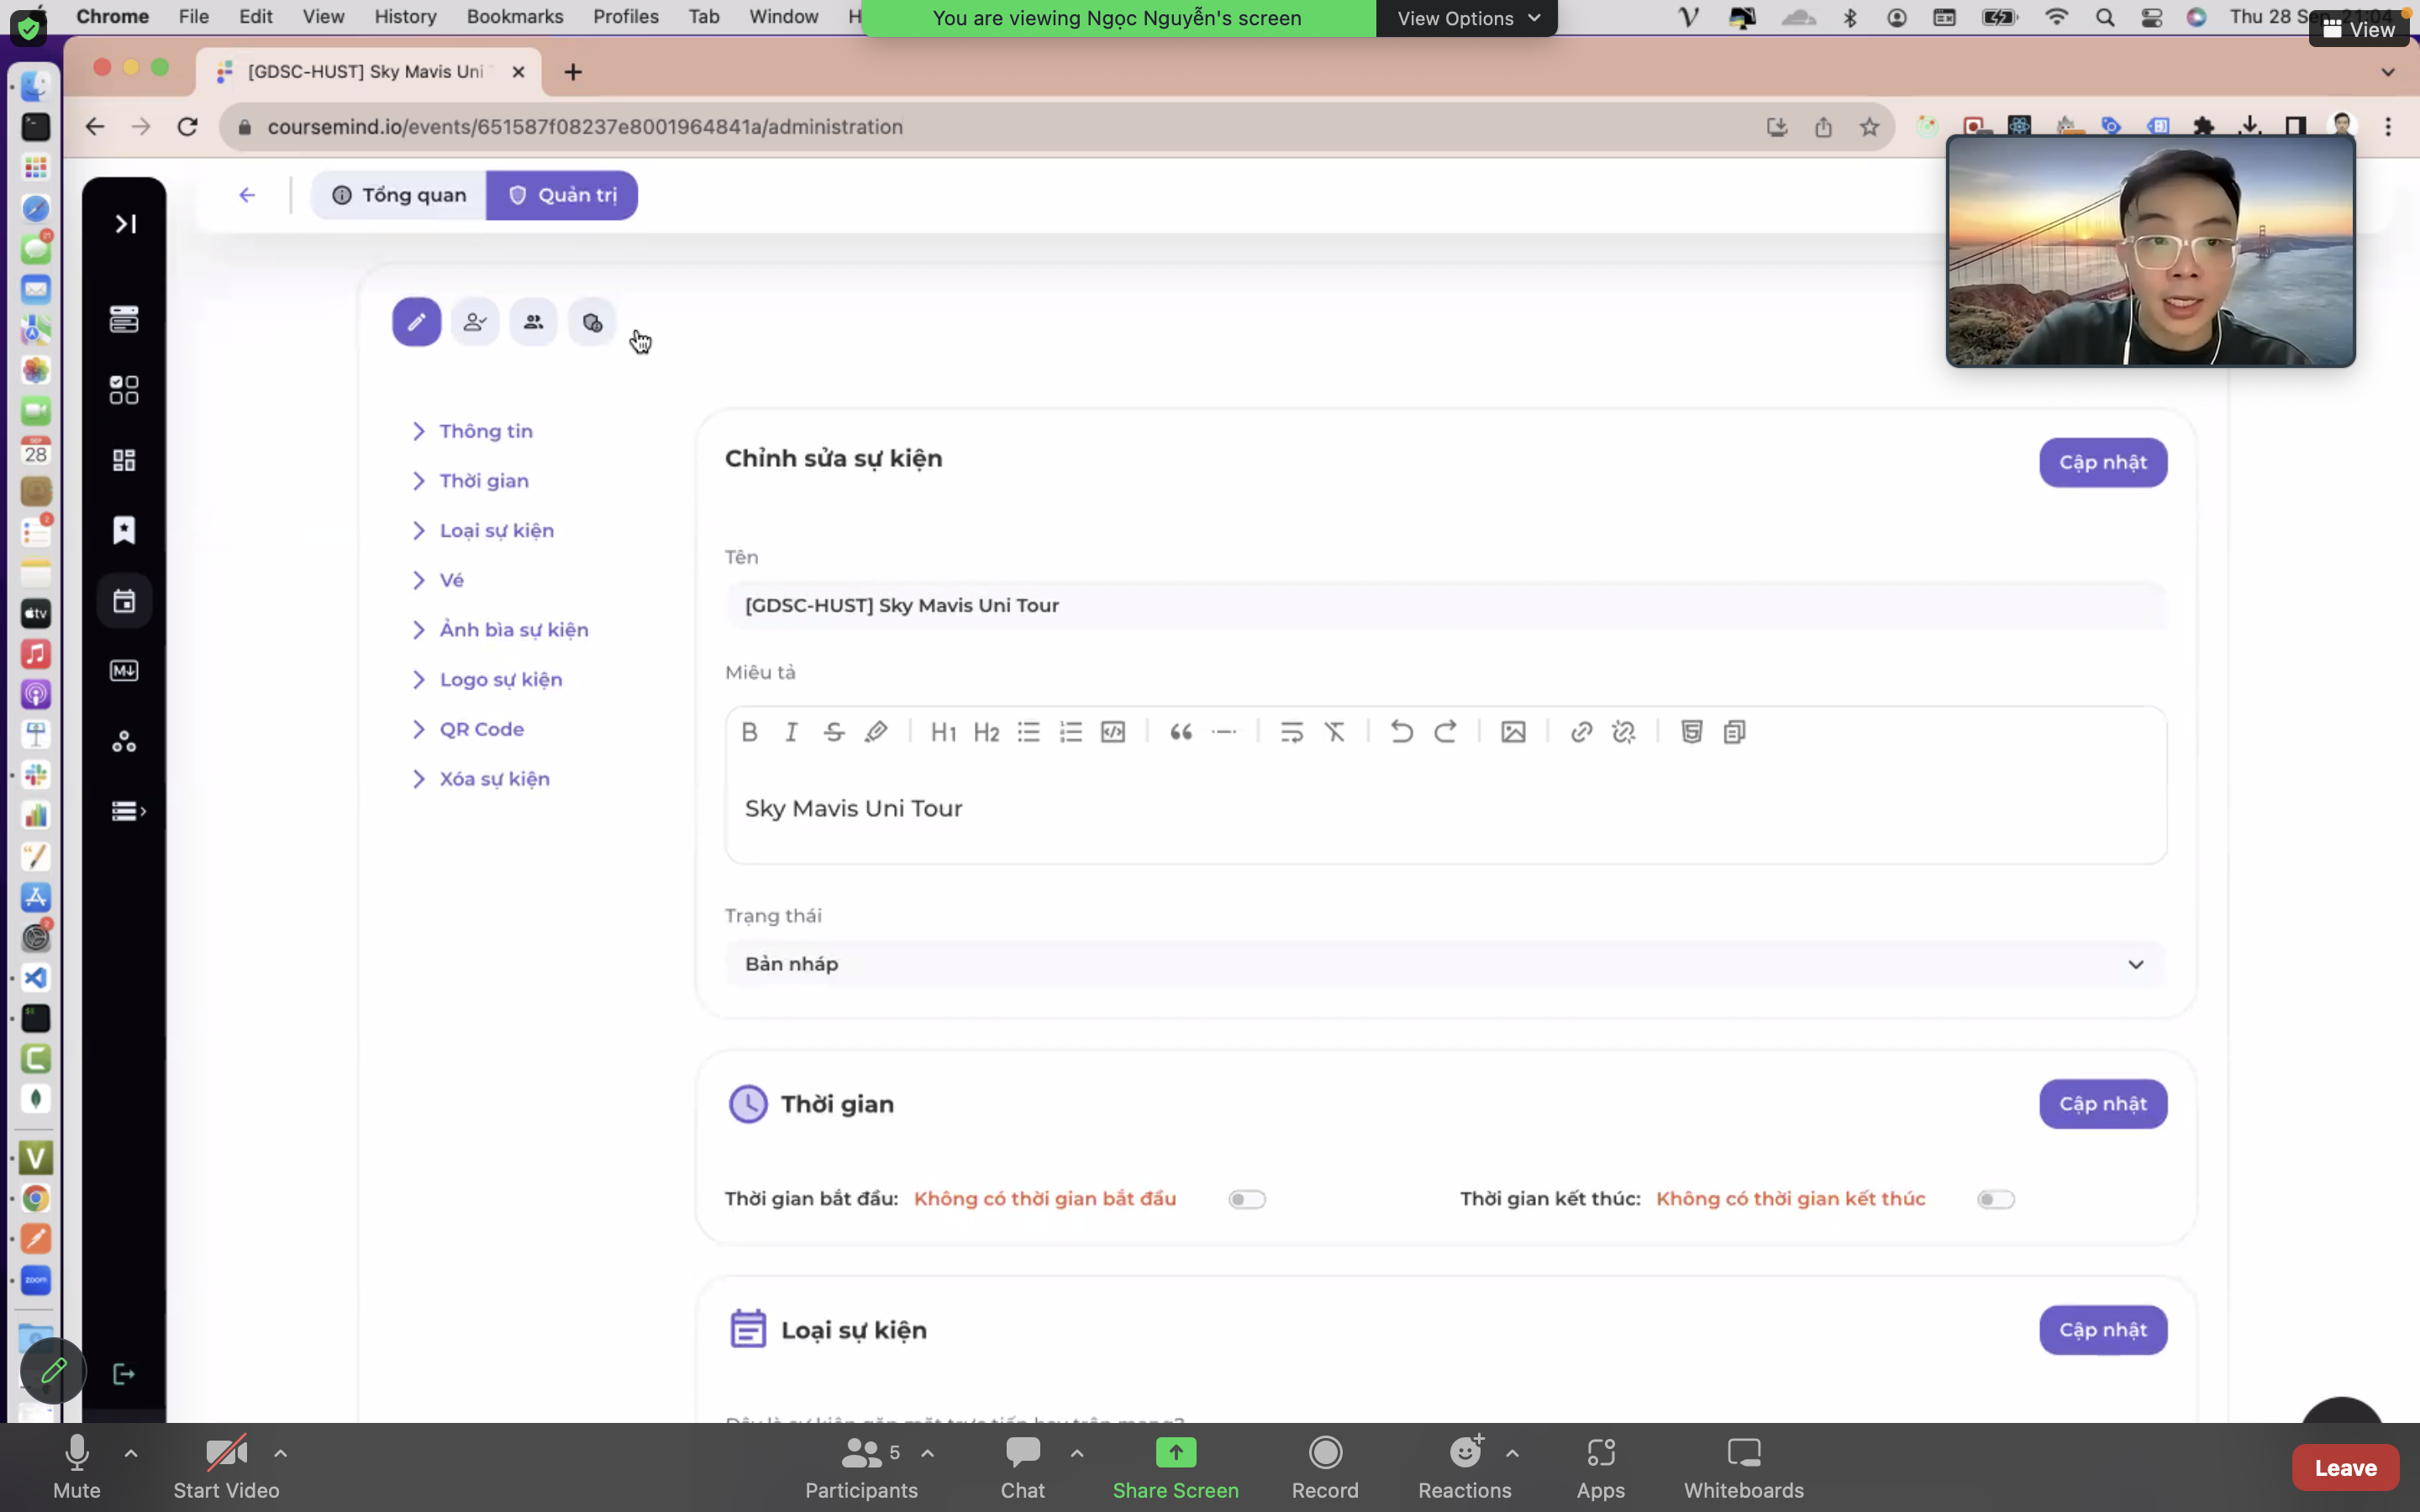
Choosing a reputable platform that integrates many supporting tools is a smart decision that can save you a lot of time and enhance your work efficiency. Instead of having to search for and integrate each tool individually, a reliable platform will provide a comprehensive solution, allowing you to focus on more important tasks and ensuring stable and effective work performance. This can drive your development and success in your work or project. CourseMind and some other online education platforms like LearnWord and Hoola might be the optimal choices for you at this stage.

You can create a quality course in just a few sessions if you have a clear idea of your curriculum. This makes creating an online course much simpler compared to self-hosting or uploading it to groups on Facebook or YouTube in a less professional manner.

3. How much does it cost to create an online course?

i3

Before embarking on creating an online course, you need to carefully consider potential expenses. First, there are equipment costs such as microphones, video recording devices, and other technical tools. Next, there are expenses for materials if you want to invest in reference materials or a platform for selling the course. Additionally, you should also take into account marketing expenses to reach your target audience, as well as opportunity costs – the time you need to invest in creating and managing the course. However, for those who see this investment as an opportunity to share knowledge and earn future profits, these costs can be seen as a valuable and sustainable investment.

Among these costs, platform fees are the easiest to compare. Currently, most online course platforms charge monthly fees ranging from tens to hundreds of dollars, depending on your needs and scale, with various supporting features. For example, you can use some popular platforms in Vietnam such as CourseMind, Edubit, Hoola, Daymai,... or create videos without significant investment. However, some people invest heavily in producing professional videos, creating SCORM files, and producing high-quality content. What matters most is the quality of the course you create.

If you have limited budget or aren't ready to invest heavily when you're unsure about the revenue potential of your course, you can consider looking for platforms that offer free trials or payment only after you've successfully sold your course. In the case of wanting to try before paying, you can use the free 2-month trial at CourseMind. Afterward, if you're not ready for monthly payments, you can choose the "Share revenue" program offered by CourseMind or some other foreign platforms: You'll only need to allocate around 10% of your revenue to the platform when you successfully sell your course.

4. How to Create an Interactive Online Course?

i4

To create an interactive online course, you need to plan for interaction with your students while developing the content. Researching and determining these interactions should be part of your planning process. Firstly, your lecture slides should be creative and engaging to capture the interest of your students. Secondly, your presentation should be lively, creative, incorporating stories, and encouraging student interaction throughout the learning process.

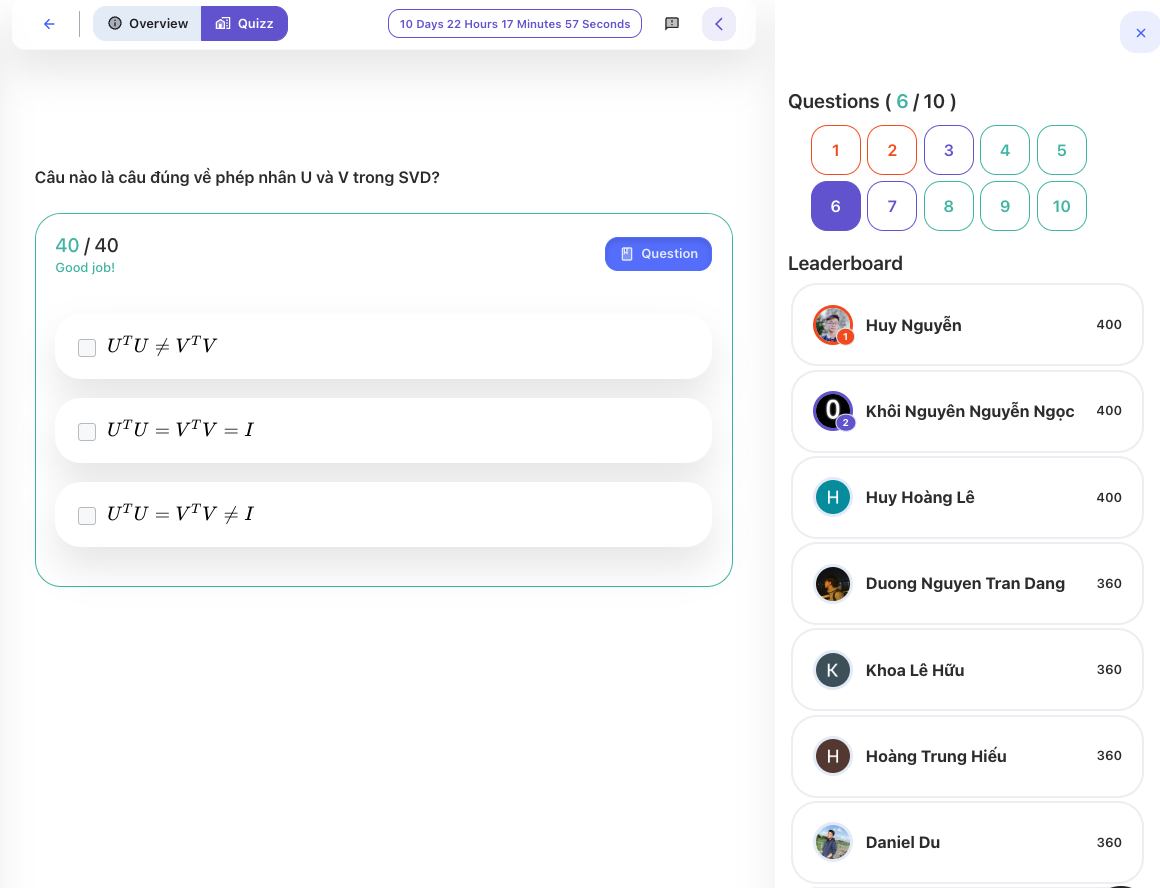
Additionally, you can use small quizzes after each lesson to help students interact with the content and review what they've learned. Furthermore, you can include small questions during your lectures to maintain engagement and receive feedback from your students. In this aspect, you should seek platforms that support maximum interaction with your students, such as discussion forums below each lecture, assignments, quizzes, or systems for emails and reminders. These tools will not only facilitate interaction but also save you a significant amount of time and effort.

For reference, you can explore a highly interactive course here: Link

5. How to create a profitable online course?

i5

To create a profitable online course, you need to research and understand your target audience, cater to their interests and needs, and propose a course that addresses a specific problem or provides value to them. Your course should:

  • Solve a specific problem for the learners.
  • Teach new and valuable information.
  • Help learners achieve their goals.

Ensure that your course meets these criteria to attract and retain learners, ultimately generating profit for you. Additionally, consider creating long-term value for your learners, enabling them to become loyal and long-lasting customers.

6. Select an eLearning platform to create a website for teaching and selling online courses.

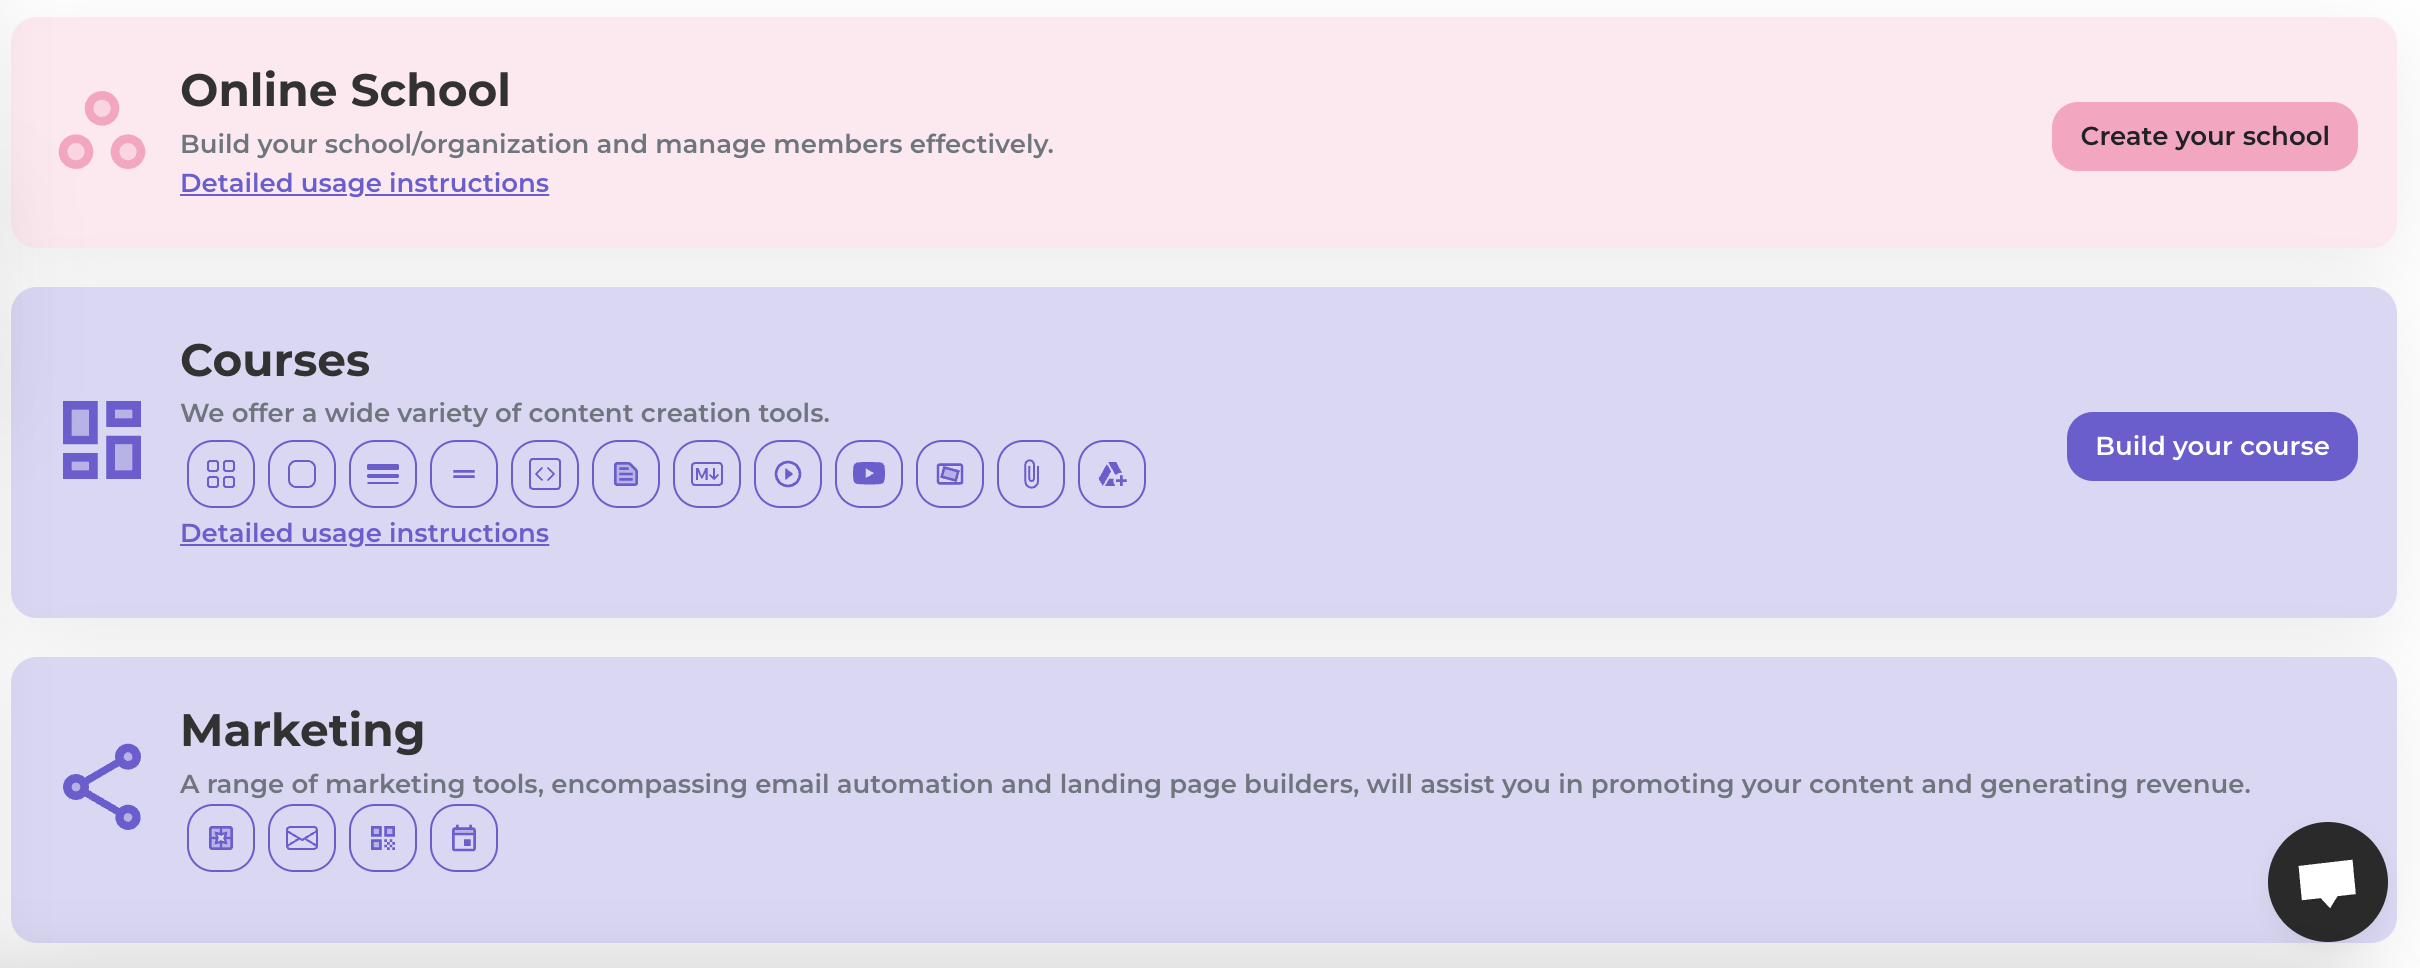
Choosing the right eLearning platform is crucial and one of the key factors in the success of selling online courses. It not only affects the learners' experience but also impacts the management and development of your courses.

A good eLearning platform should have essential features such as:

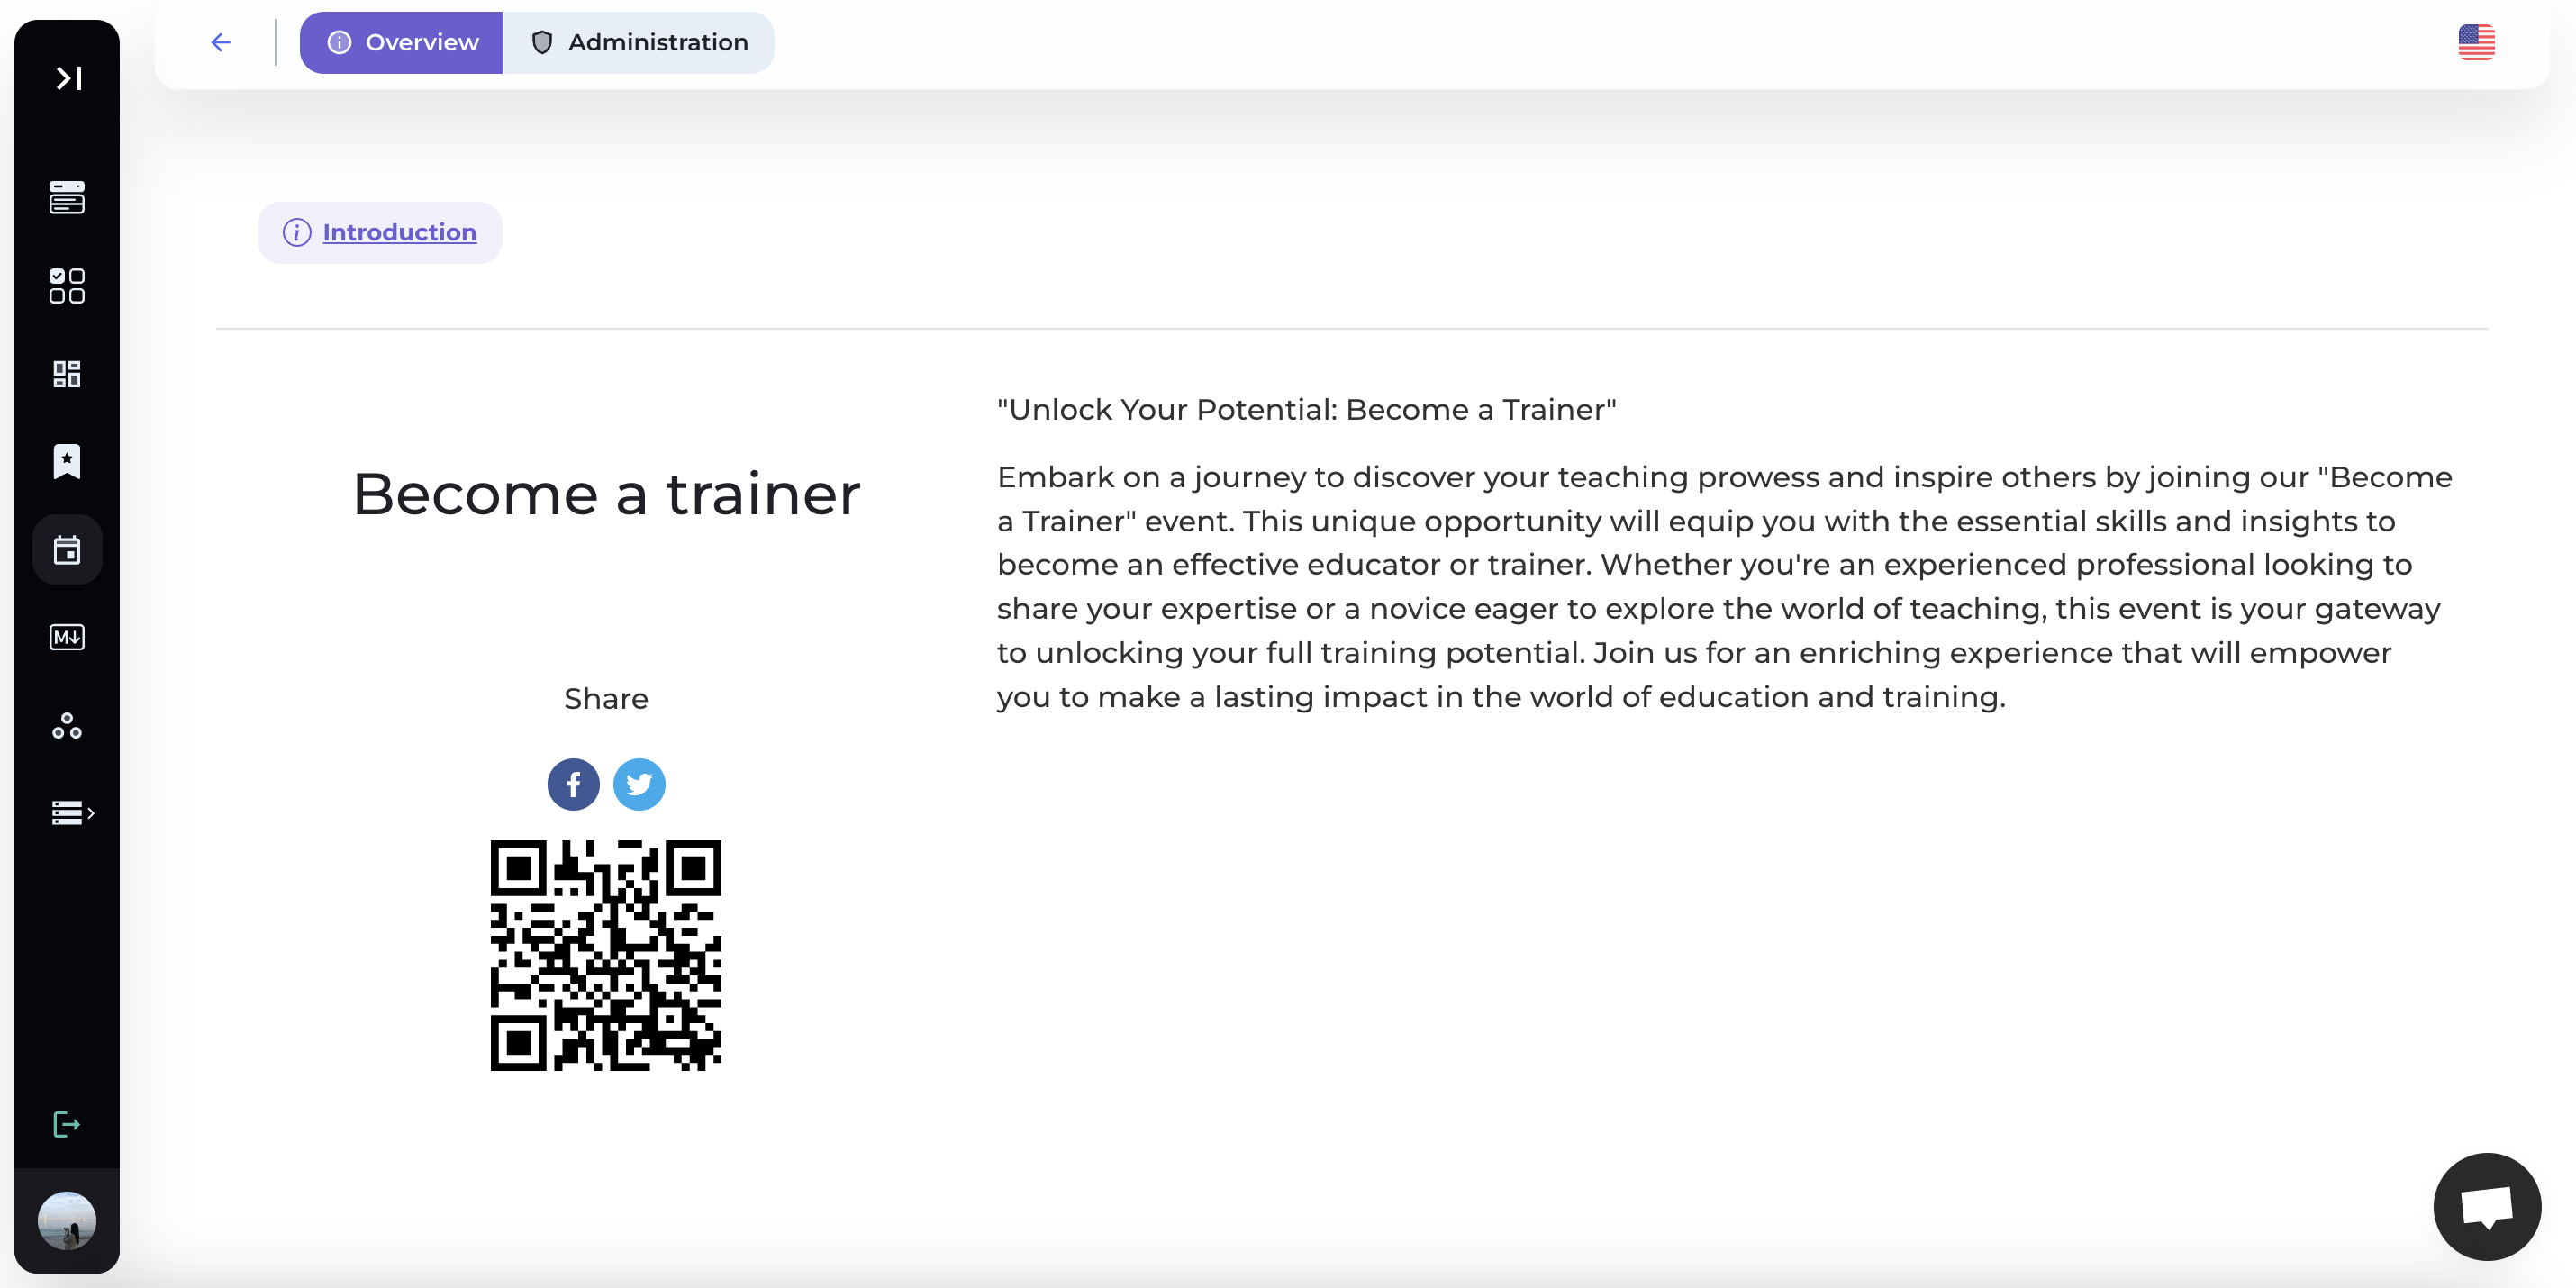
Landing Page Support:

A high-quality landing page can make an initial impression on viewers and encourage them to sign up for the course. The eLearning platform should allow you to easily create and customize a landing page to present course information attractively.

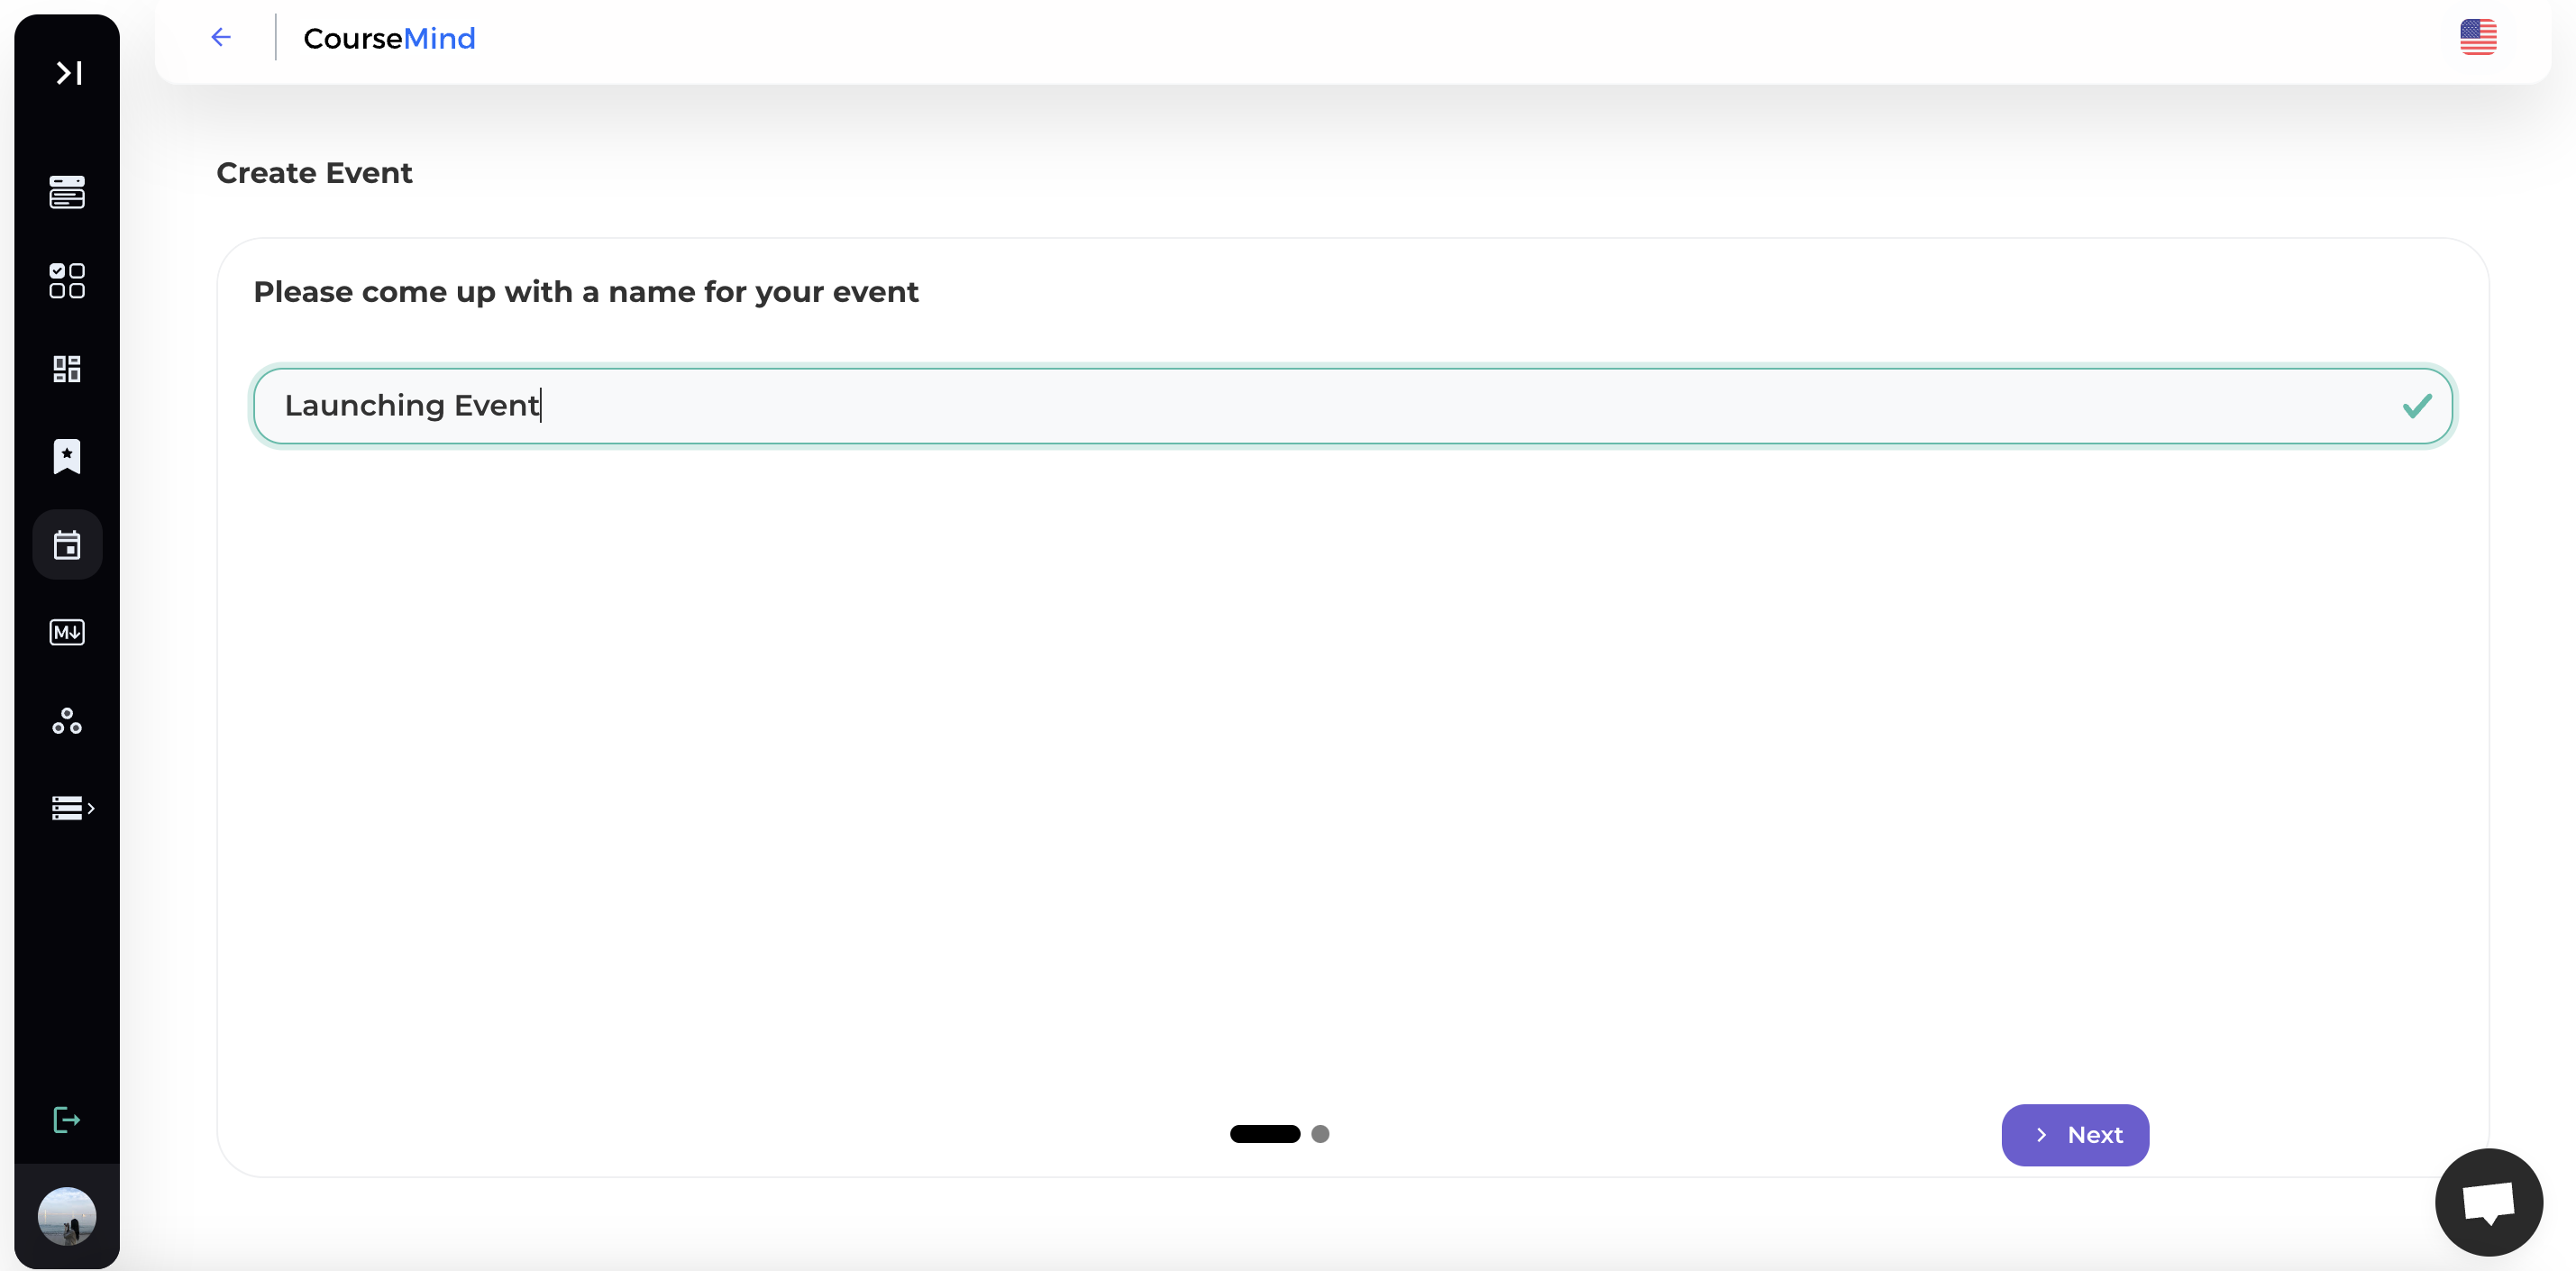
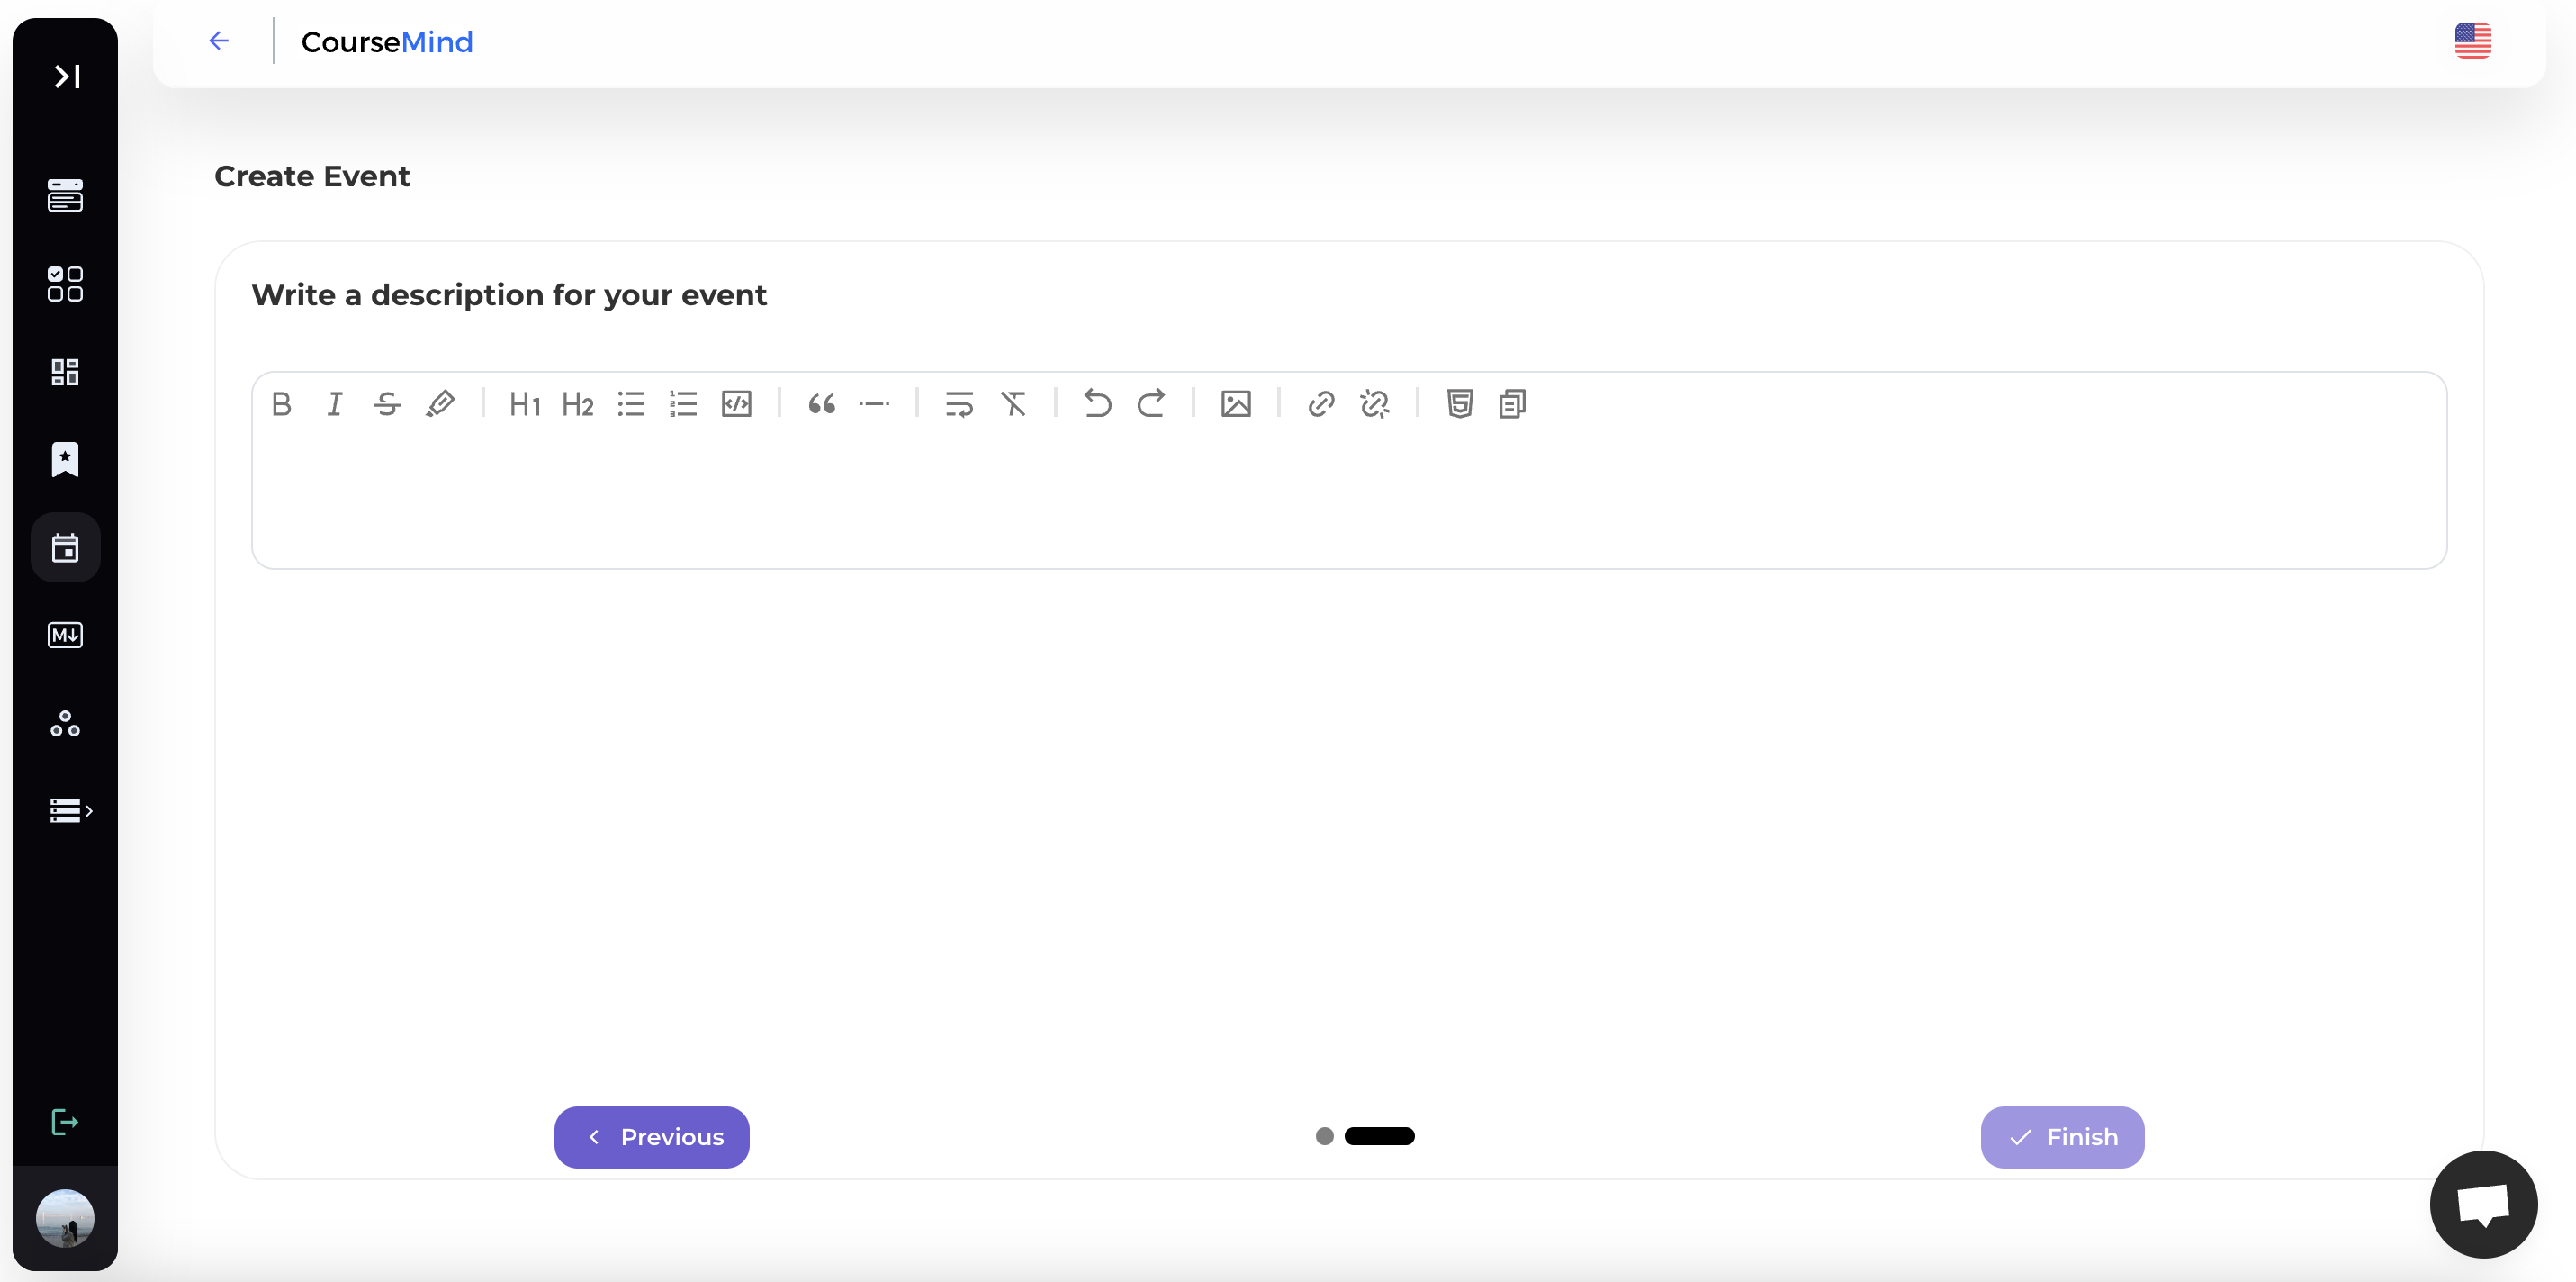
Quick and Easy Course Creation:

The course creation process should not be overly complicated. The platform should provide tools to help you create course content and structure quickly and conveniently.

Diversify Learning Materials:

An effective course should offer a variety of learning materials such as videos, lectures, exercises, quizzes, and reference materials. The eLearning platform should support multiple content formats to make the learning process more engaging and diverse.

Optimize Interaction with Learners:

Interaction between instructors and learners is crucial. The platform should have features to support online discussions and send notifications to maintain learner interaction and engagement.

Track Course Progress:

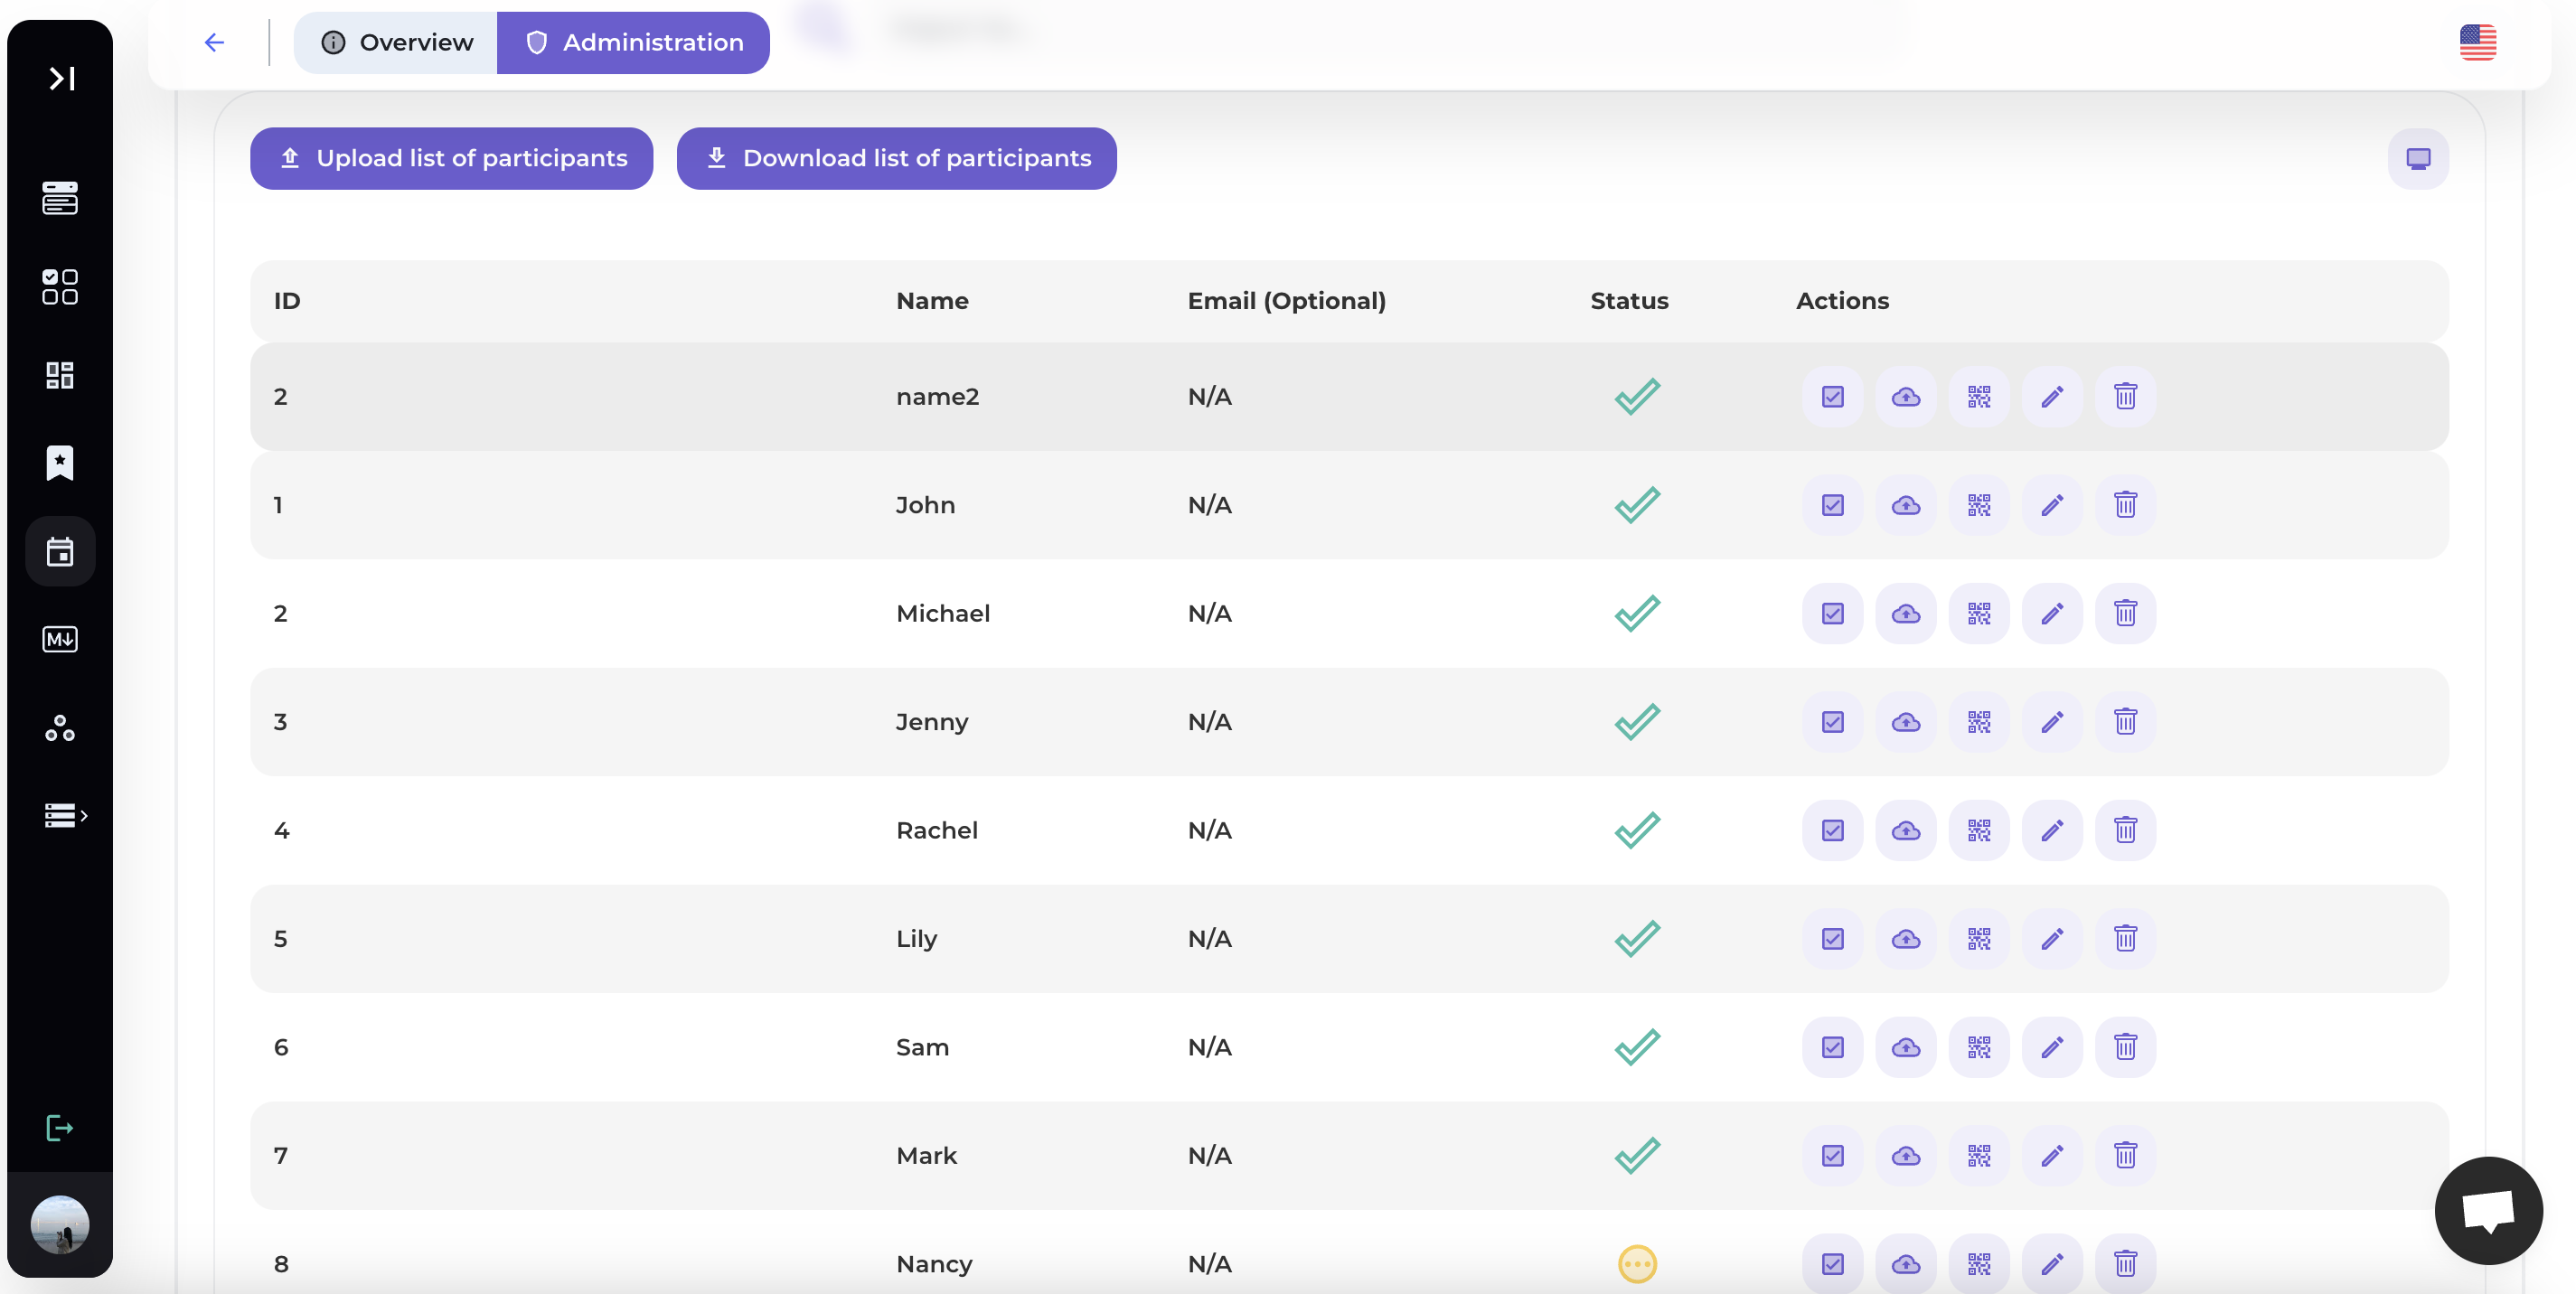
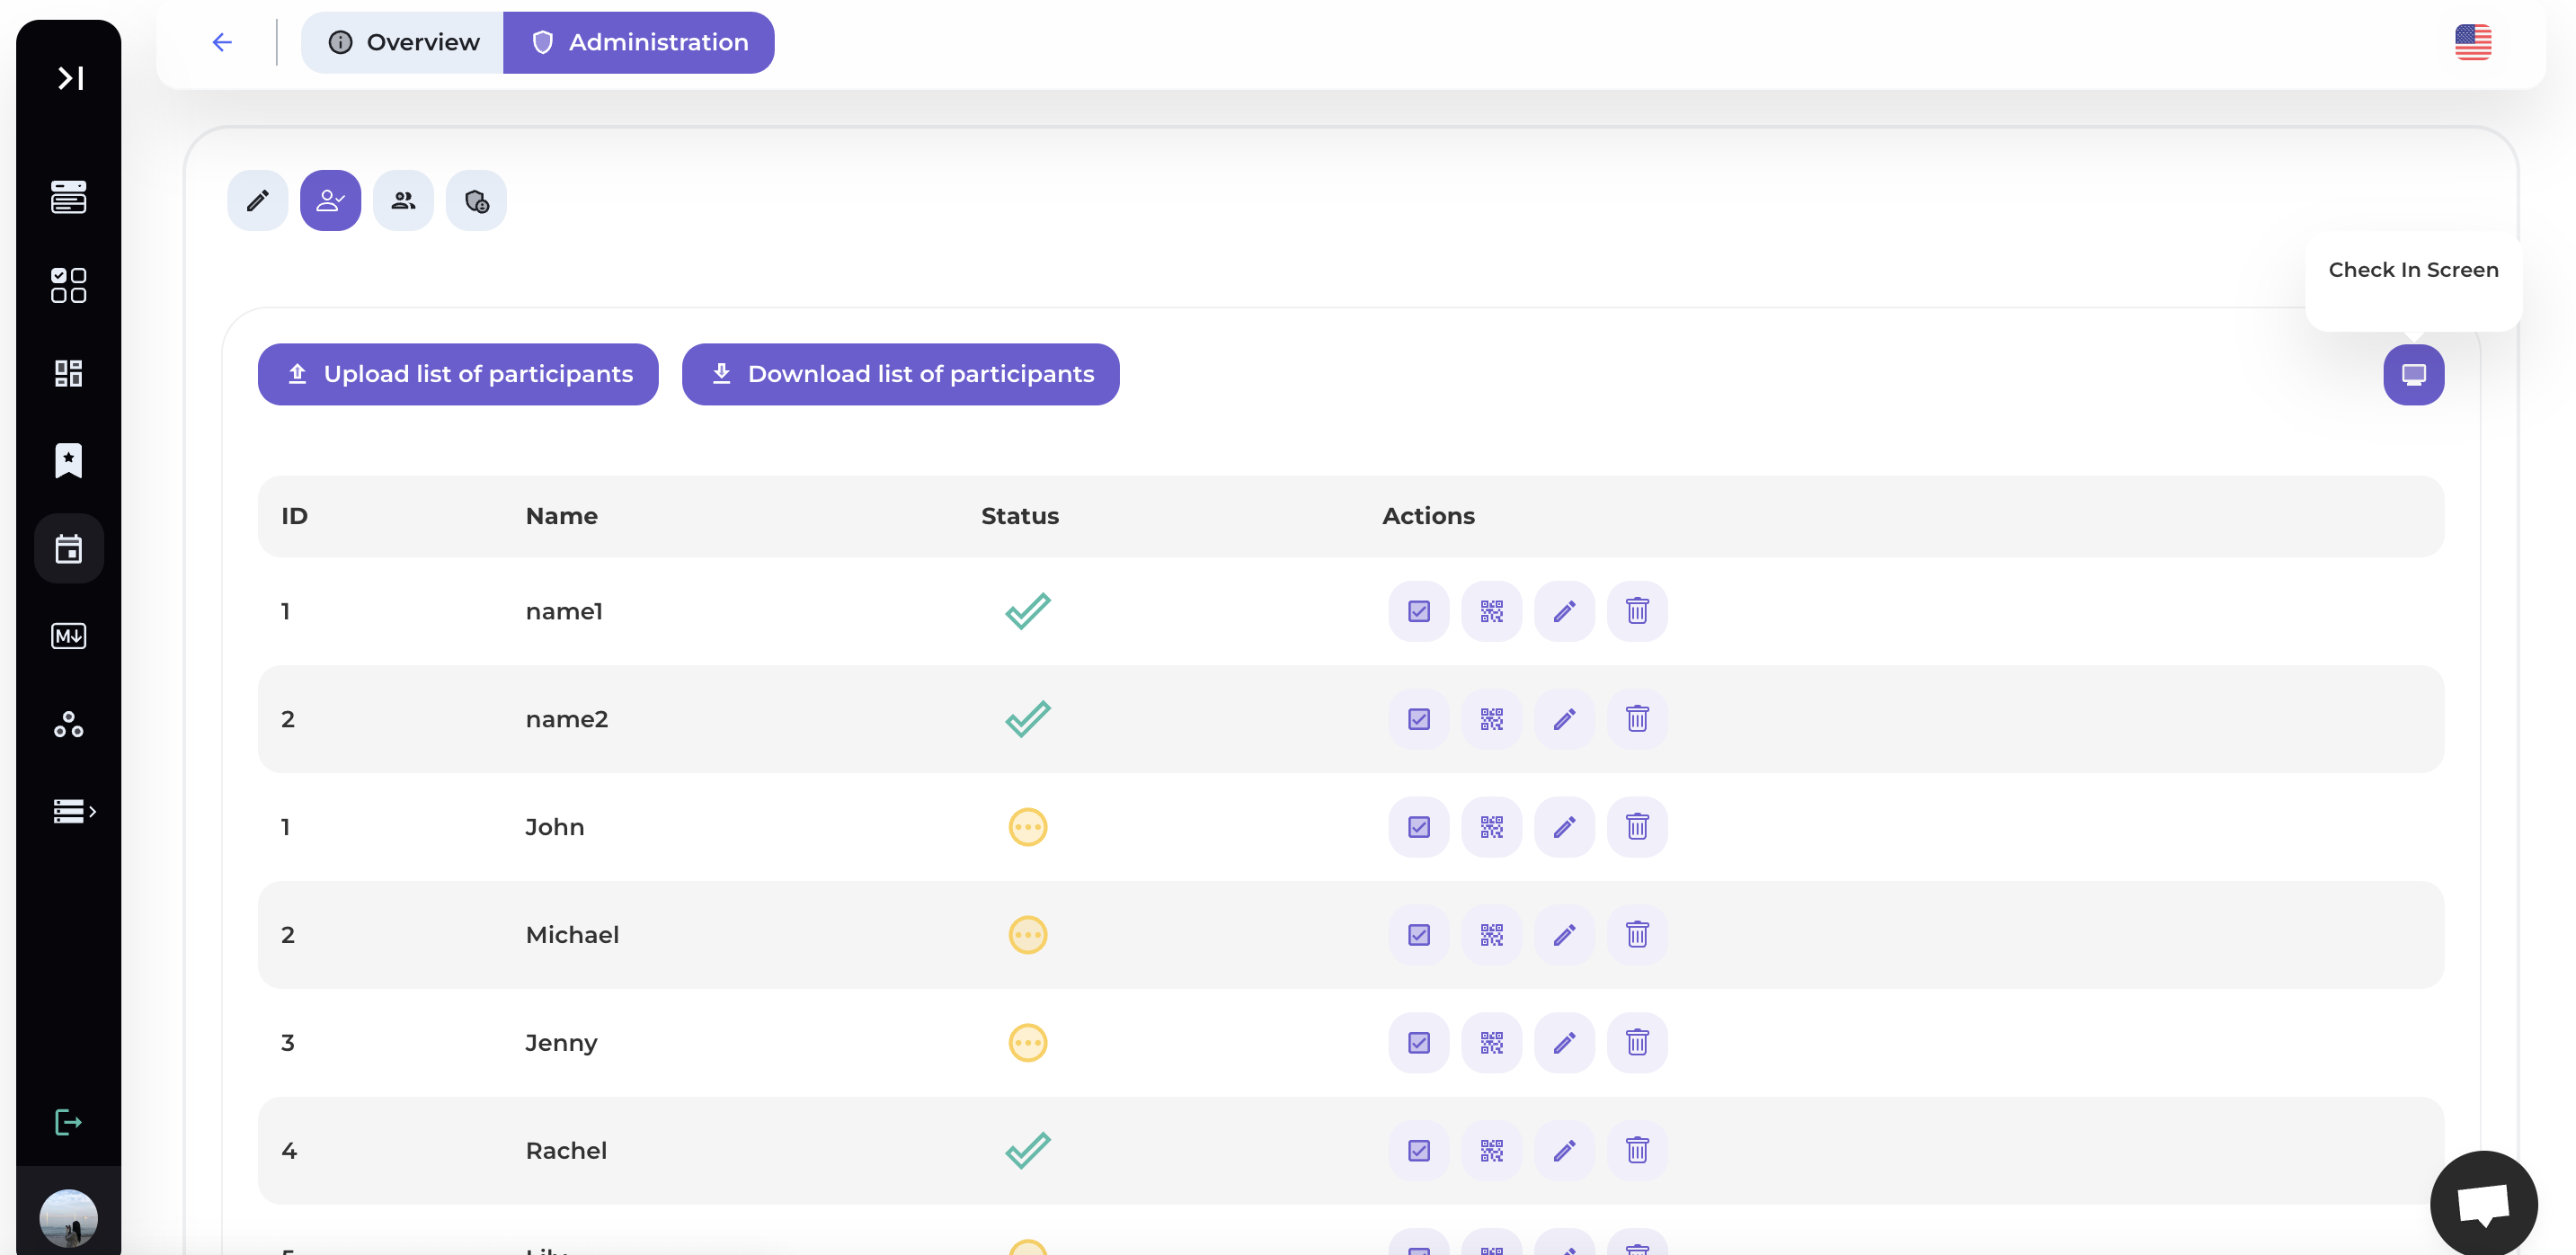
To provide effective support and feedback, you need to monitor the progress of each learner. The eLearning platform should have learner management tools and progress tracking capabilities.

Reasonable Cost:

Finally, the cost of using an eLearning platform is also an important factor. Consider the financial cost to ensure it fits your budget while still providing the necessary quality and features.

Carefully considering these features and choosing a suitable eLearning platform can help you optimize the process of creating and managing your online courses, while ensuring that learners have the best learning experience.

7. Execute Continuous Marketing Campaigns

i6

There are hundreds of tips on the internet about digital marketing, and all of them have the potential to help you promote your online course.

The most important thing is to understand how a digital course sales funnel works. Selling online courses requires creativity and the use of various strategies to increase conversion rates:

  • Offers and Discounts: Provide incentives such as coupons, discounts, and course bundles to encourage course purchases.
  • Email Marketing: Utilize email marketing to reach and engage with your target audience.
  • Social Media and Facebook Advertising: Make the most of social media platforms and Facebook ads to create appealing advertisements for your target audience.
  • Reviews and Testimonials: Gather reviews and testimonials from satisfied students and use them to convince others.
  • Collaborate with Partners and Influencers: Find ways to collaborate with businesses, companies, and influential individuals in your field to expand your marketing network.
  • Content Marketing: Produce valuable content through your blog or website to attract traffic.
  • Affiliate Marketing: Build an affiliate marketing network to partner with other affiliates to promote your course.

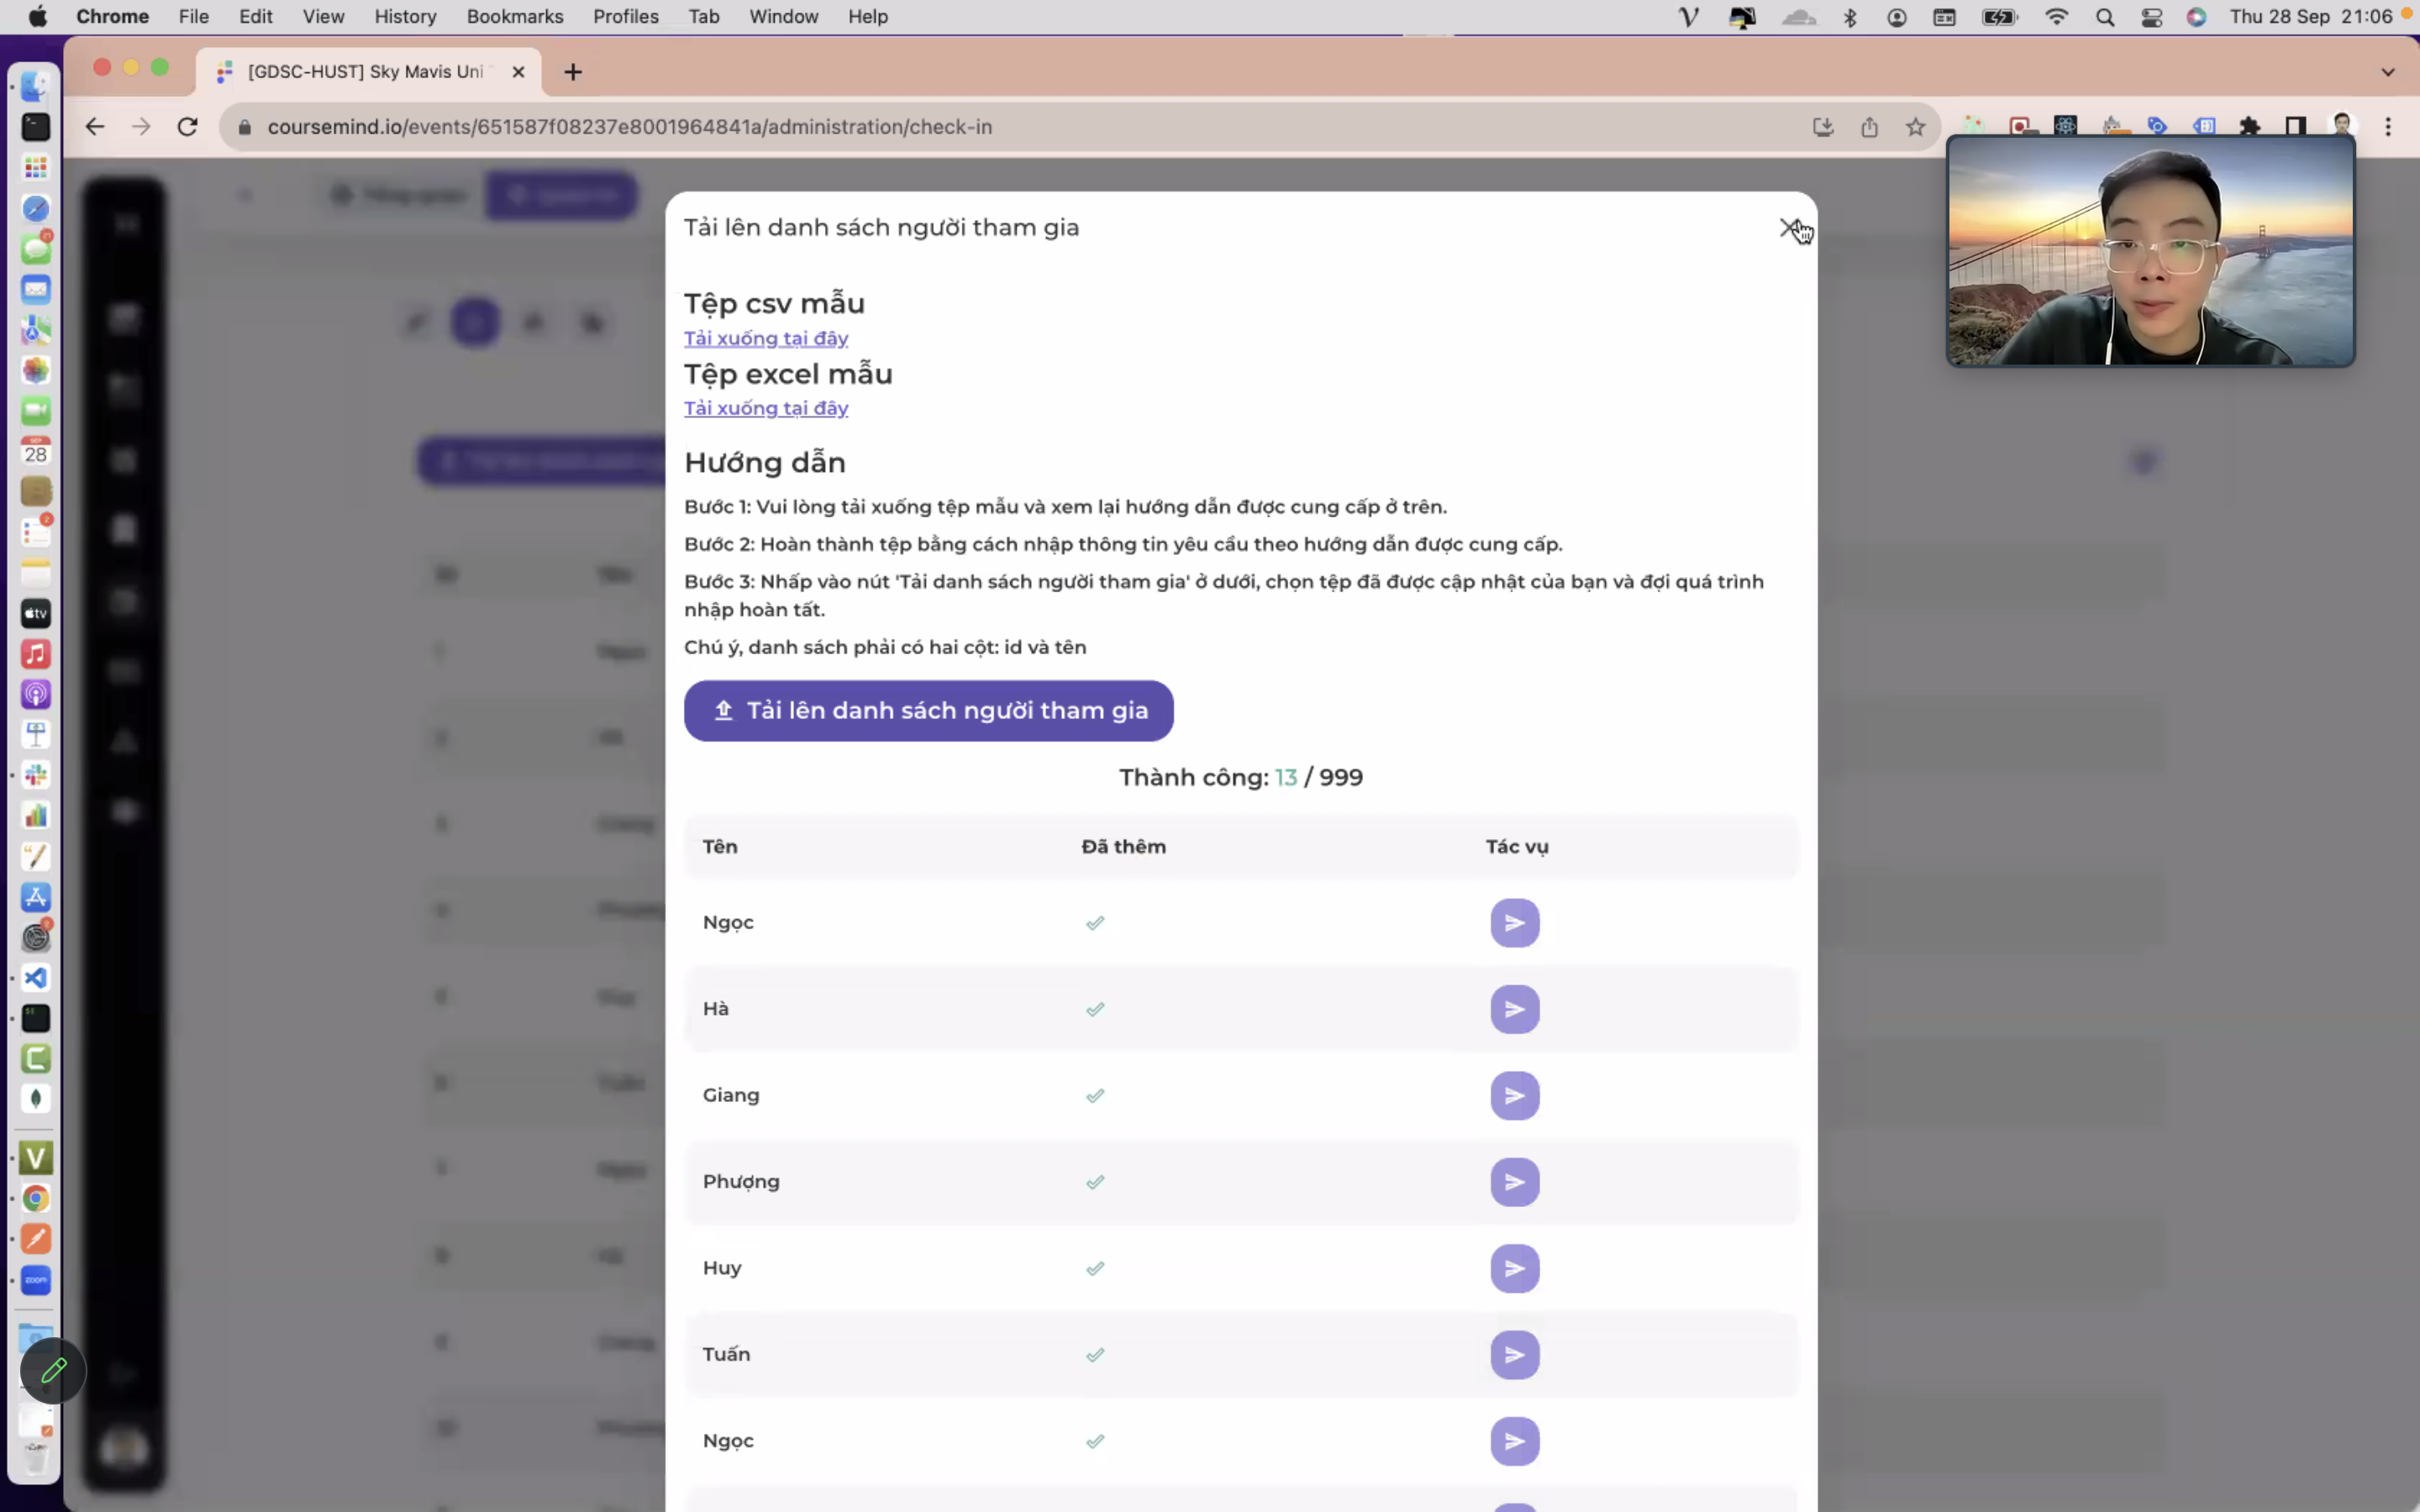
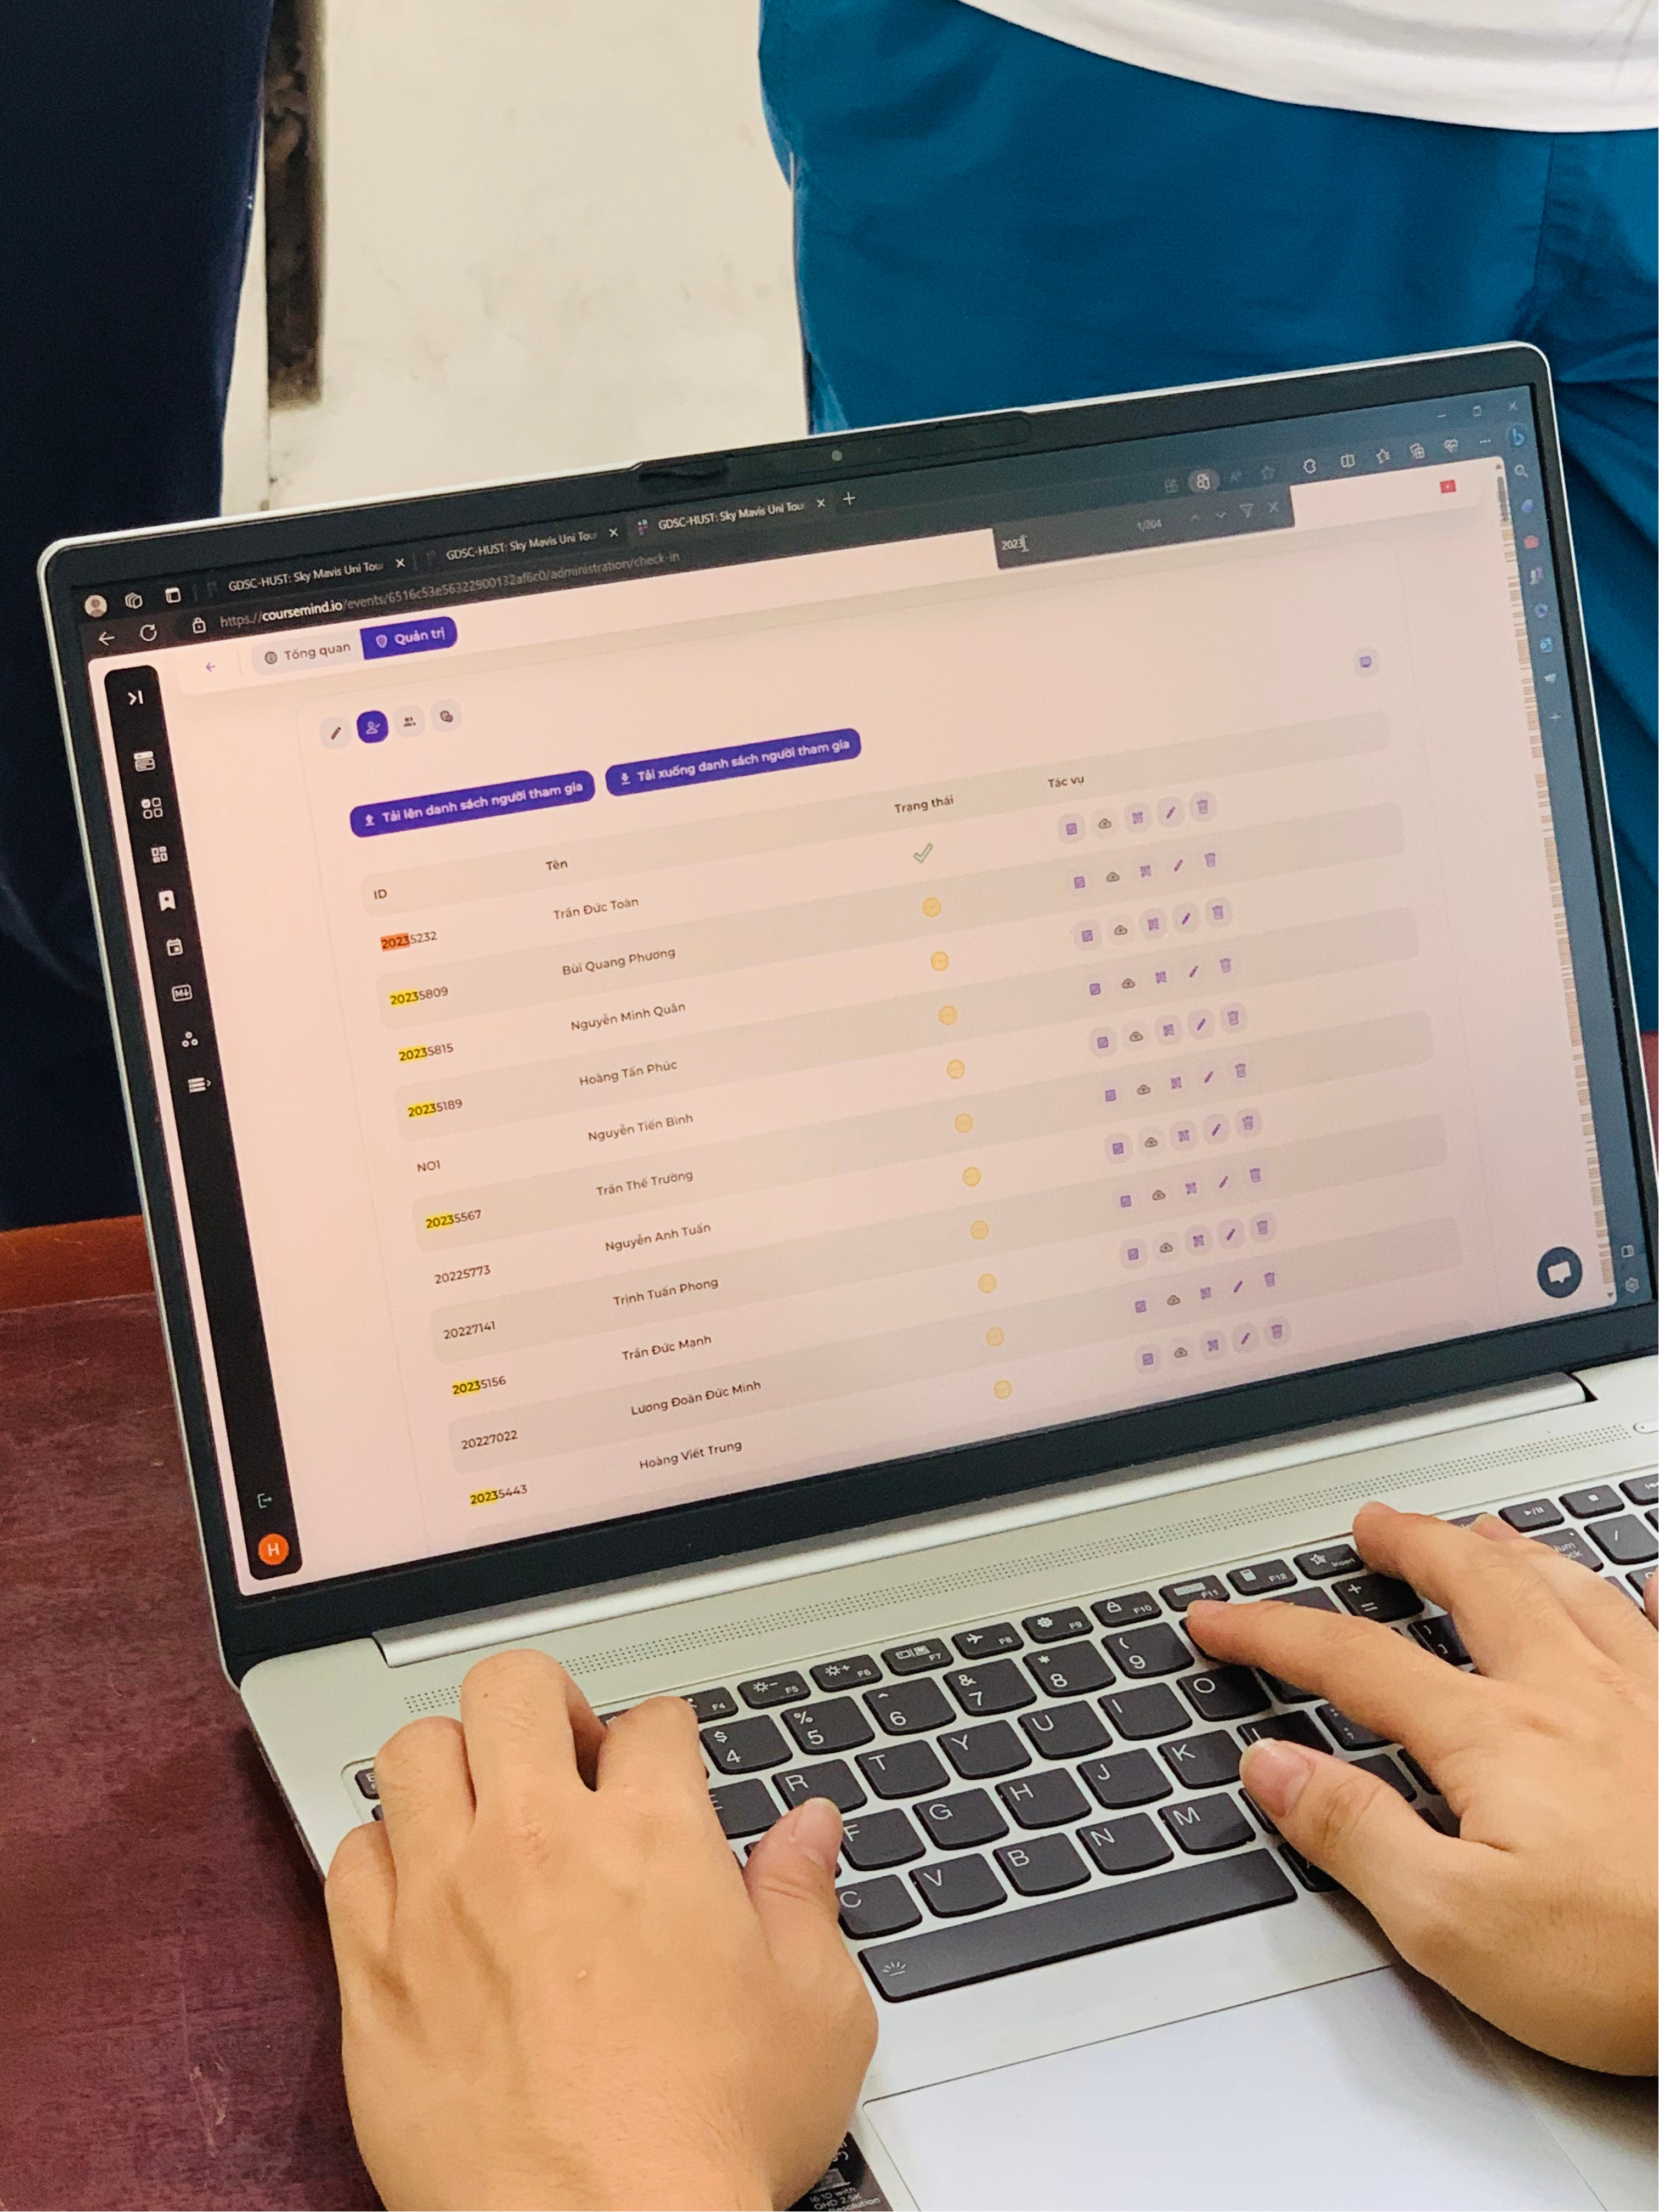
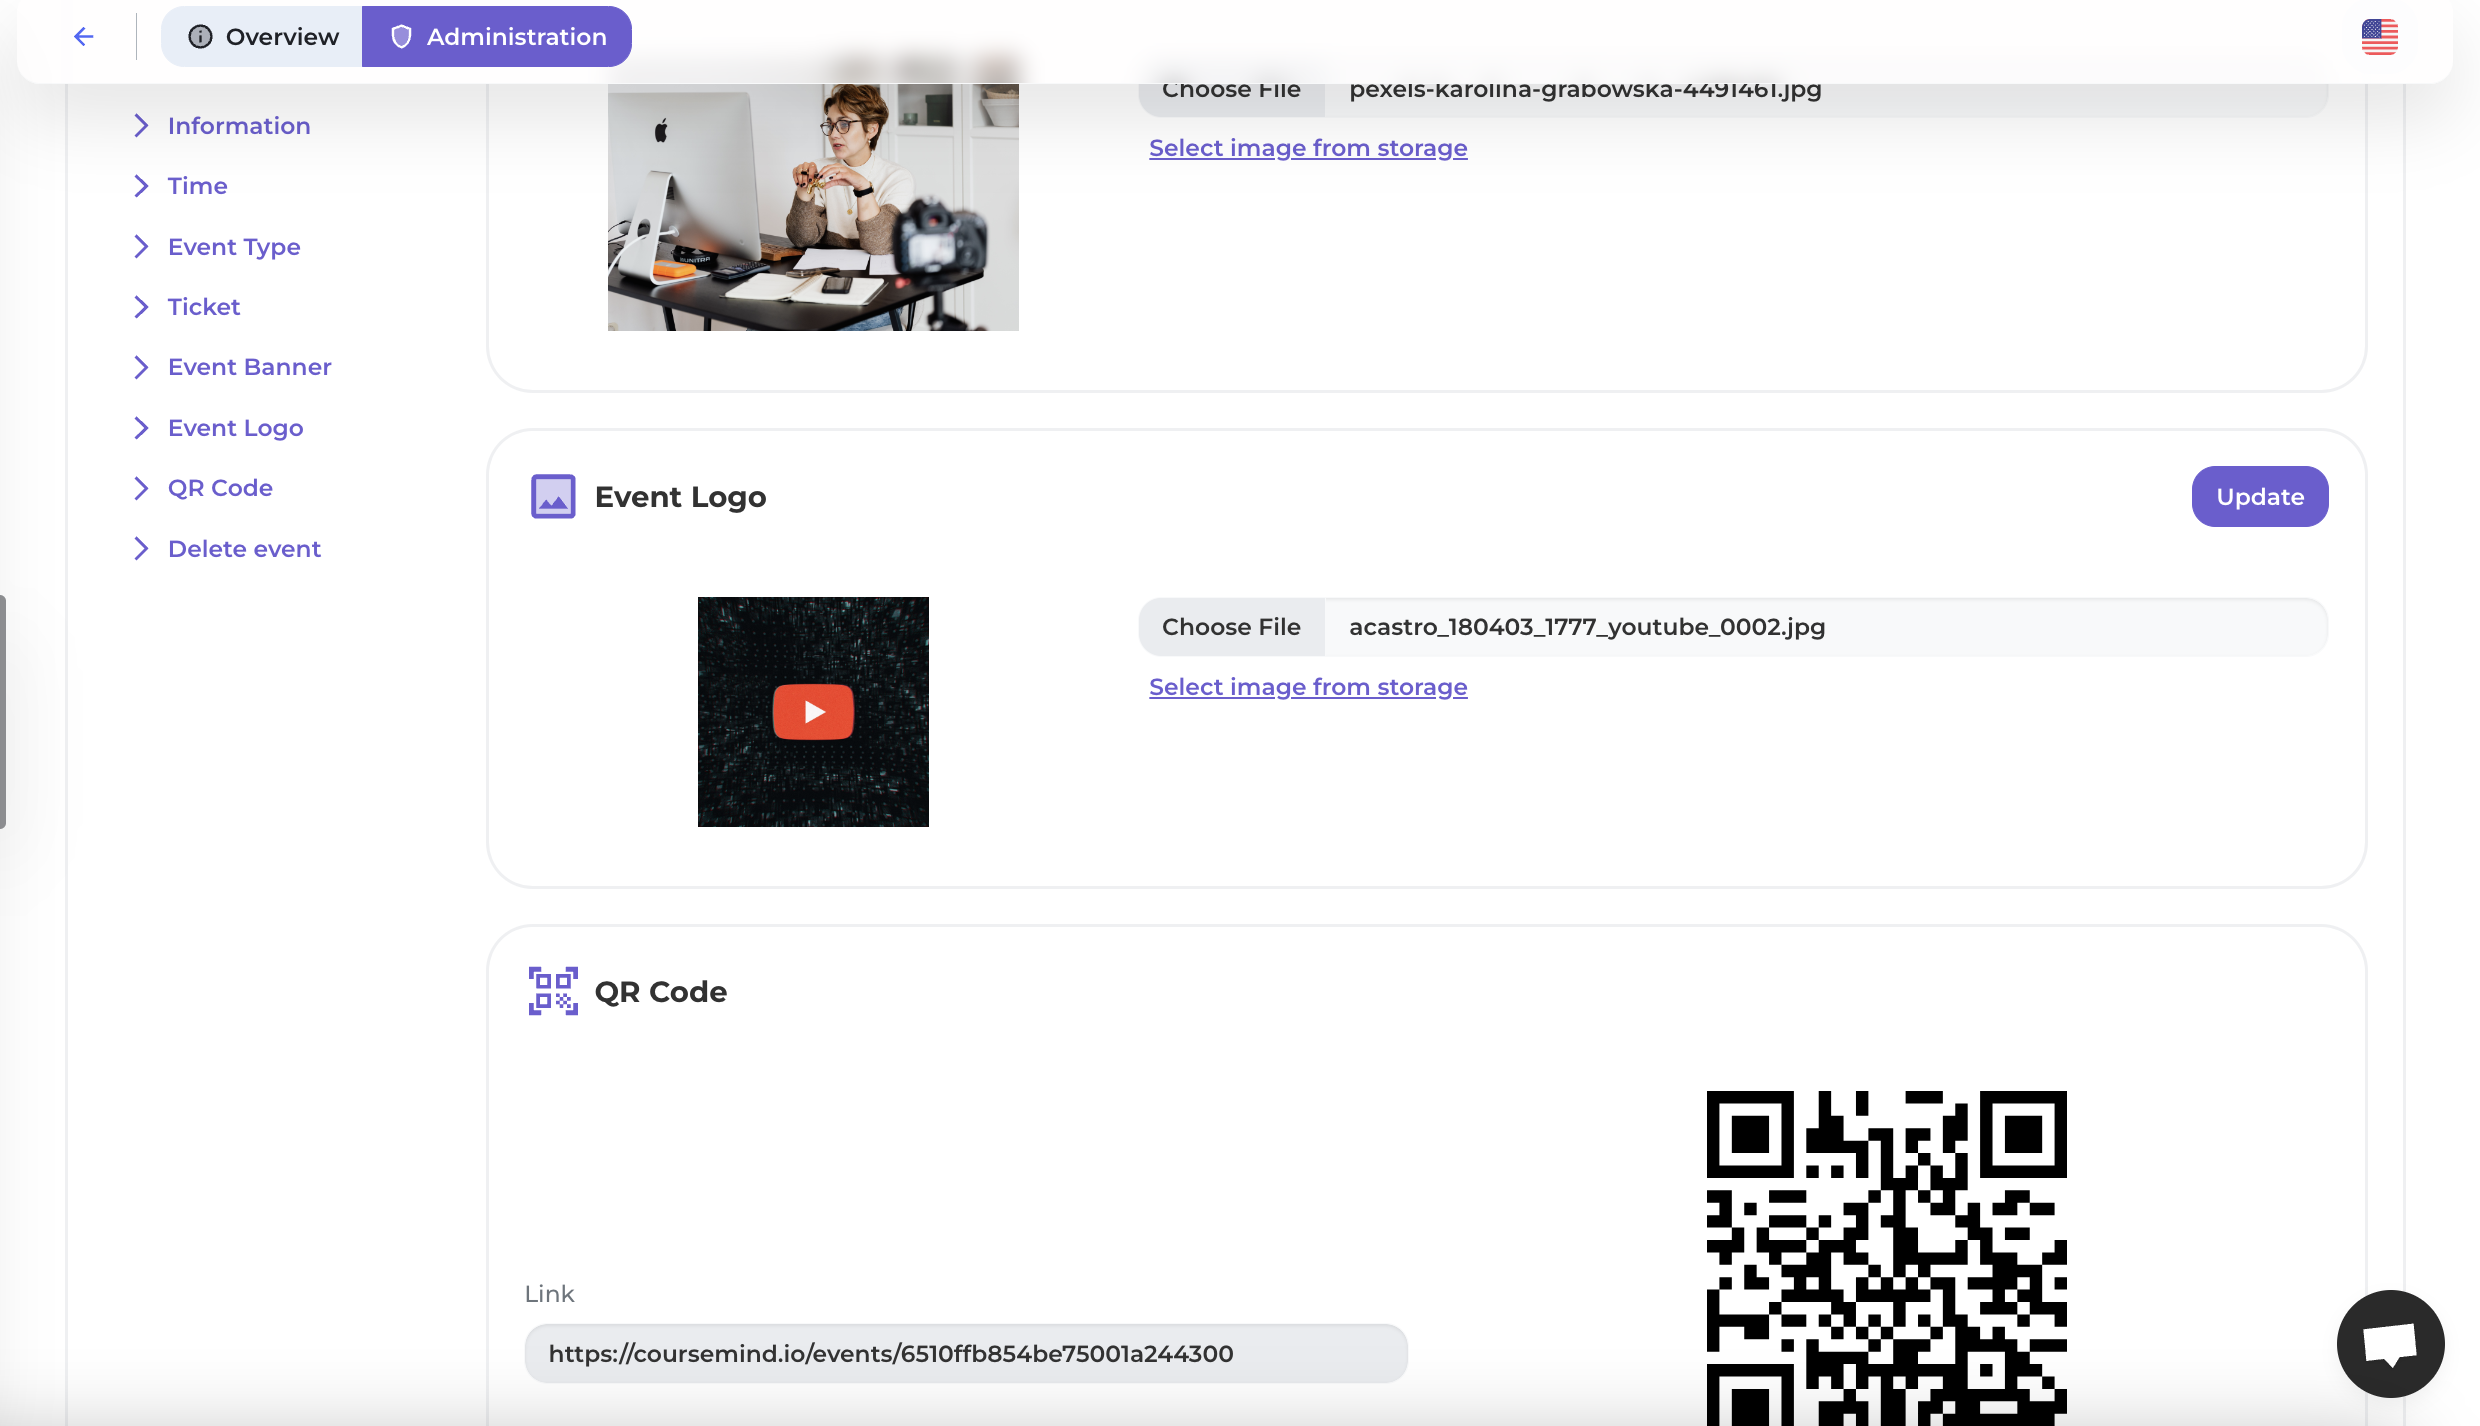
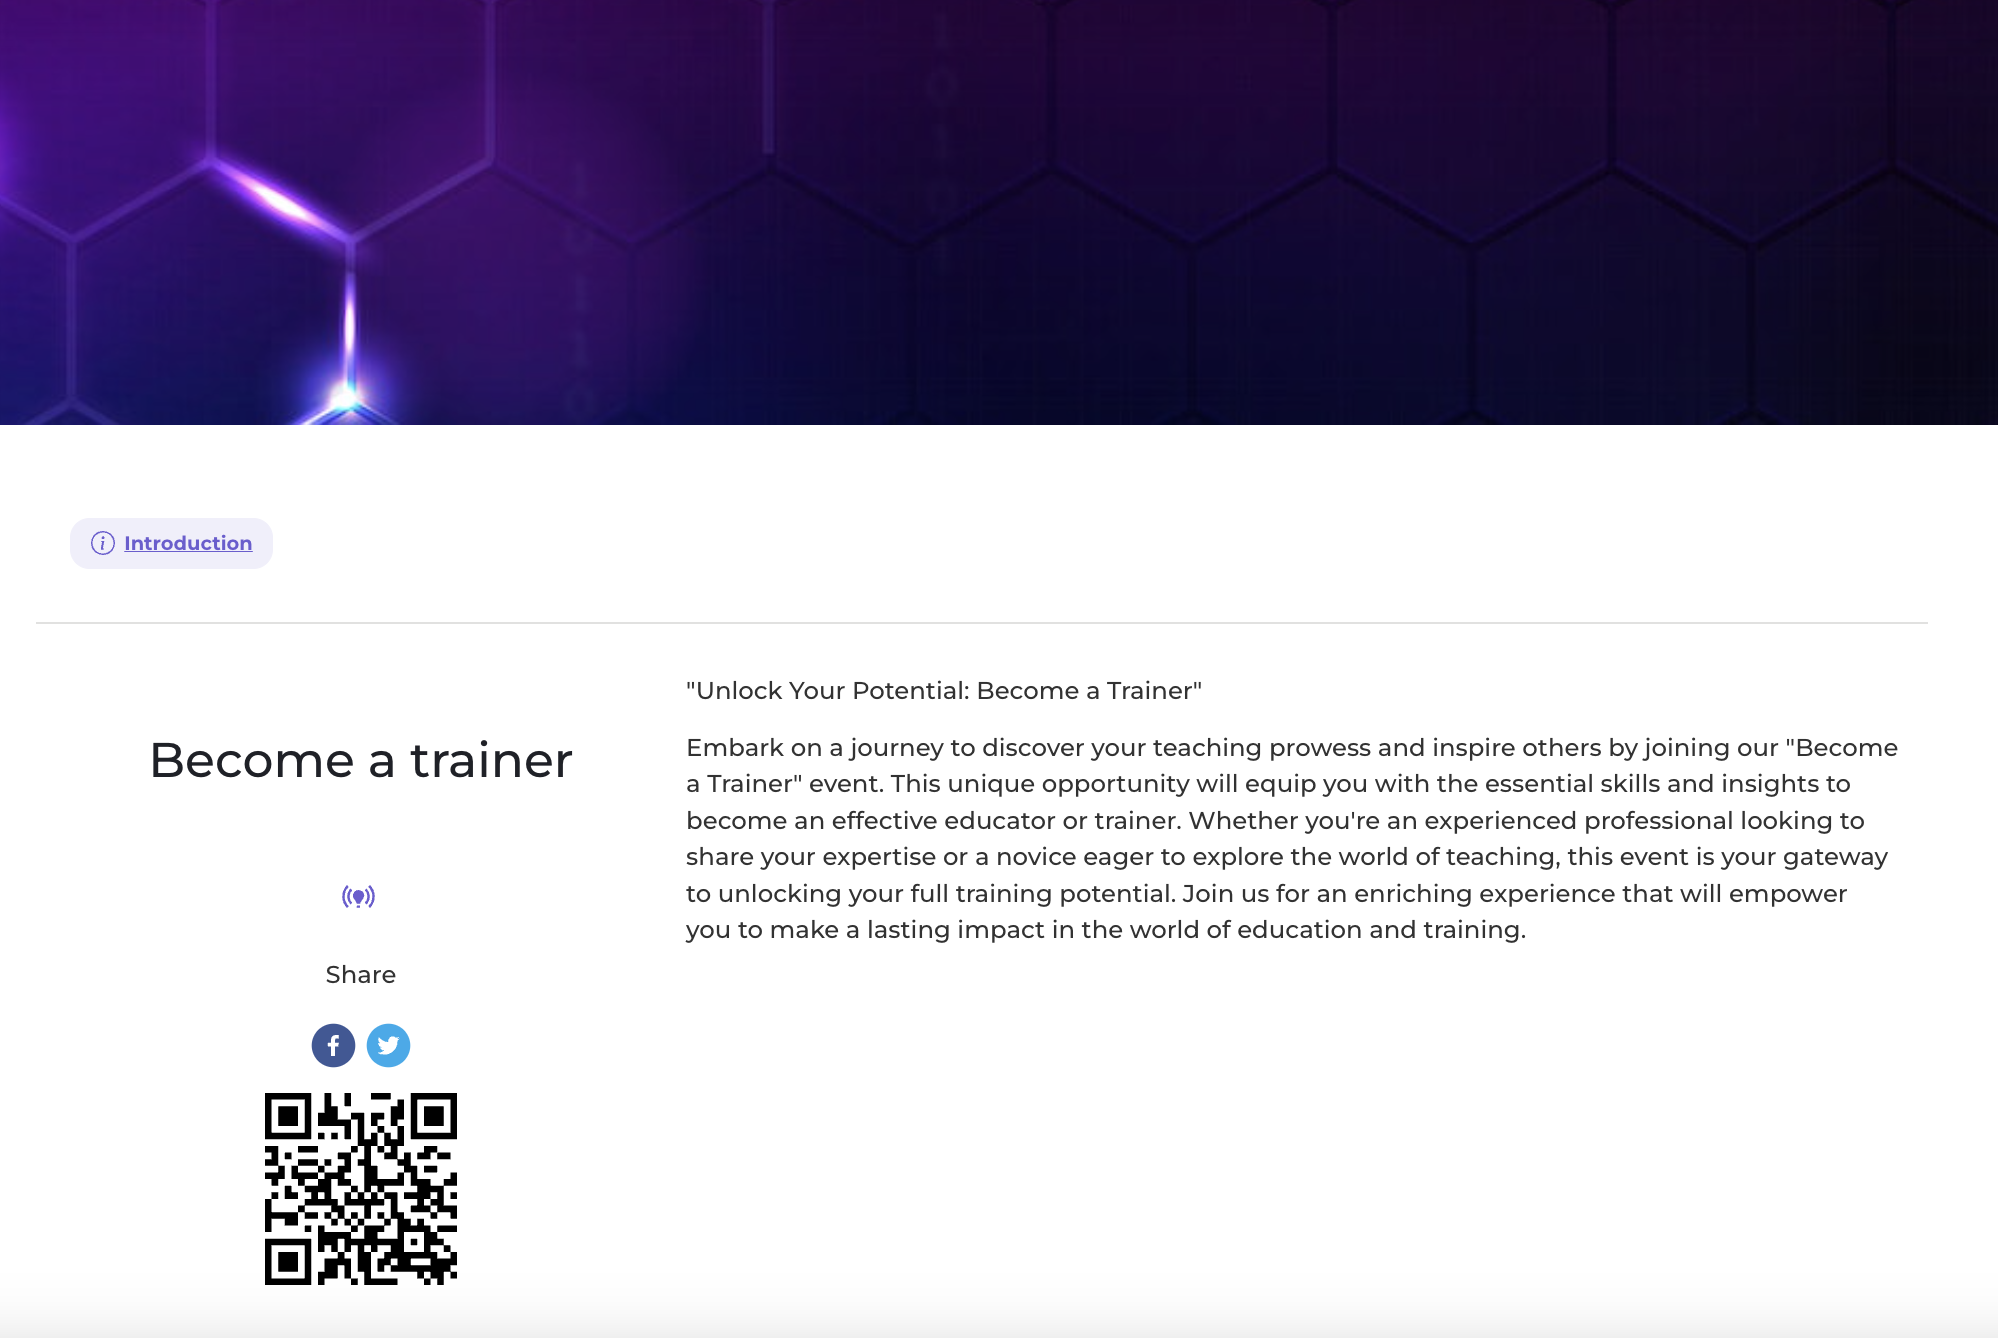
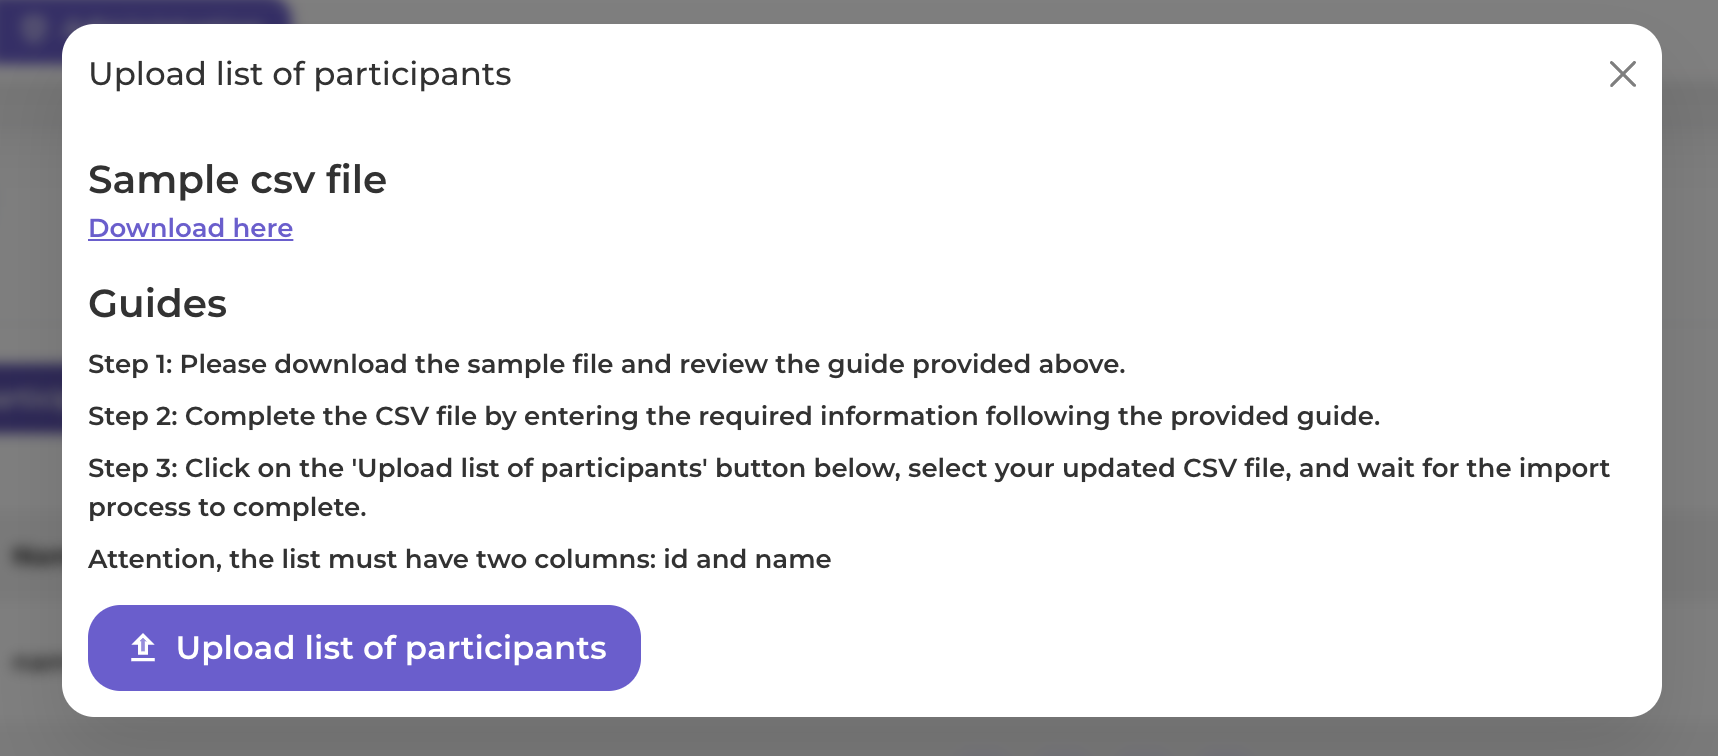
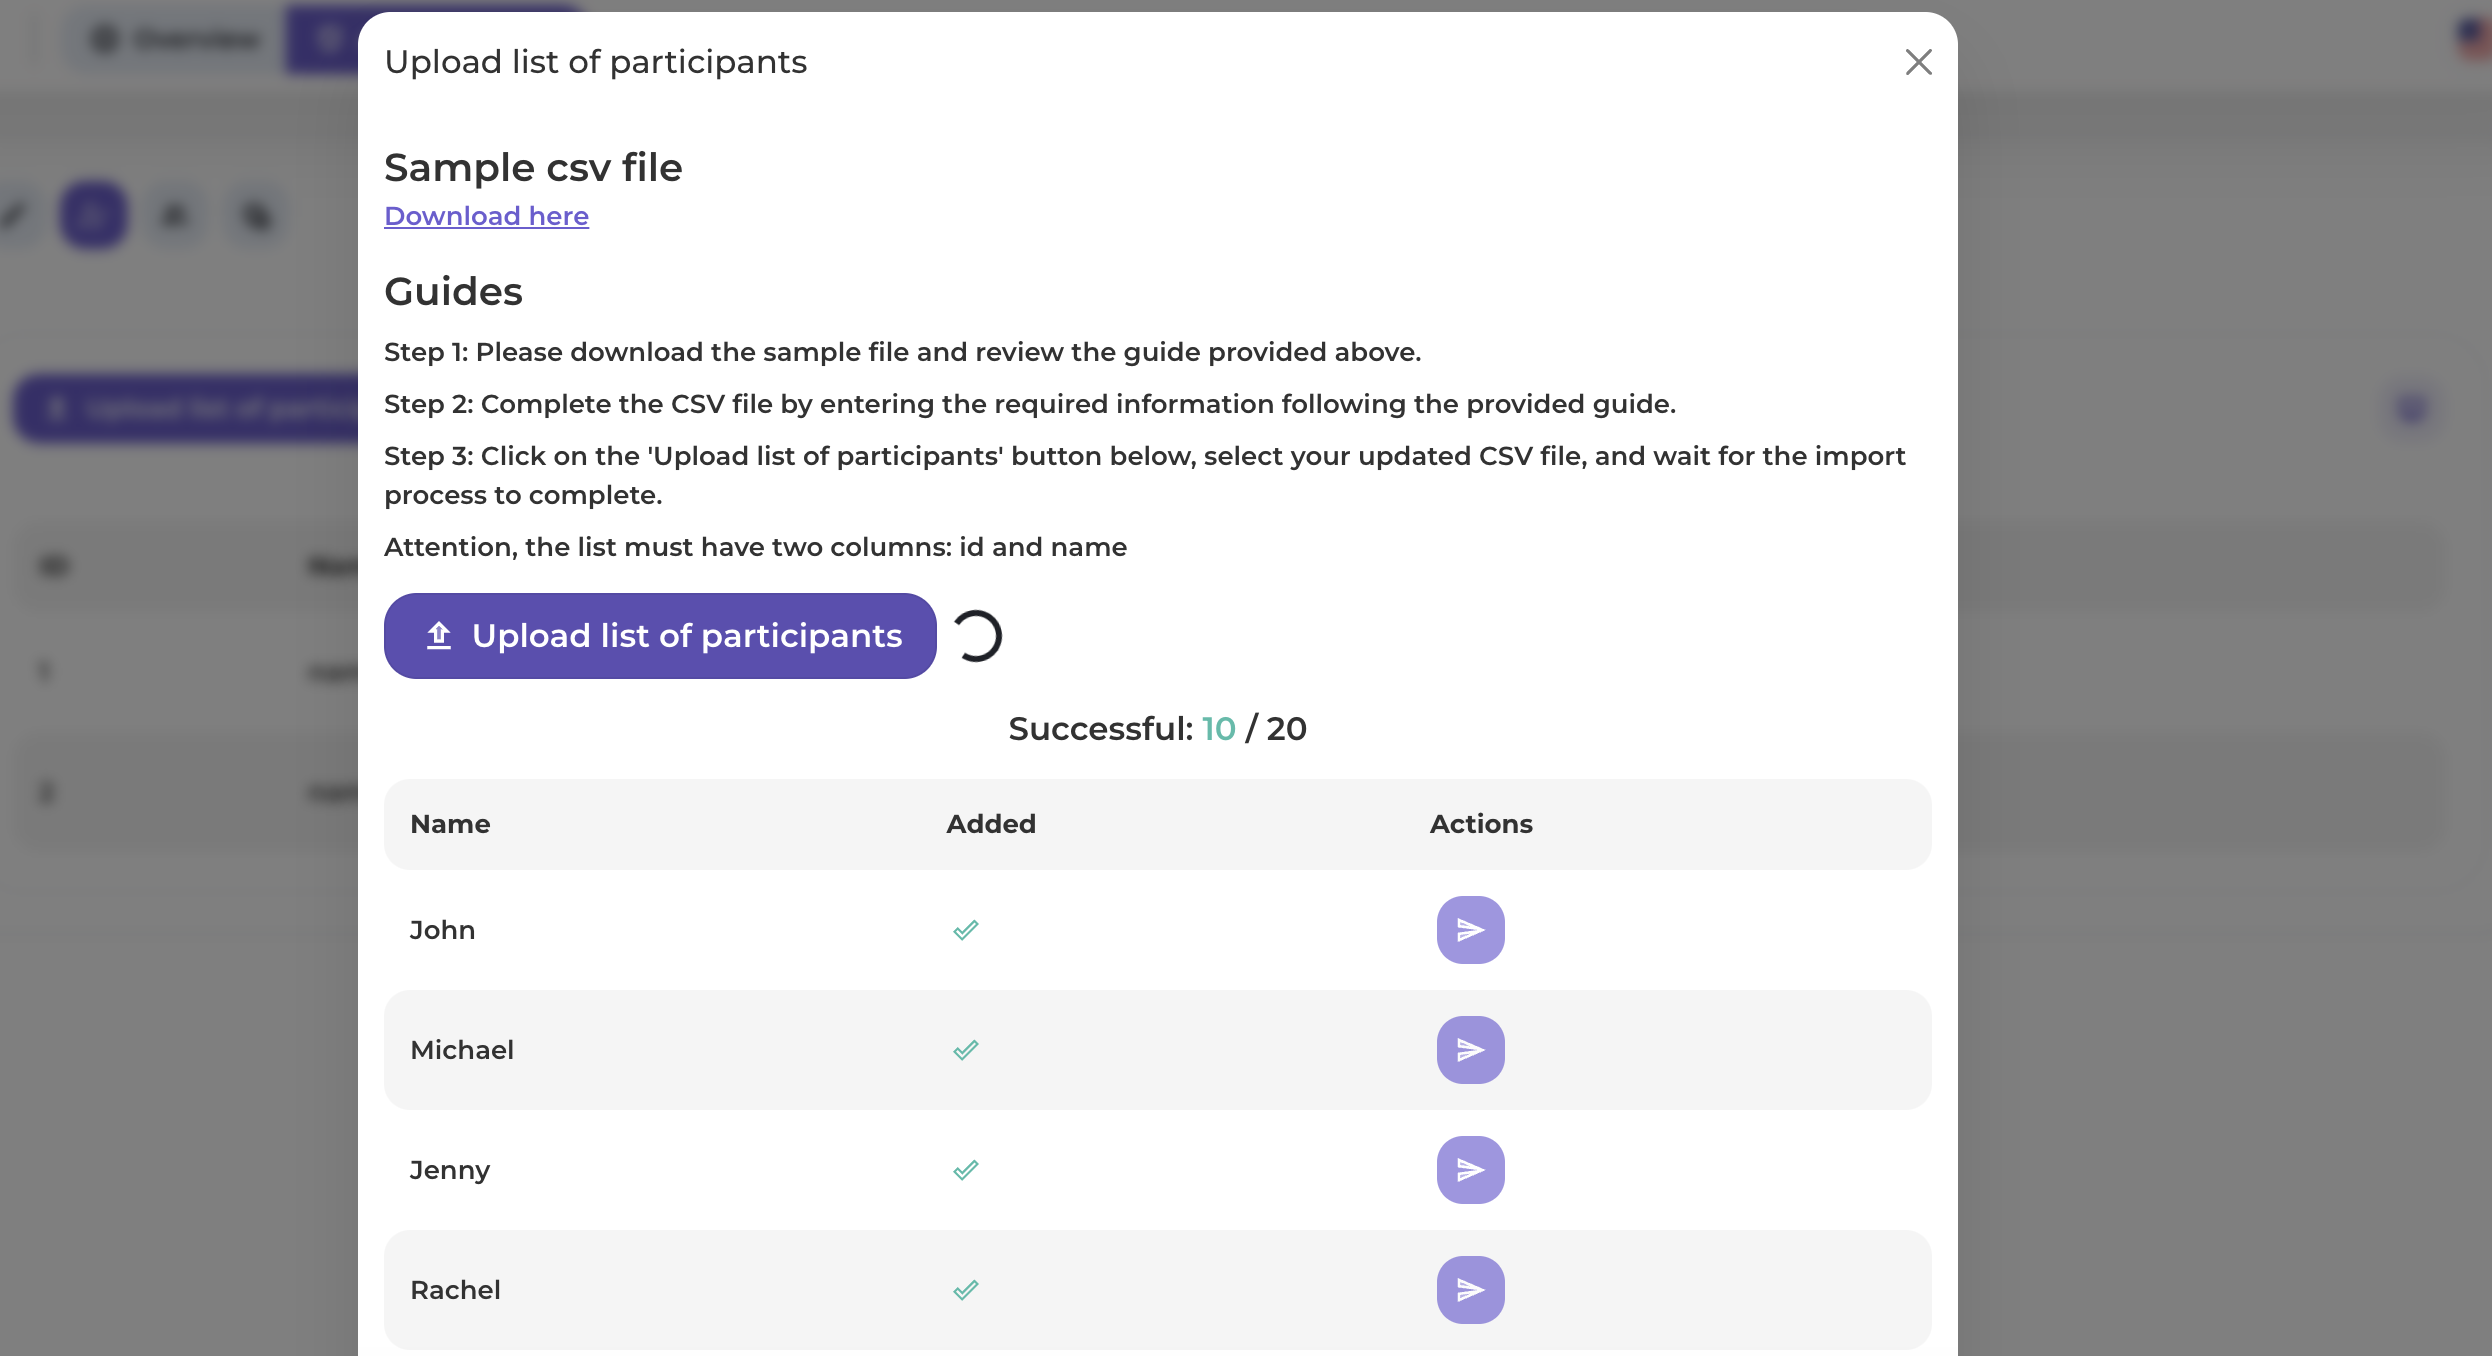
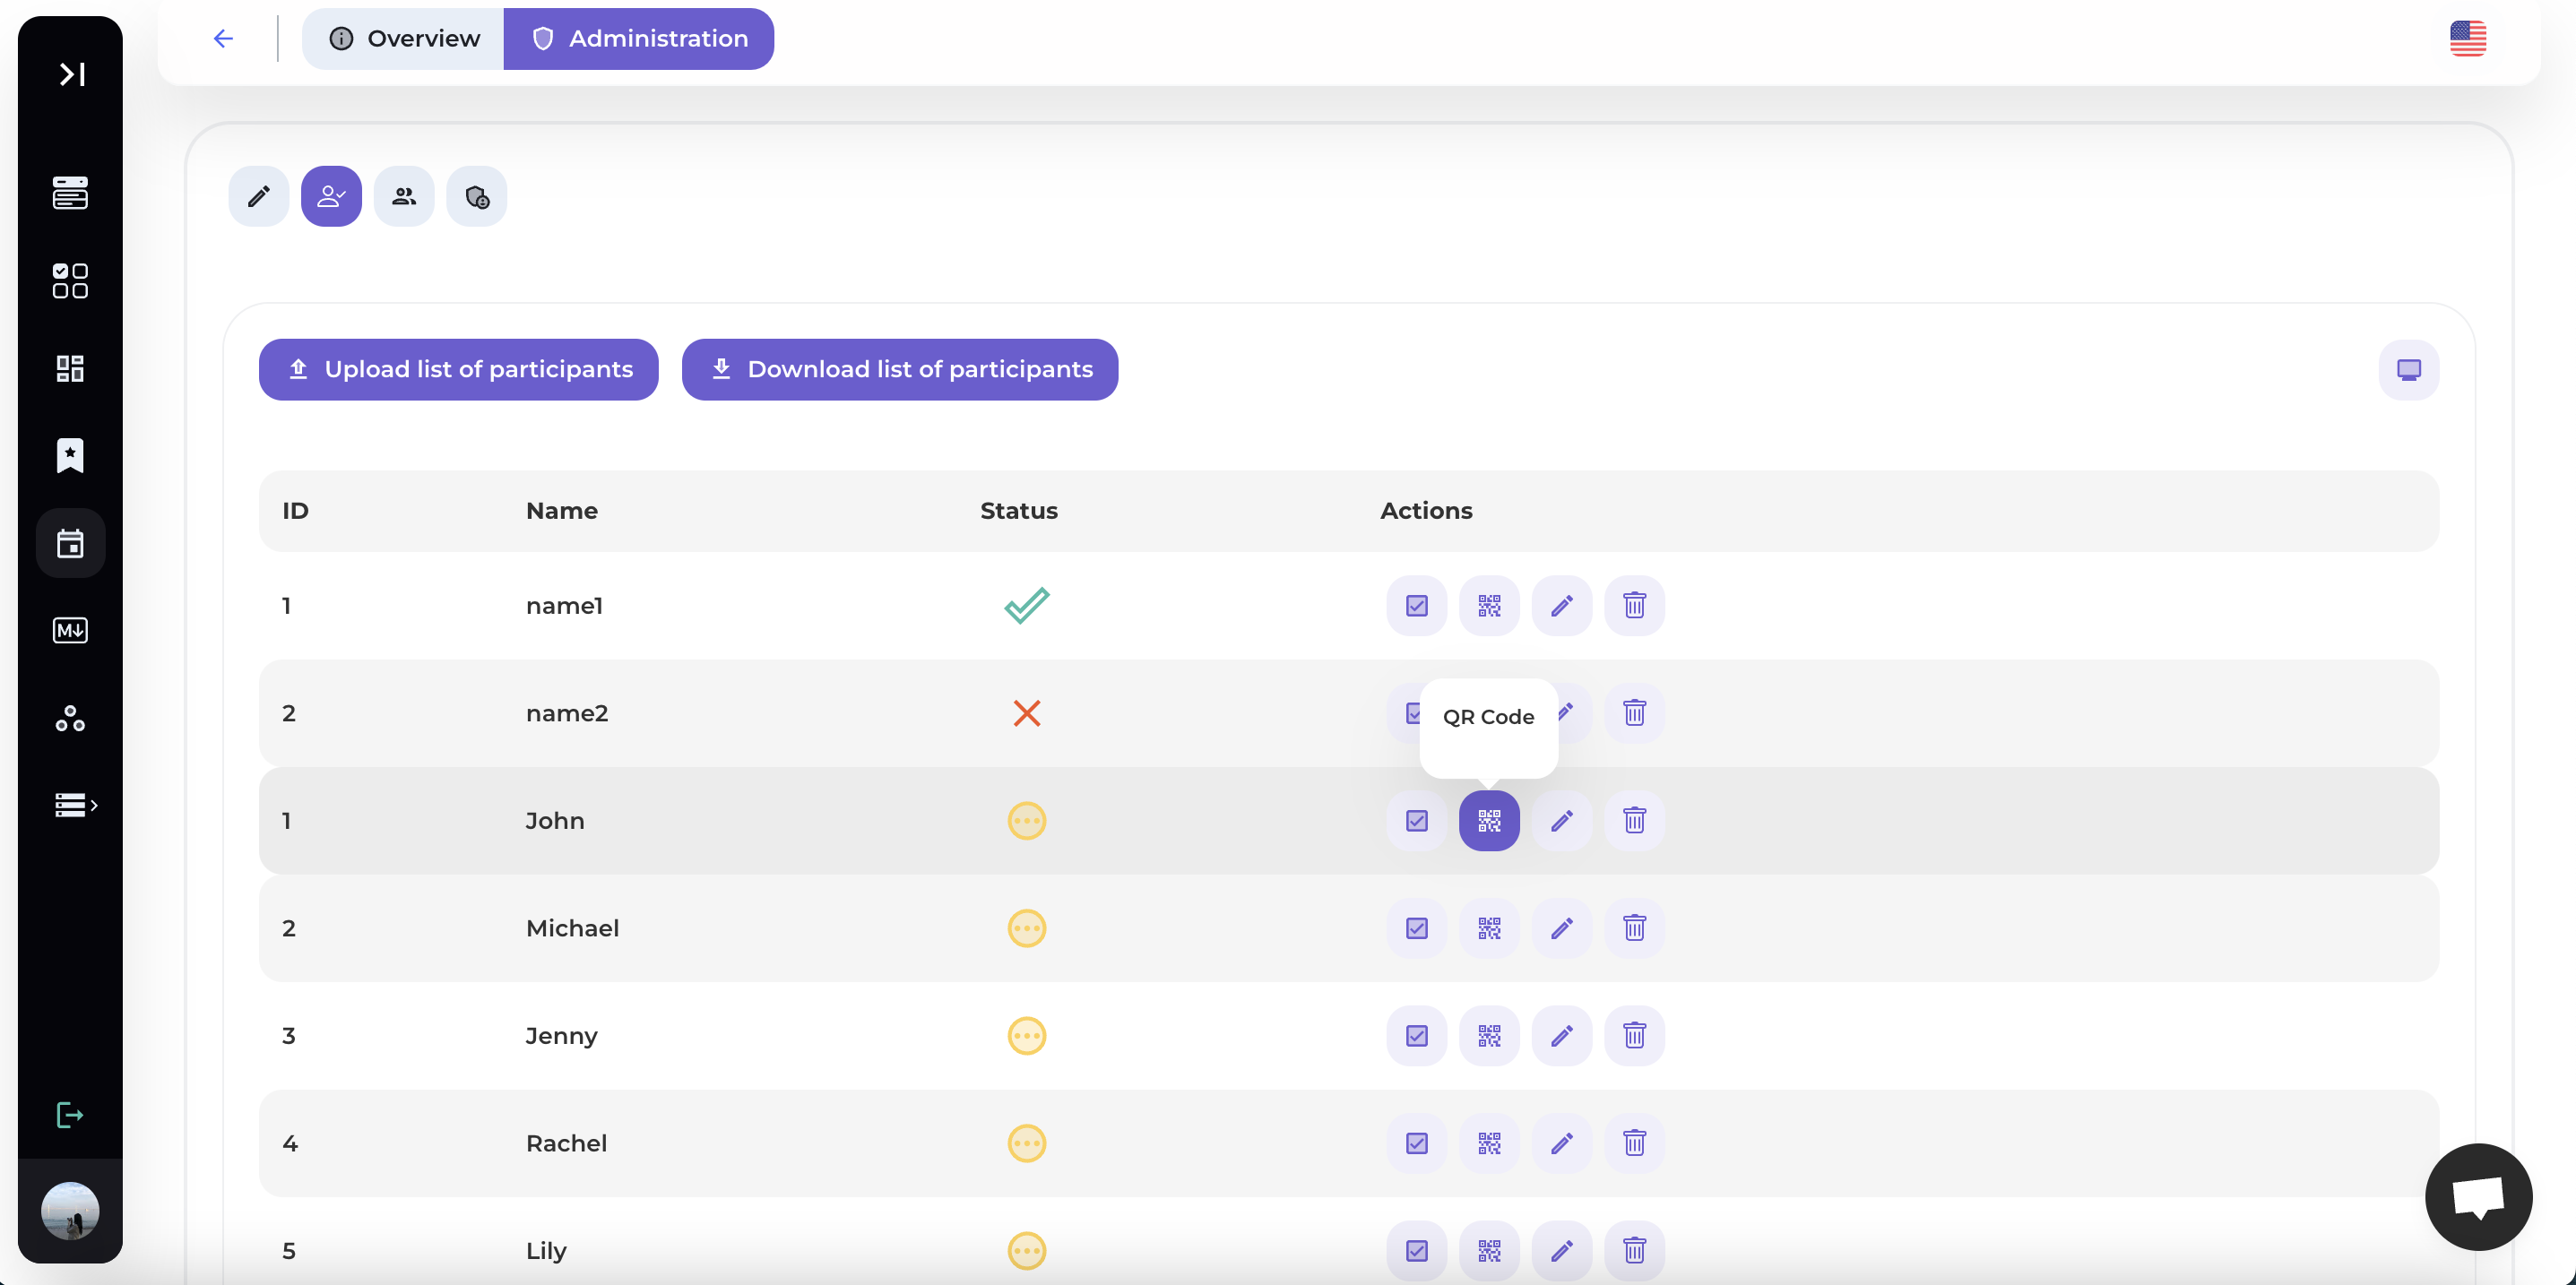
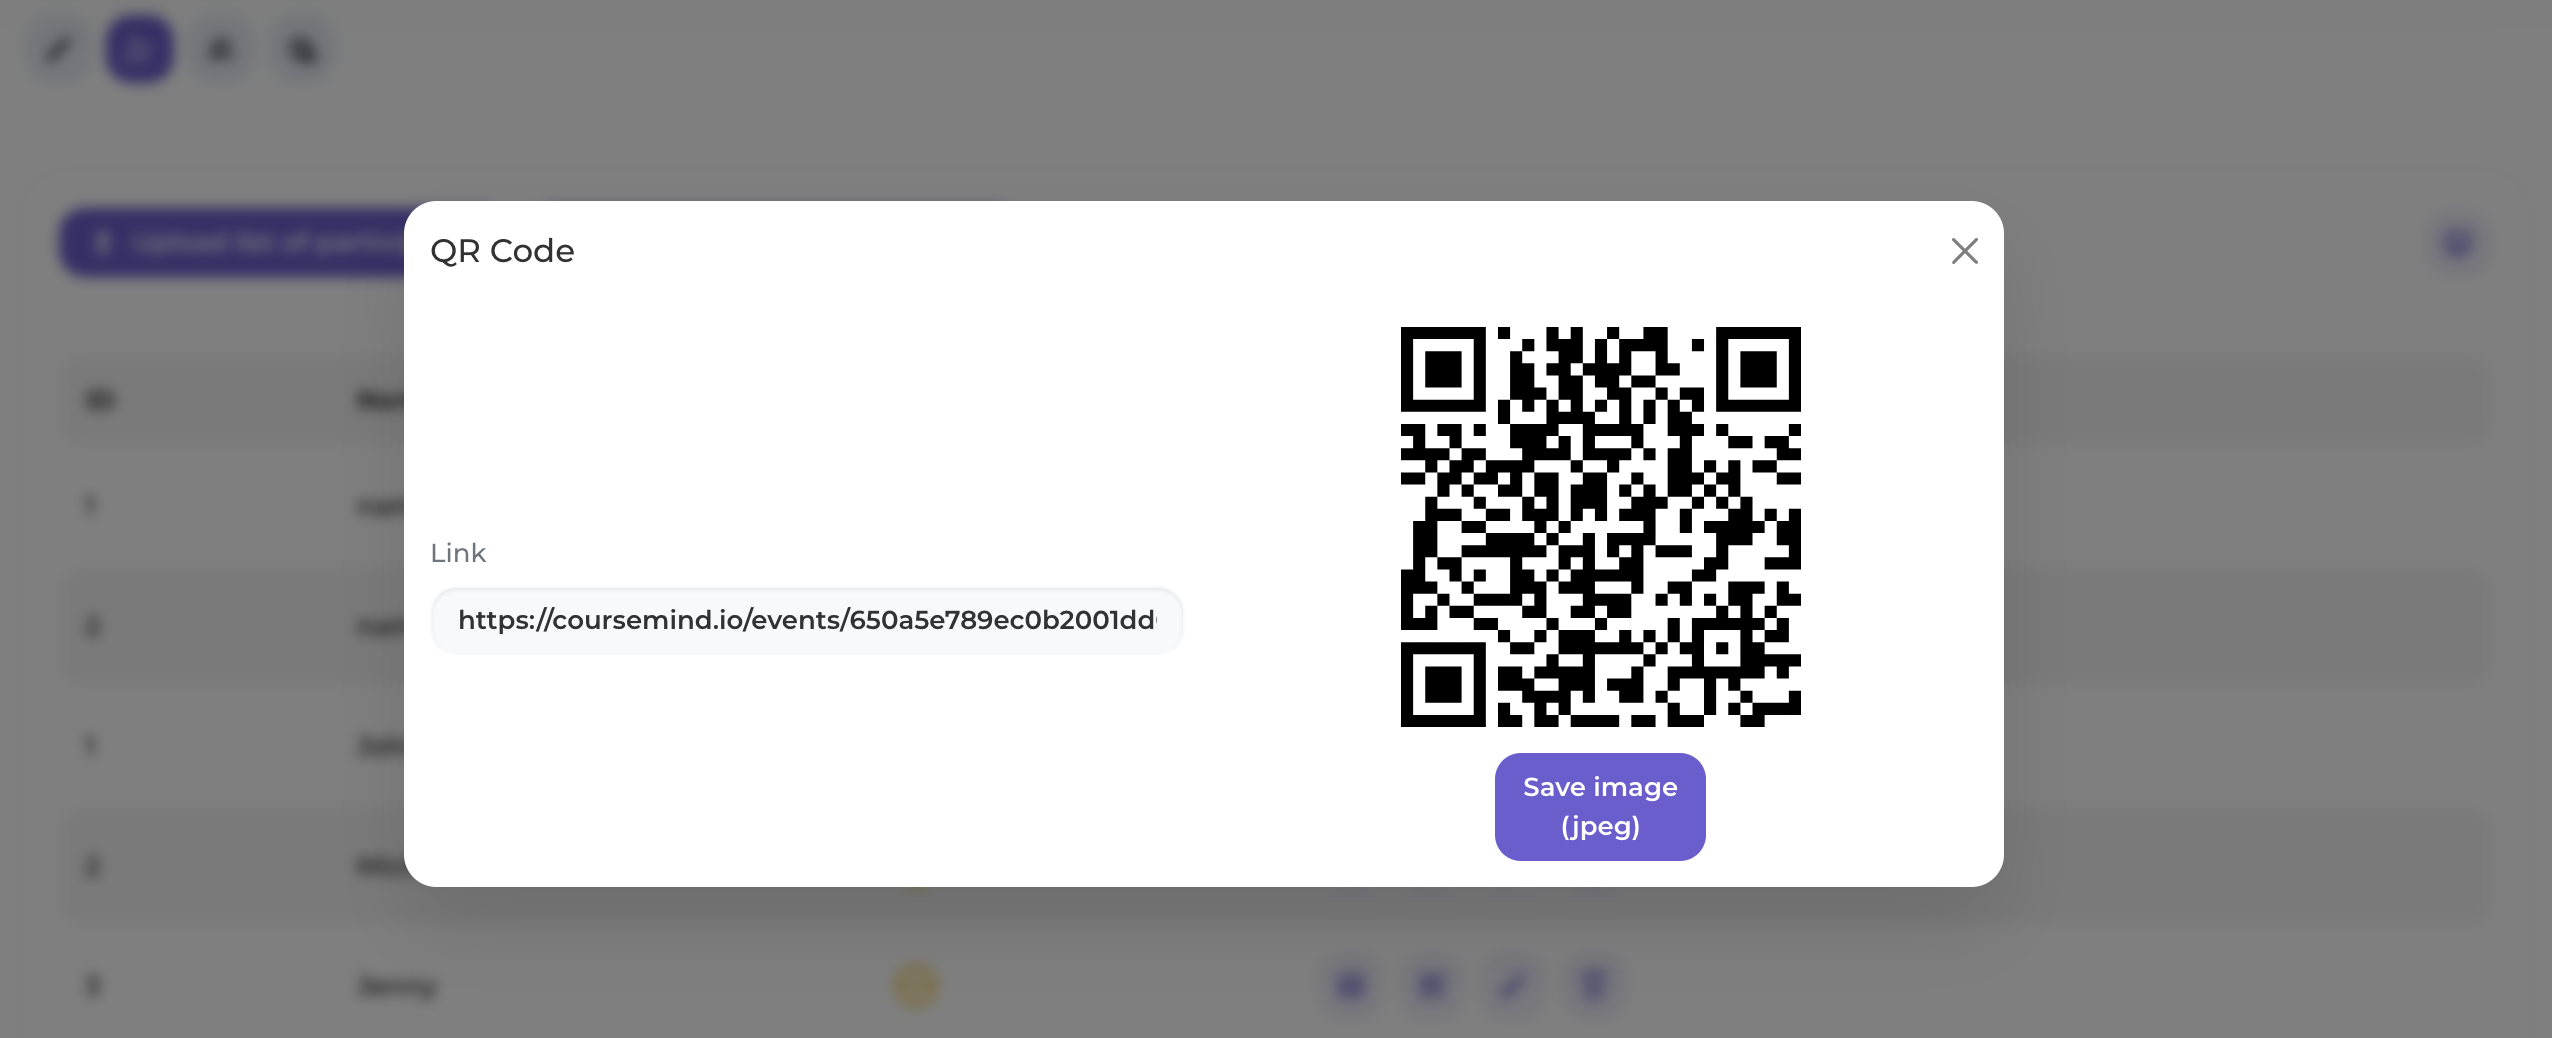
However, the most crucial aspect is that you need to have an ongoing strategy to promote your course and attract new students. Additionally, consider other aspects of business management to ensure the success of your course. Nowadays, most platforms provide ample support for course promotion, including features like detailed information, QR codes, events, discount codes, and more. So, there's no need to worry too much if you don't have much marketing experience.

Starting the journey of creating a profitable online course tailored to you

Teaching a subject you are passionate about and knowledgeable in opens up numerous fantastic opportunities for personal and career growth. It also allows you to build a personal brand, share values, and connect with people from all around the world every day!

Now that you have an overview of how to create and market a valuable online course to grow your target audience and generate passive income, let's take the next step and begin the practice, laying the first bricks for this journey.

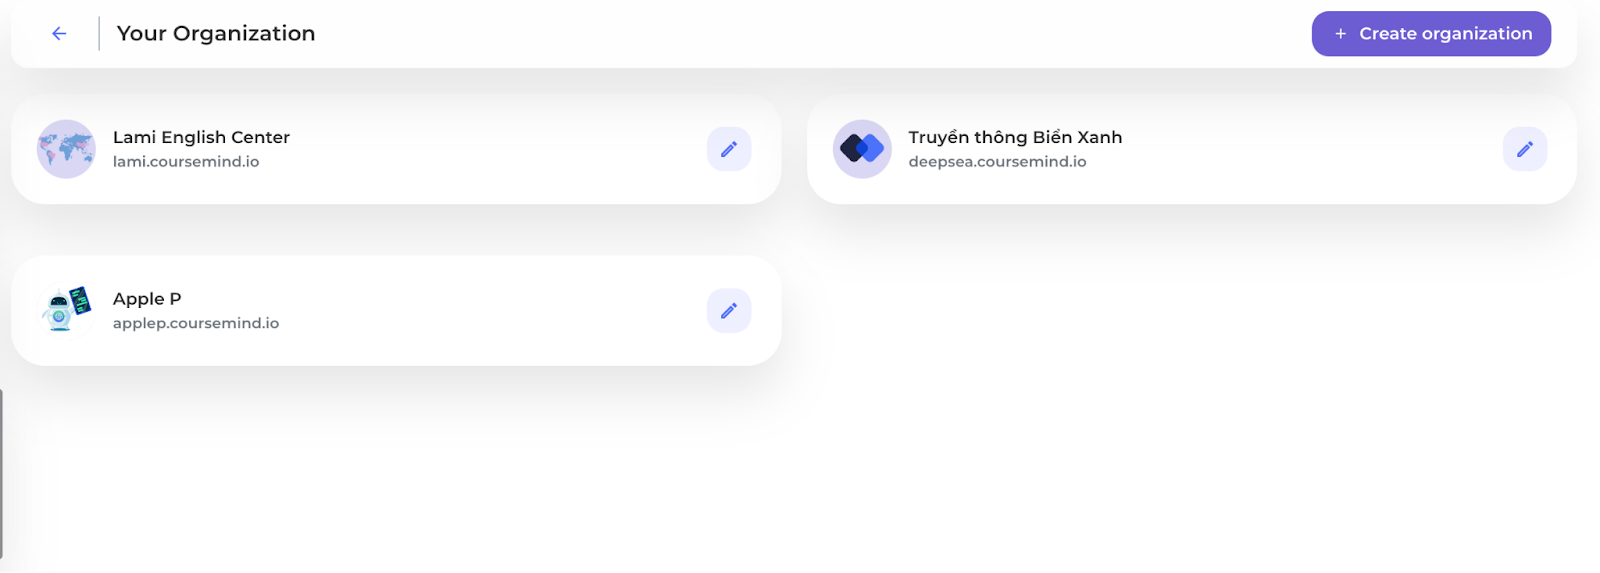
CourseMind has supported many customers in creating online courses, building and developing their businesses on the platform. With deep insights into customer needs and an understanding of learners' desires, CourseMind has developed necessary, user-friendly, and effective features to help educators create and sell courses on their websites easily and optimally. Check out how a course is created and becomes a source of revenue on CourseMind.

1 - Register for a free 2-month trial at: https://coursemind.io/?lang=en

i7

2 - Create an organization (if you have a center or educational institution) and build a landing page for promotion: https://coursemind.io/organization

i8

3 - Create courses using various support tools (over 10 different types of learning materials, user-friendly drag-and-drop interface): https://coursemind.io/?lang=vi

i9

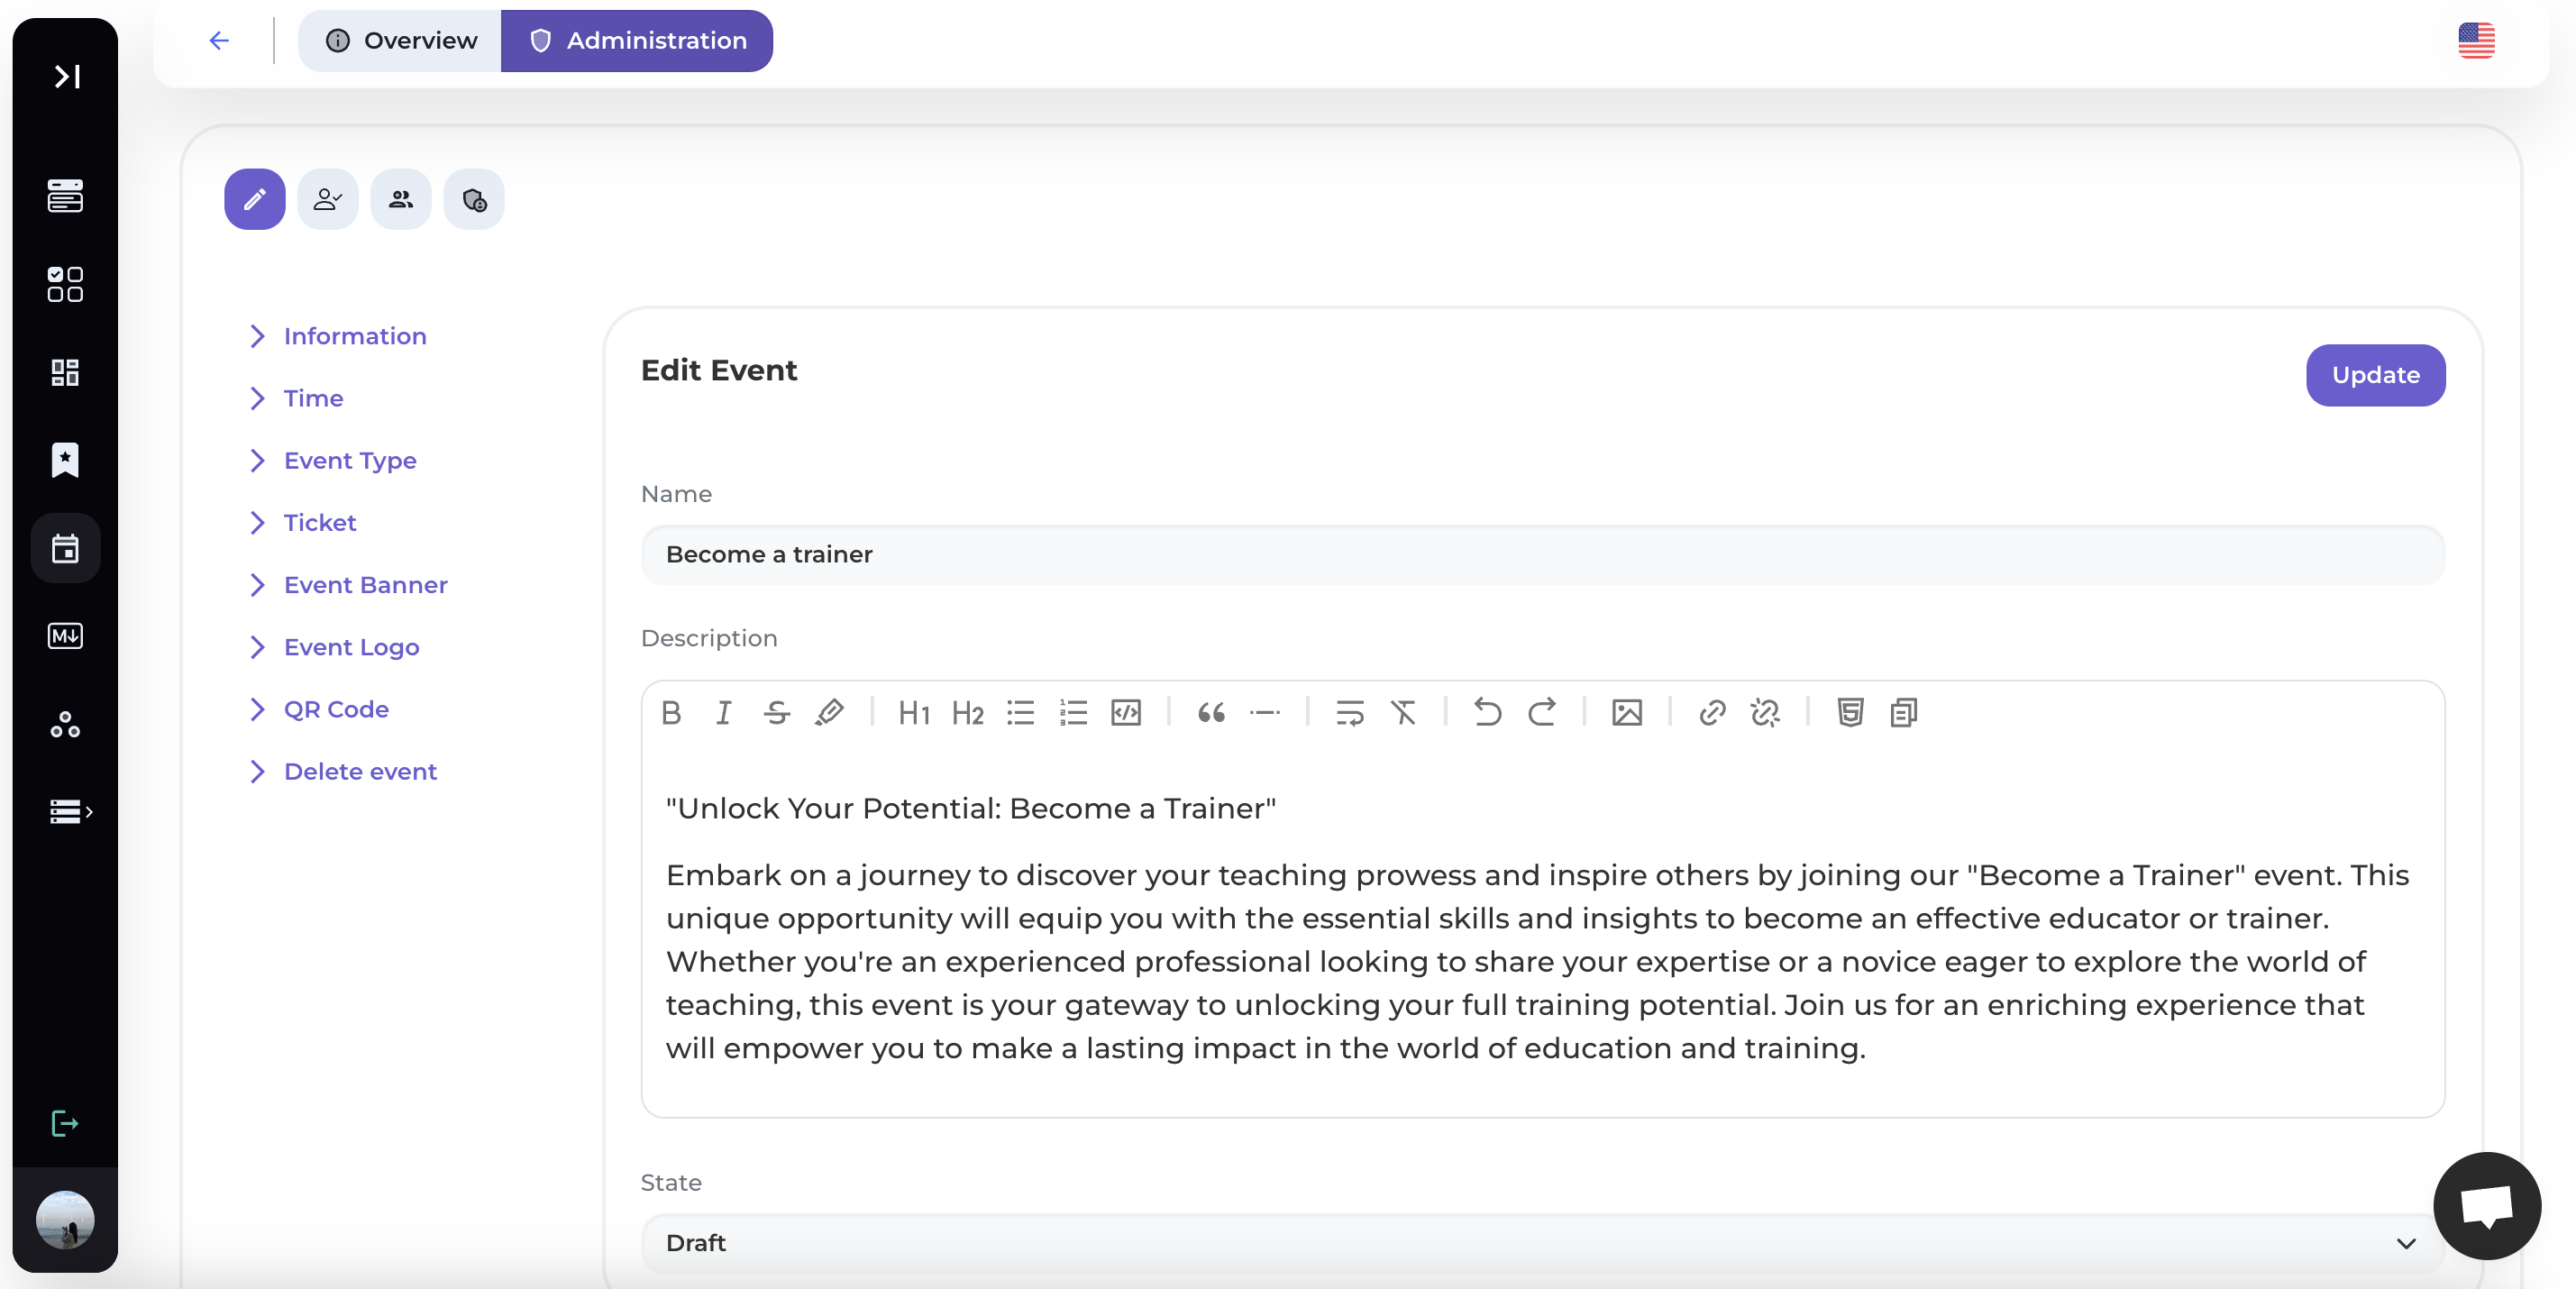
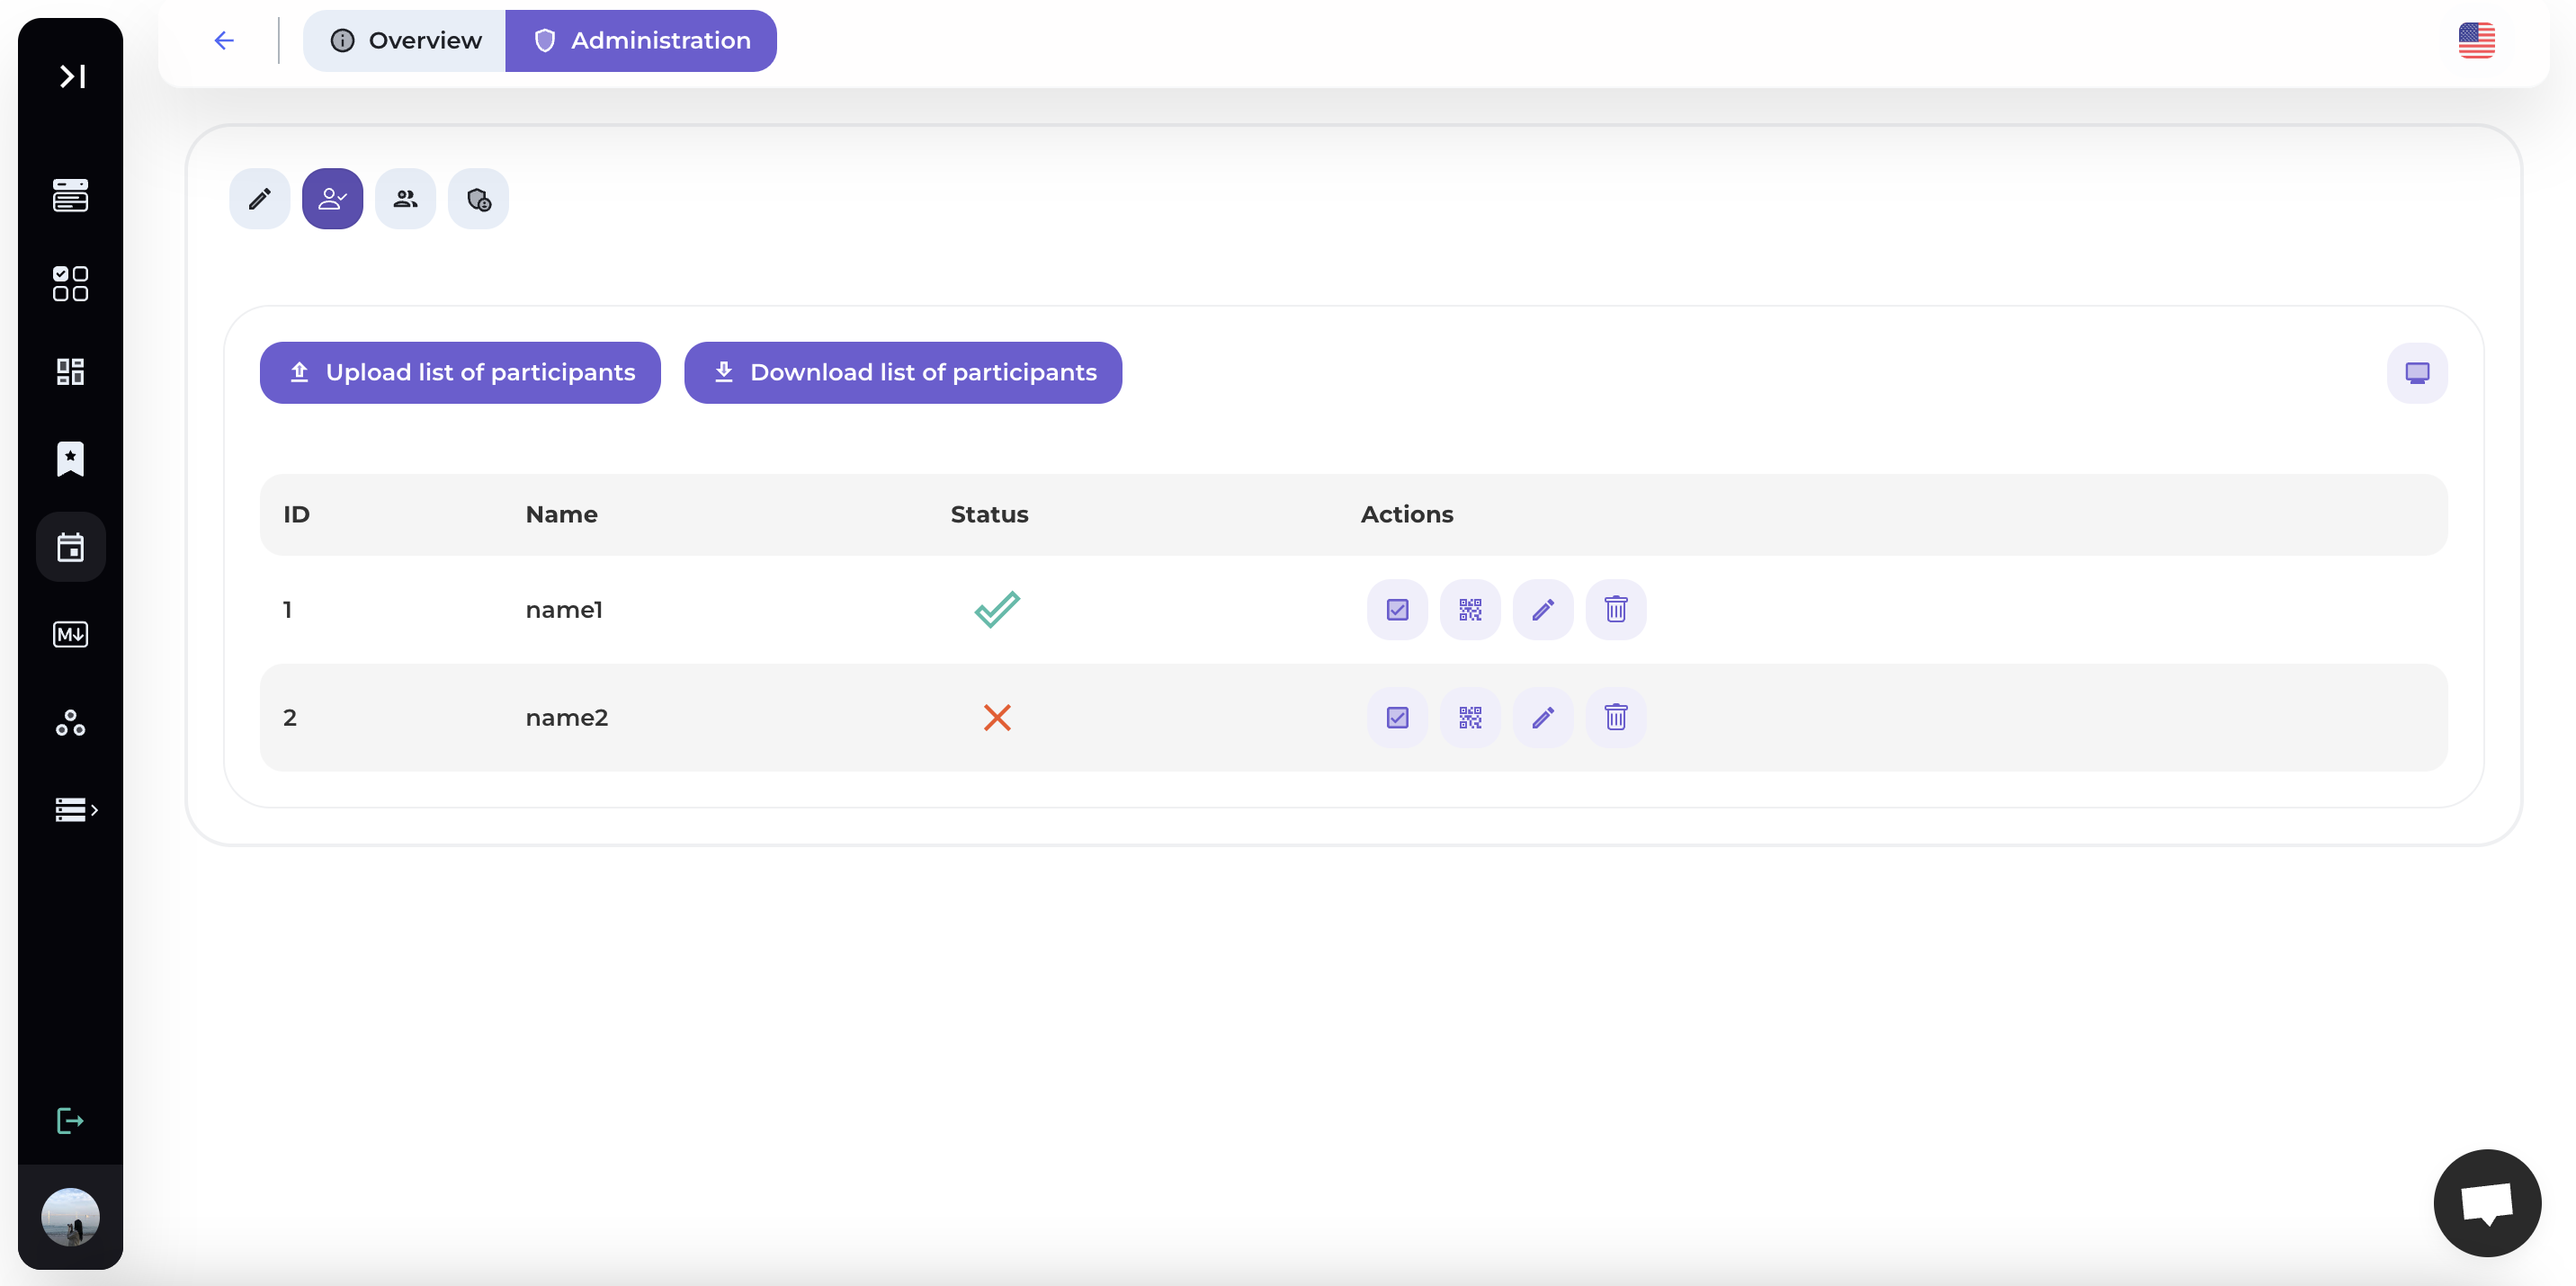
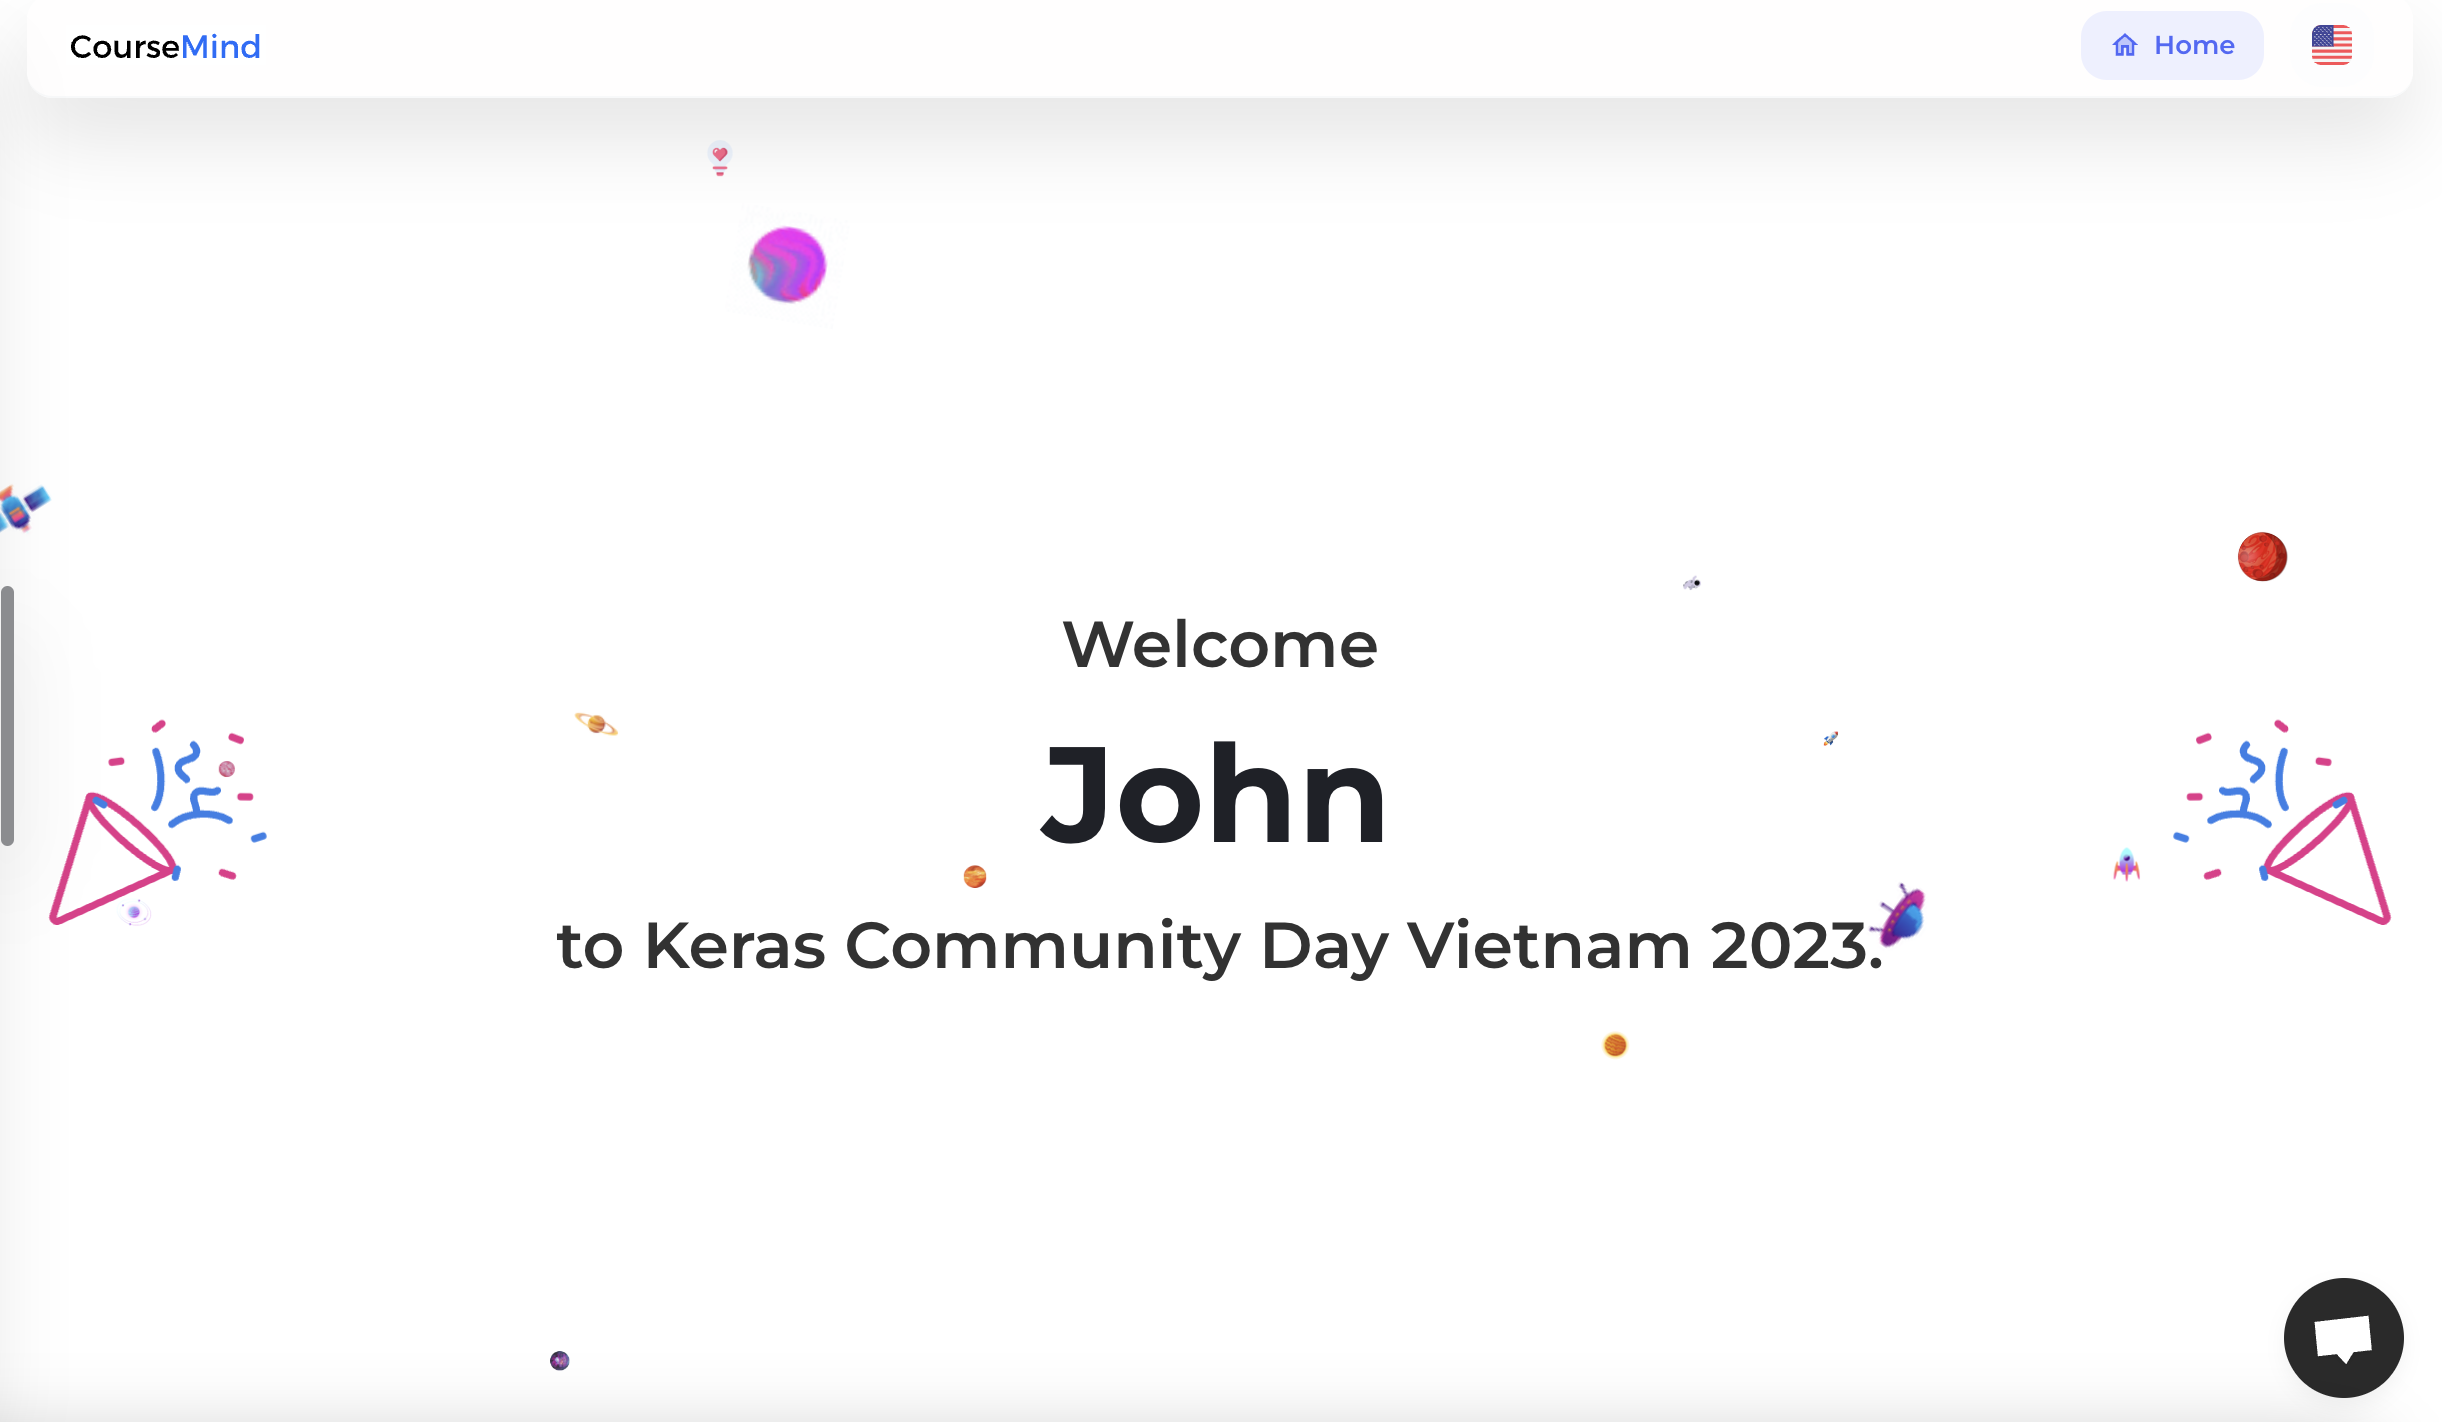
4 - Create events or promotional activities for your course: CourseMind Events

Operate your classes and generate unlimited revenue.

So, you now have a general overview of the necessary activities to create an online course and start a profitable business. Build a plan that suits you and seize the opportunity to start your business. Best of luck!

· 4 min read

If you have to organize an event with a large number of attendees, what do you need to do to ensure that every aspect of the organization runs efficiently? After many years of attending and organizing various events, the CourseMind team has realized that automating this process is a crucial requirement for event organizers.

The feature of checking in via QR Code and displaying a welcoming message on a large screen is a way to make attendees more enthusiastic.

1. Create the event, upload the attendee list.

1.1. You enter the name of the event you want to create.

ce2

1.2. You enter a description for the event.

ce3

Then, you click [Finish] to finish creating the event.

The successfully created event interface will appear as shown below.

ce4

1.3. Event Management

In the Administration tab, you can manage various event details such as:

  • General Information: Name, description, and public status of the event.
  • Time: Set the start and end times for the event.
  • Event Type: Specify whether it's an Online or Offline event with the corresponding link.
  • Ticket: Provide a link for ticket sales.
  • Event Banner.
  • Event Logo.
  • QR Code: The event's QR code.
  • Delete the event.

ee3

After setting up the event details, below is the screen displaying the event content for registrants:

event-step-5

2. Upload the Check-in List & Generate QR Codes

Select the "Administration" option from the toolbar.

ee2

In the Administration section, access the Check-in section.

cce1

Here, you can upload the attendee list for check-in.

Click on Upload list of participants

cce2

You should pay attention to the instructions on how to create this participant list file when uploading.

cce3

Currently, the platform supports uploading files in CSV format. To obtain this file, you can export it from Google Sheets or Excel as shown below. The list should include the following columns:

  • id: To uniquely identify each attendee.
  • name: The name of the attendee.

cce4

Below is an example of a list created using Google Sheets. You can download this list in CSV format.

cce5

In the event management screen, you upload the file you just exported to the system.

The system will automatically add participants one by one.

cce6

After the system has added all the attendees, each person will be assigned a corresponding QR Code. You can use this code to send to their email.

cce7

Display the QR code for a specific participant.

cce8

3. Automatic Check-in at Event

To check-in at the event, you need to use a phone that can scan QR codes through a photo capture app or you can install some QR code scanning software.

You need to make sure you have successfully logged into the CourseMind system on the web interface that opens when scanning the QR code.

cce9

This login process occurs only once.

The screen will display when you successfully scan the QR code.

cce10

4. The Welcome Screen for Participants

One of the ways to make participants feel excited when participating in your event is to display a welcome message on a large screen during check-in.

You can display this screen on a monitor using the screen button located in the upper right corner.

cce11

This check-in screen will update in real-time every time an attendee successfully checks in.

cce12

With this tool, you can ensure that the event participation process becomes swift and creates a professional impression for attendees. As a result, the image of your company/organization will be enhanced.

Wishing you effective utilization of this feature on the [CourseMind platform].(https://coursemind.io/).

· 5 min read

In the current digital era, the utilization of technology to elevate the standard of education and foster interaction with students has emerged as an inevitable trend. One pivotal tool that educational institutions and businesses employ to enhance the student experience is the QR code (Quick Response code). In this article, we will delve into the potential of QR codes and explore their intelligent application within the realm of educational content business.

i1

1. Promoting Courses - QR Codes are the Key

Are you looking to attract new students? QR codes provide the solution.

With QR codes, you can create an "information card" containing all the details about your course - from the curriculum to tuition fees and class schedules. This makes it easy for you to integrate this information into all your advertising campaigns: from printed materials, posters, or even on your website. Potential students only need to scan the QR code once with their mobile phones to access detailed course information, enabling them to make enrollment decisions conveniently and swiftly.

With free QR codes directly linked within your classes, attracting students becomes significantly more convenient and straightforward. Sample course links using QR codes.

i5

2. Event Organization - Expanding Connectivity Opportunities

Educational events offer a splendid opportunity for direct interaction with students and the dissemination of your content.

QR codes can be judiciously integrated into event management. You can generate QR codes containing event program details, schedules, and participation guidelines. Invited guests and students need only scan the QR code to access all the requisite information, ranging from event registration to monitoring discussions throughout the event. Notably, with links to course materials or documents incorporated into your presentations, QR codes emerge as the ideal solution for facilitating immediate access and interaction during those moments.

Nonetheless, have you ever been concerned about your QR codes expiring before the event or displaying advertisements after only a few scans? Or perhaps each event incurs a rather substantial expense in creating QR codes for every participant's use. These considerations may have preoccupied your thoughts for some time, but fear not; you can now generate QR codes for unrestricted use before, during, and after your events or presentations, whether they are conducted online or offline. Sample slide links provided here.

i6

3. Email Correspondence - Time Efficiency and Enhanced Interaction

The utilization of QR codes for the purpose of sending notifications and educational materials via email has now become markedly more straightforward.

It is now possible to generate QR codes that contain links to learning resources, online lectures, or guidelines for participating in online classes. Thanks to these QR codes, students need only scan them to access the desired content, obviating the need to sift through their email inboxes. This streamlines interaction and conserves time for both educators and students.

With an inexhaustible source of freely generated QR codes, coupled with an automated email system for course participants, you can effortlessly create QR codes and dispatch emails to students, thereby intensifying engagement and enticing a greater number of participants to enroll in your courses.

Several scenarios in which you may consider dispatching emails accompanied by QR codes encompass the following:

  • Promotional emails for courses, featuring QR codes that direct recipients to the respective course pages.
  • Discount-related emails, furnished with QR codes to facilitate course registration and payment.
  • Email communications concerning updates to course materials, furnished with QR codes for direct access.
  • Emails outlining the course curriculum, complete with QR codes that lead to the curriculum's landing page.
  • Communications concerning community activities within the class, wherein QR codes may be employed for efficient access.

i8

4. Financial Transactions - Streamlining the Process

In contemporary times, the utilization of QR codes for payments has gained unprecedented popularity. Whether in online or offline contexts, QR codes are progressively emerging as the foremost payment method, bolstered by the widespread support of most banking institutions.

The collection of tuition fees and various other services is rendered exceedingly convenient and straightforward through the employment of QR codes. You can create QR codes containing links to payment gateways or your account details and subsequently transmit them to your students. Their only requirement is to scan the QR code to effectuate swift and hassle-free payments, irrespective of their location, provided they possess an internet connection.

Furthermore, you have the option to effortlessly generate QR codes associated with your account details to facilitate seamless payment reception. This mode of payment is widely regarded as the favored choice among students.

i9

Incorporating QR Codes into Educational Endeavors

Presently, the generation of QR codes has become more accessible than ever before. A myriad of online tools, encompassing both cost-free and premium alternatives, are at your disposal for the facile creation of QR codes. It is imperative to ensure that these codes are tailored to harmonize with your institutional branding and render them readily discernible.

Should you be in search of an enduring QR code generation application, unburdened by concerns regarding fiscal implications or temporal constraints, CourseMind QR Generator emerges as the quintessential selection.

Experience Here: CourseMind QR Generator

i2

  • Input the link

i3

  • Select your QR’s style

i4

  • Select background color and text color

i5

  • Downloading QR Codes: Click "Save image" to automatically save the QR code you've just created.

As you have discerned, QR codes can be effortlessly generated through a few simple and expeditious steps.

They not only serve as a convenient tool but also emerge as a potent ally in the optimization of educational content businesses. They facilitate a transformation in how you connect and interact with your students and effectively promote educational endeavors. Leveraging the prowess of this technology can elevate the caliber of your education, allure students, and enable you to showcase professionalism within the realm of instruction.

· 3 min read

In the present era, QR codes have emerged as a ubiquitous and extensively utilized tool across diverse domains, chiefly owing to their inherent simplicity and efficiency. QR codes serve as versatile instruments, commonly employed for purposes such as storing product information, conveying messages, disseminating documents, bolstering marketing initiatives, facilitating event check-ins, generating Wi-Fi passwords, and even enabling online payment services. In the ensuing discourse, we shall acquaint you with the foremost five online QR code generator websites that are freely accessible, thereby assisting you in expeditiously and effortlessly creating QR codes.

1. ME [QR]

i1

Advantages: ME [QR] offers a wide variety of borders, making it easy to operate and adjust essential tasks. Me QR does not impose limits on the number of QR codes you can create, nor on the duration of access or storage for QR codes.

Disadvantages: After a certain number of scans, your QR code will lead to an advertising link before accessing the official one. This can be inconvenient and may result in customer loss if they are unaware and stop at the advertising section.

To address this issue, you need to purchase a ME QR premium package priced at approximately $8 per month.

Experience here: ME QR

2. QR CODE GENERATOR

i2

Advantages: QR Code Generator is a website for creating QR codes with a simple and user-friendly interface. Similar to Me QR, QR Code Generator also supports various border styles, colors, and allows you to add a logo to your code.

Disadvantages: However, you are required to log in to use it, and your usage will be limited to a certain number of days (approximately 14 days) if you do not subscribe to a paid plan. This can be quite inconvenient as it means you will have to regenerate QR codes regularly.

Experience here: QR CODE Generator

3. QR CODE MONKEY

i3

Advantages: QR Code Monkey offers a variety of border options and makes it easy to perform and customize necessary tasks.

Disadvantages: However, you will need to spend some time watching advertisements while waiting for the QR code to be successfully generated and saved to your device.

Experience here: QR CODE MONKEY

4. COURSEMIND QR GENERATOR

If you are seeking a reliable QR code generator application without concerns about costs or usage time, CourseMind QR Generator is the ideal choice for you.

Advantages: It provides all the features you need, such as logo insertion, color customization, and frame selection, similar to other applications. However, CourseMind QR Generator offers five user-friendly "NO":

  • No need for registration or login
  • No charges (FREE)
  • No expirations (time storage limits)
  • No advertisements
  • No limitations on the number of QR codes you can create.

i4

Experience here: CourseMind QR Generator

5. QR STUFF

i5

Advantages: This is considered a diverse QR code generation website with many useful features. Additionally, you can take advantage of QRStuff's shortened URL service, known as qrs.ly, or customize the QR code's colors to suit your personal preferences.

Disadvantages: However, QR Stuff only offers free creation of up to 10 QR codes. To create more or continue using their service, you will need to subscribe to a paid plan at $12.95 per month.

Experience here: QR Stuff

Above, we have presented and assessed five QR code generator tools, each possessing its own strengths and weaknesses. We trust that you will be able to make an informed choice, selecting the tool that aligns most effectively with your requirements.