Automatic Check-in for Events
If you have to organize an event with a large number of attendees, what do you need to do to ensure that every aspect of the organization runs efficiently? After many years of attending and organizing various events, the CourseMind team realized that automating this process is a crucial requirement for event organizers.
The feature of checking in via QR Code and displaying a welcoming message on a large screen is a way to make attendees more enthusiastic.
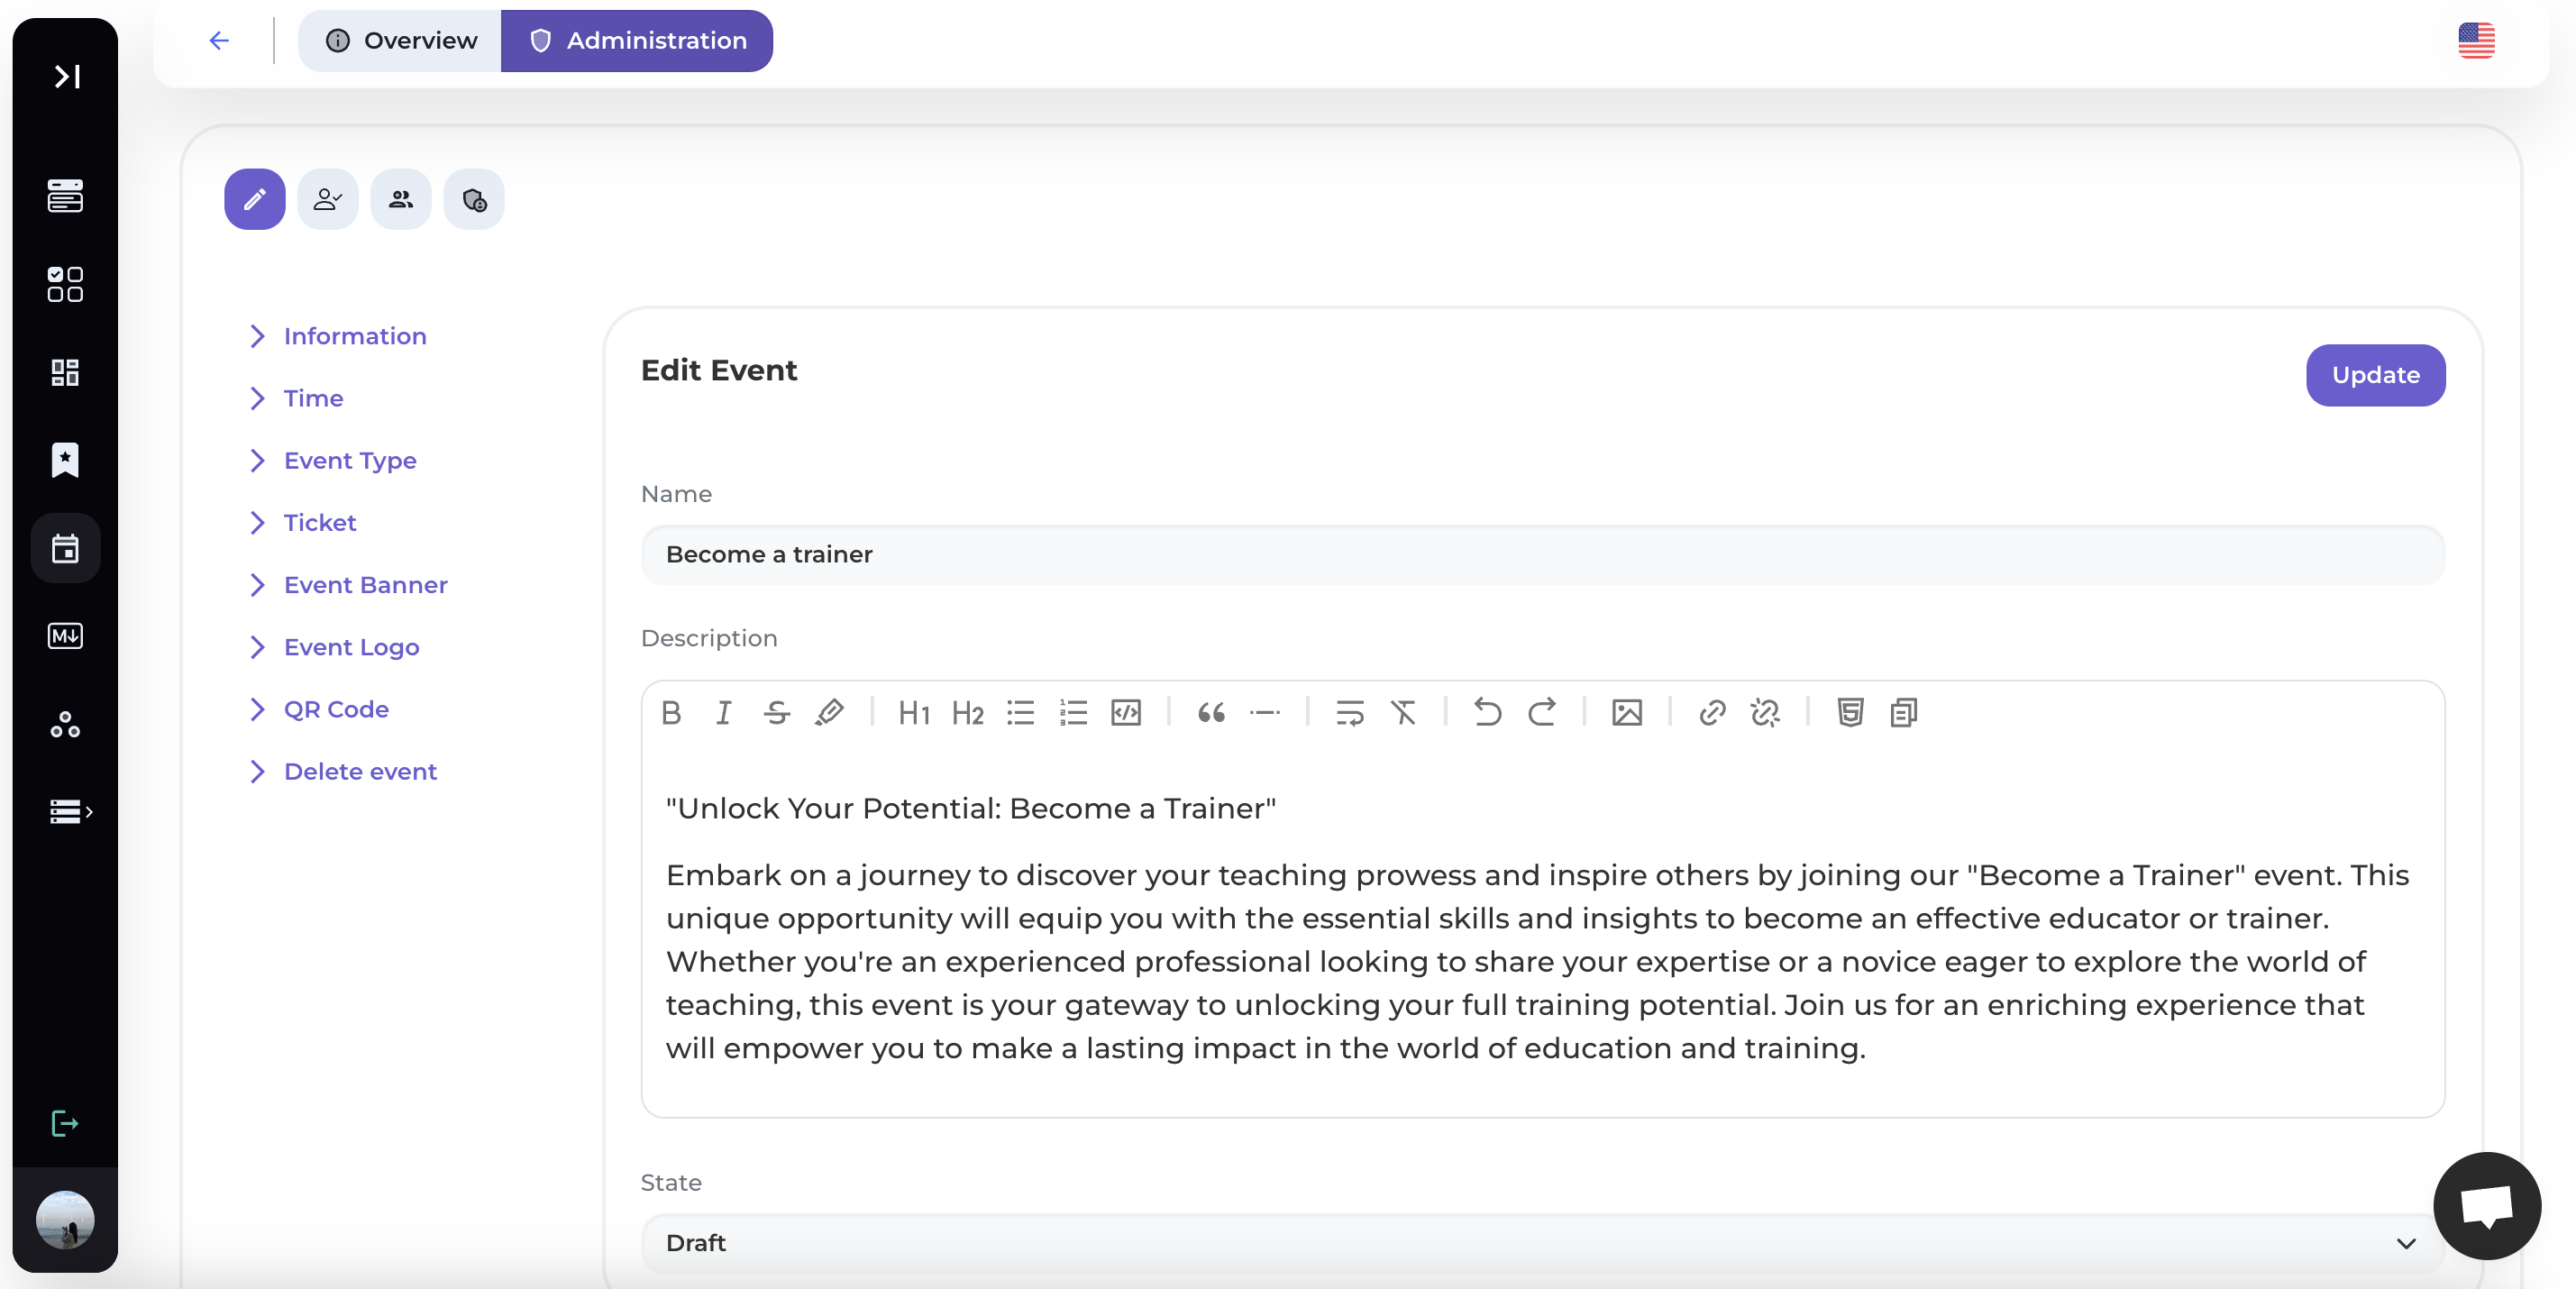
1. Create the Event
Detailed instructions for creating an event: View here
2. Upload the Check-in List & Generate QR Codes
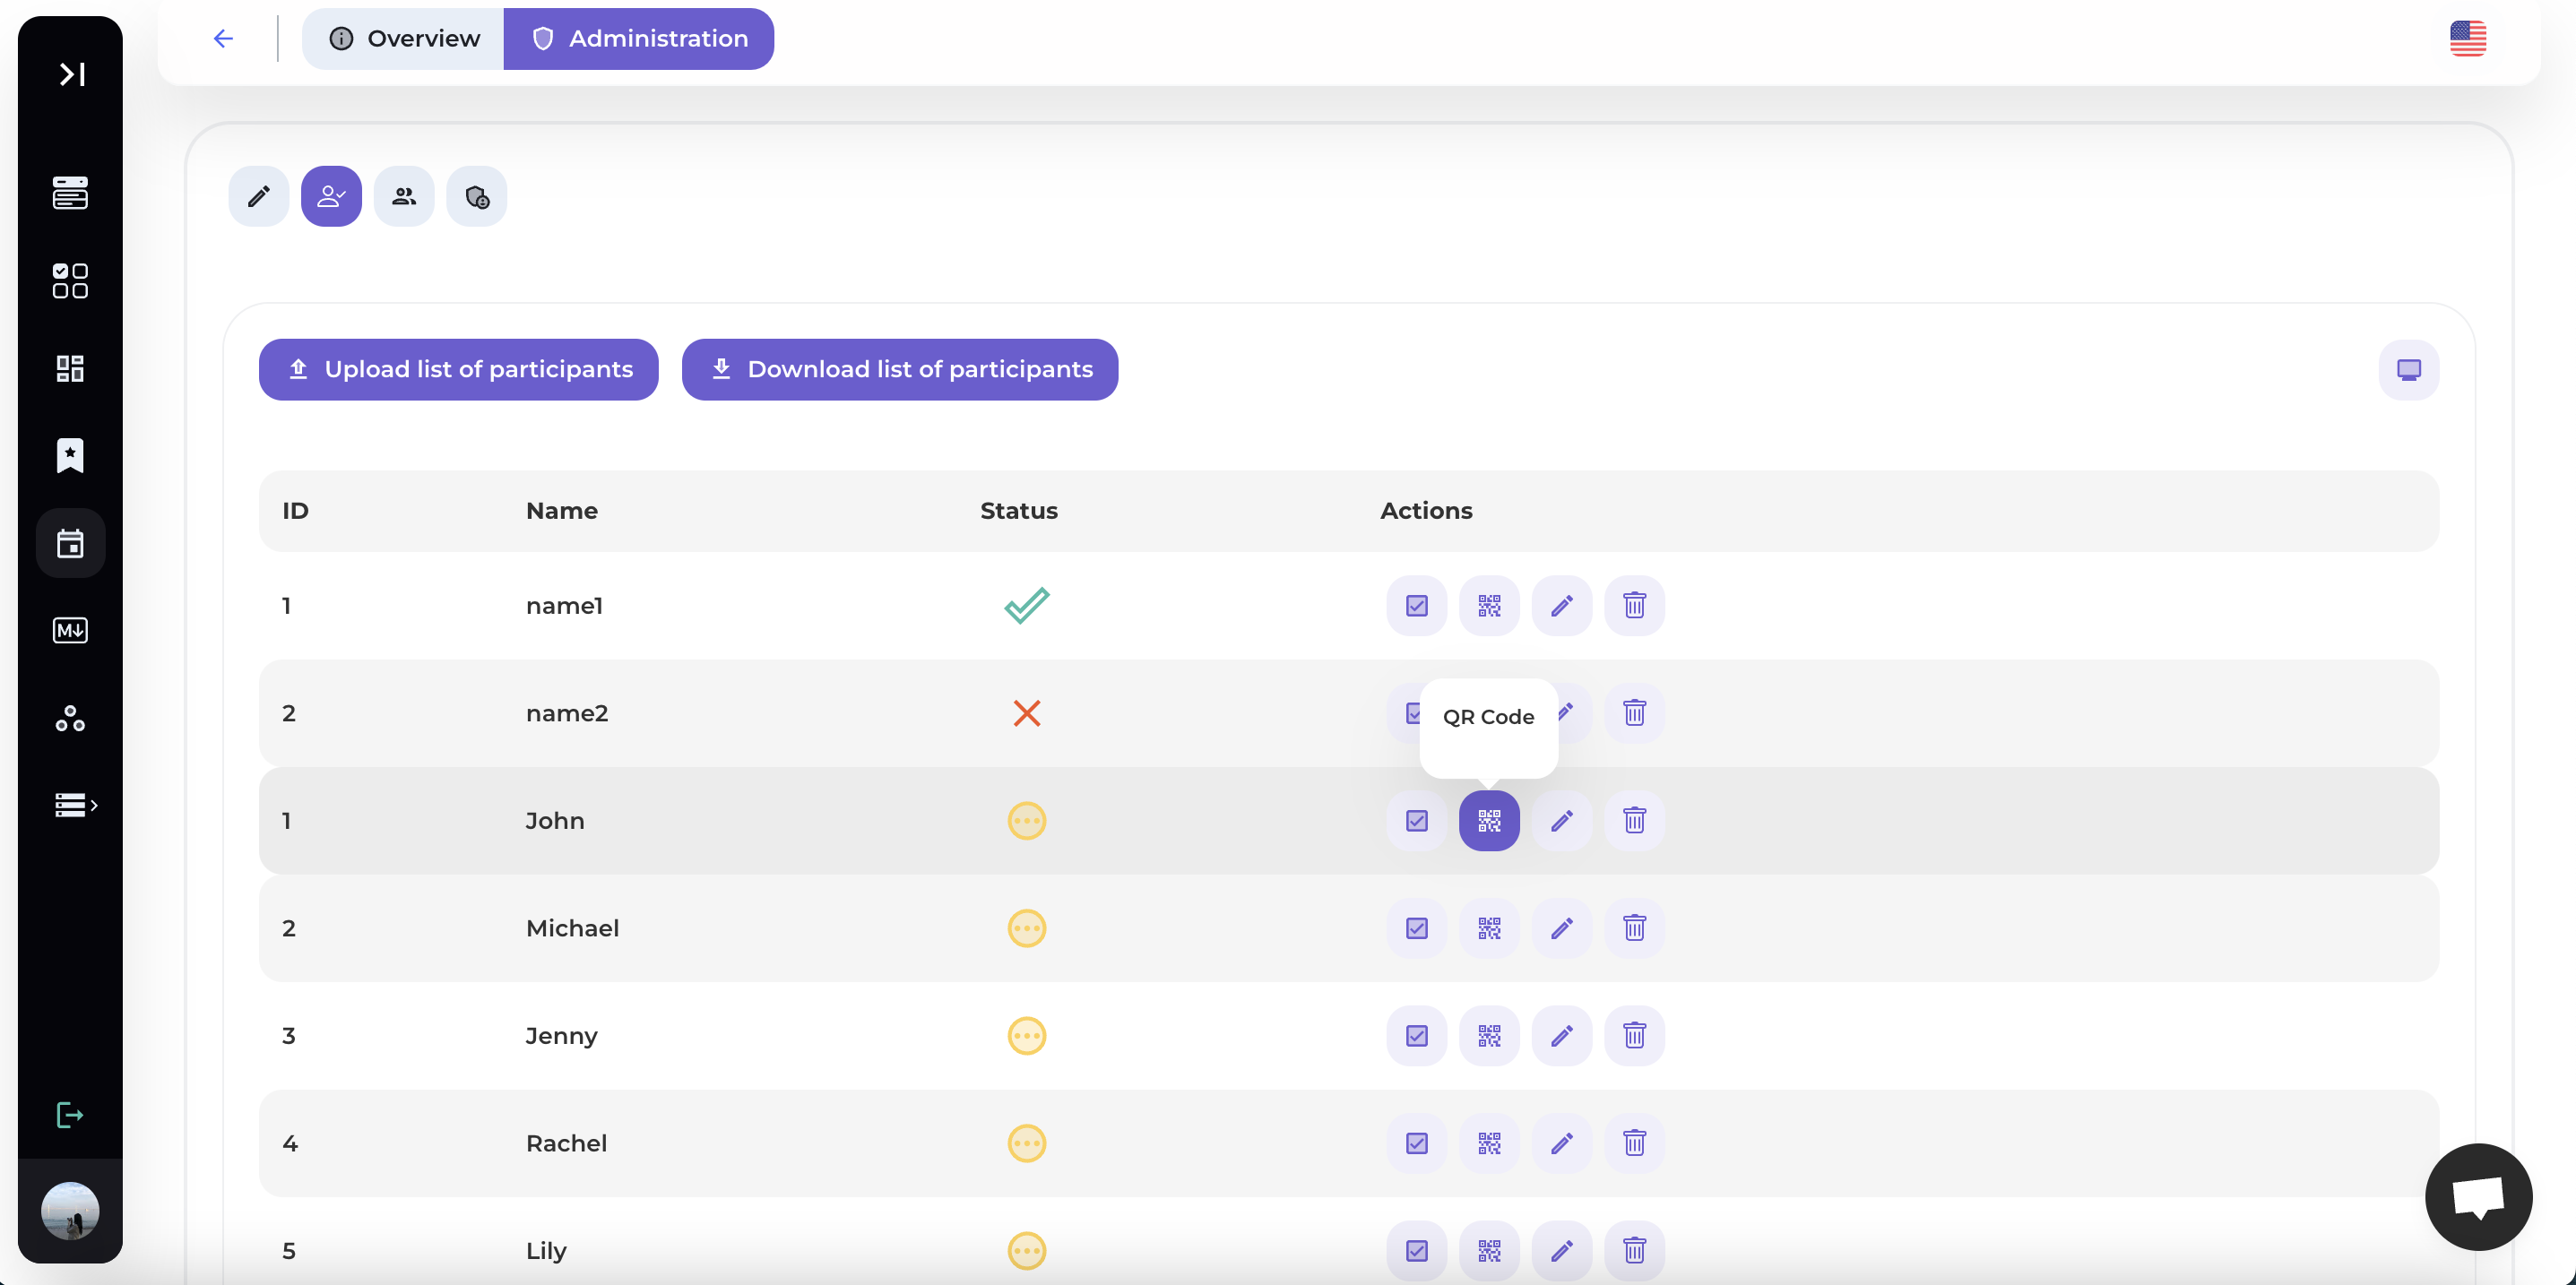
Step 1: Select the event you want to edit.

Step 2: Click on [Administration].
Select the "Administration" option from the toolbar.
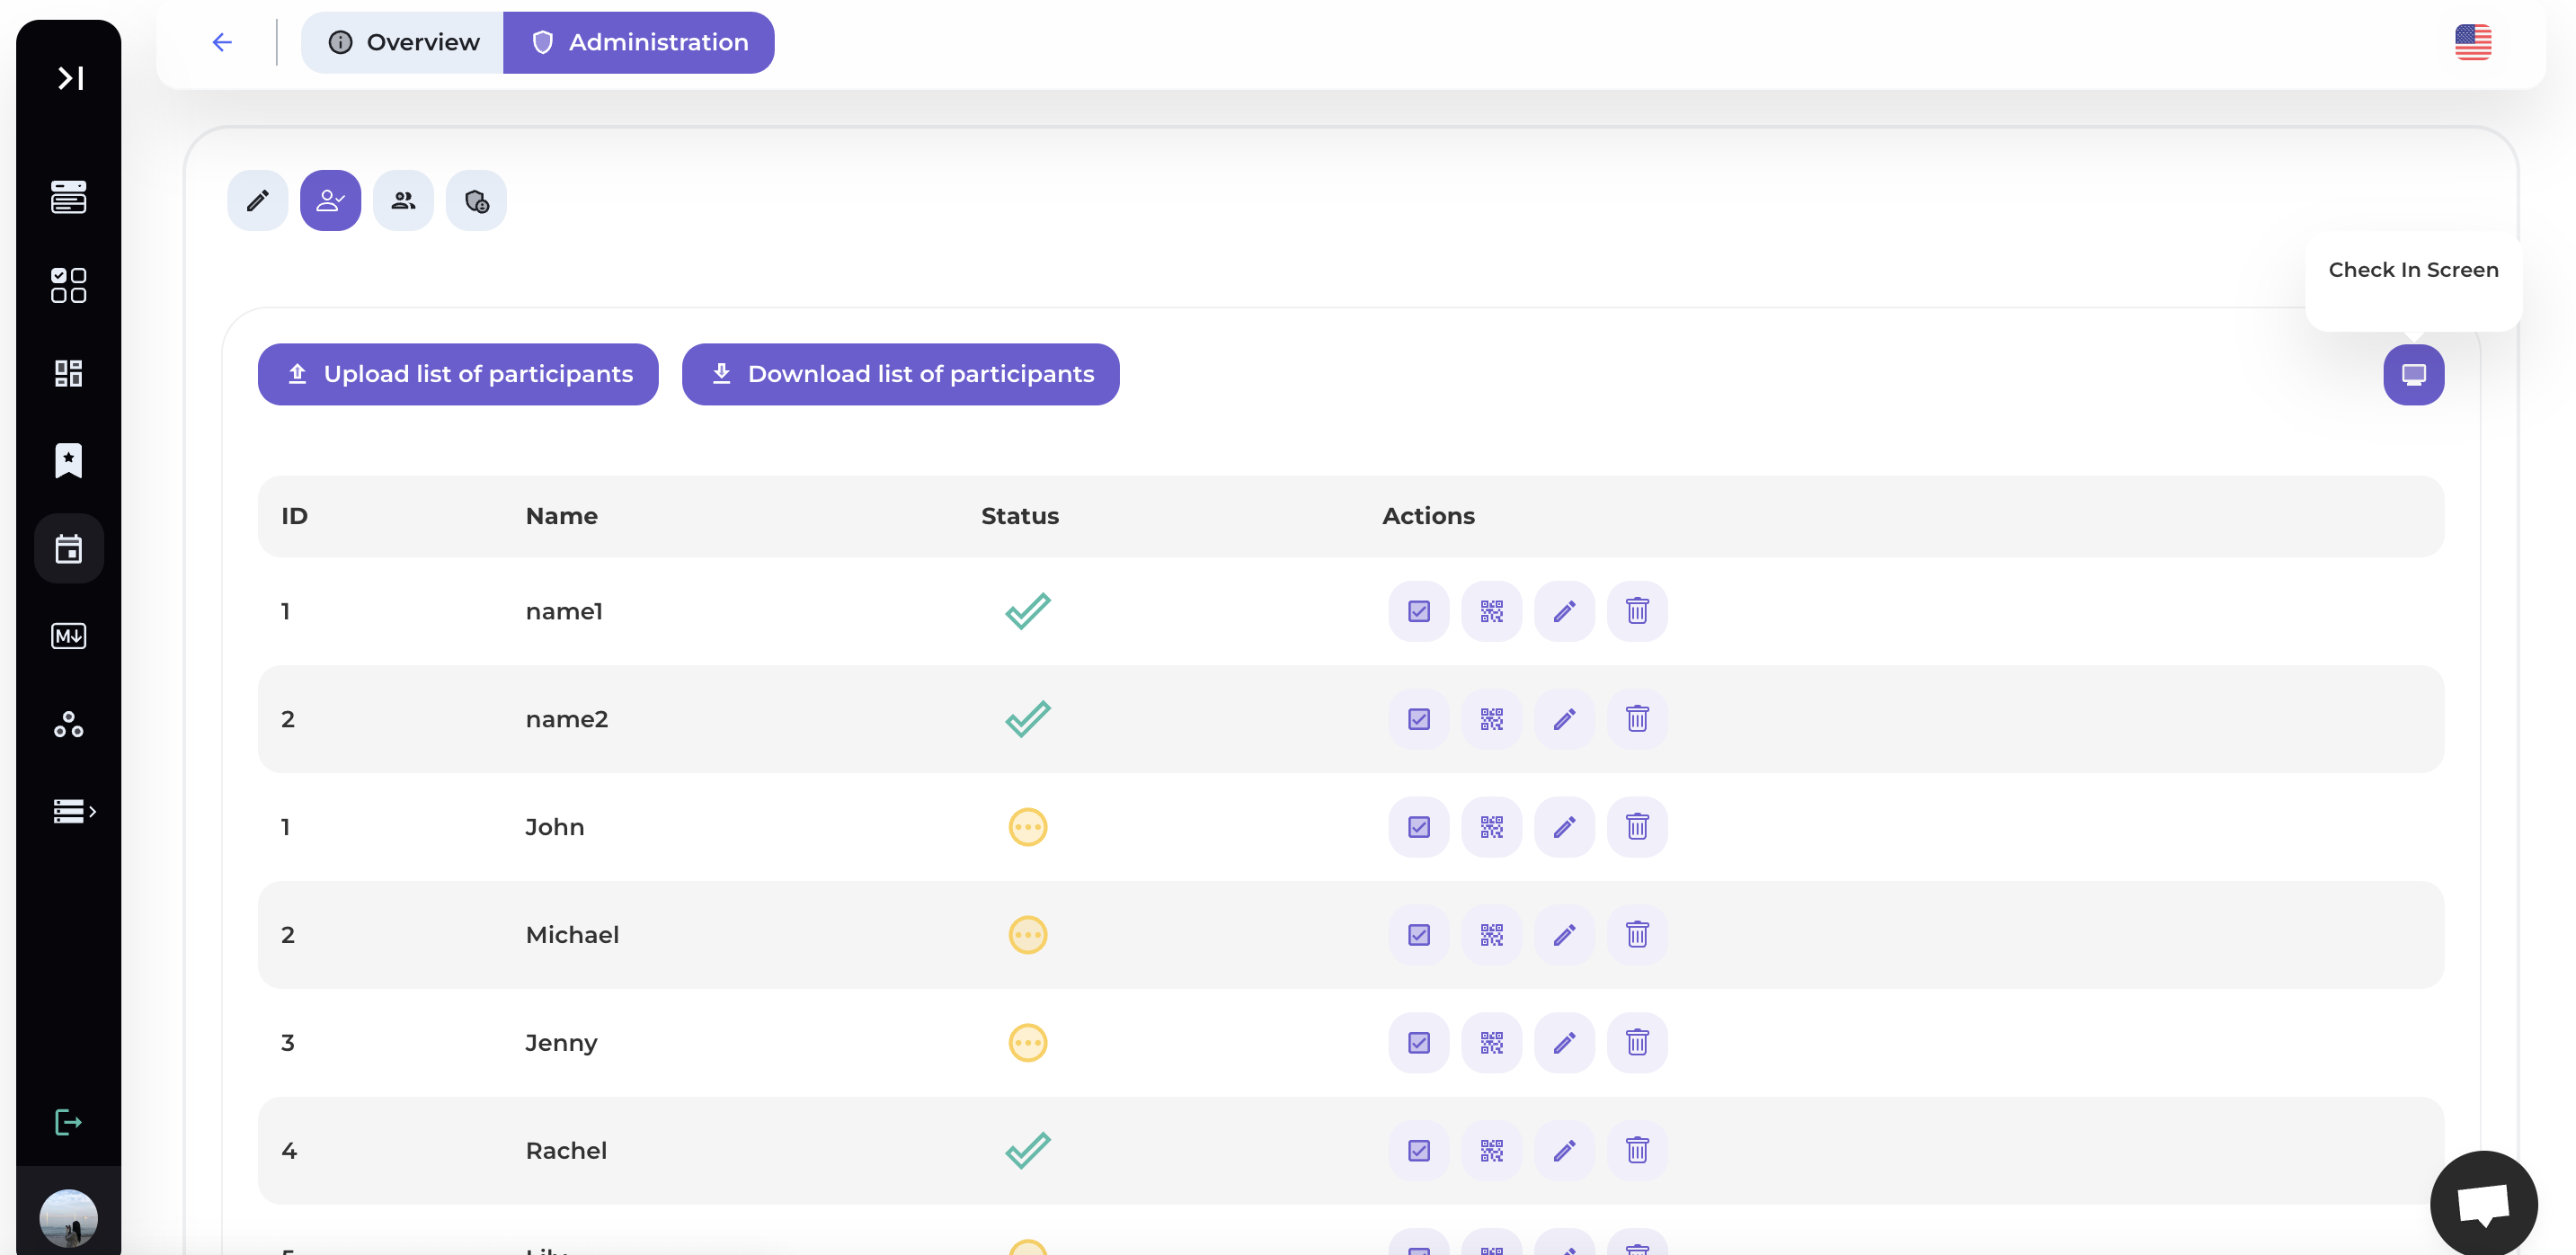
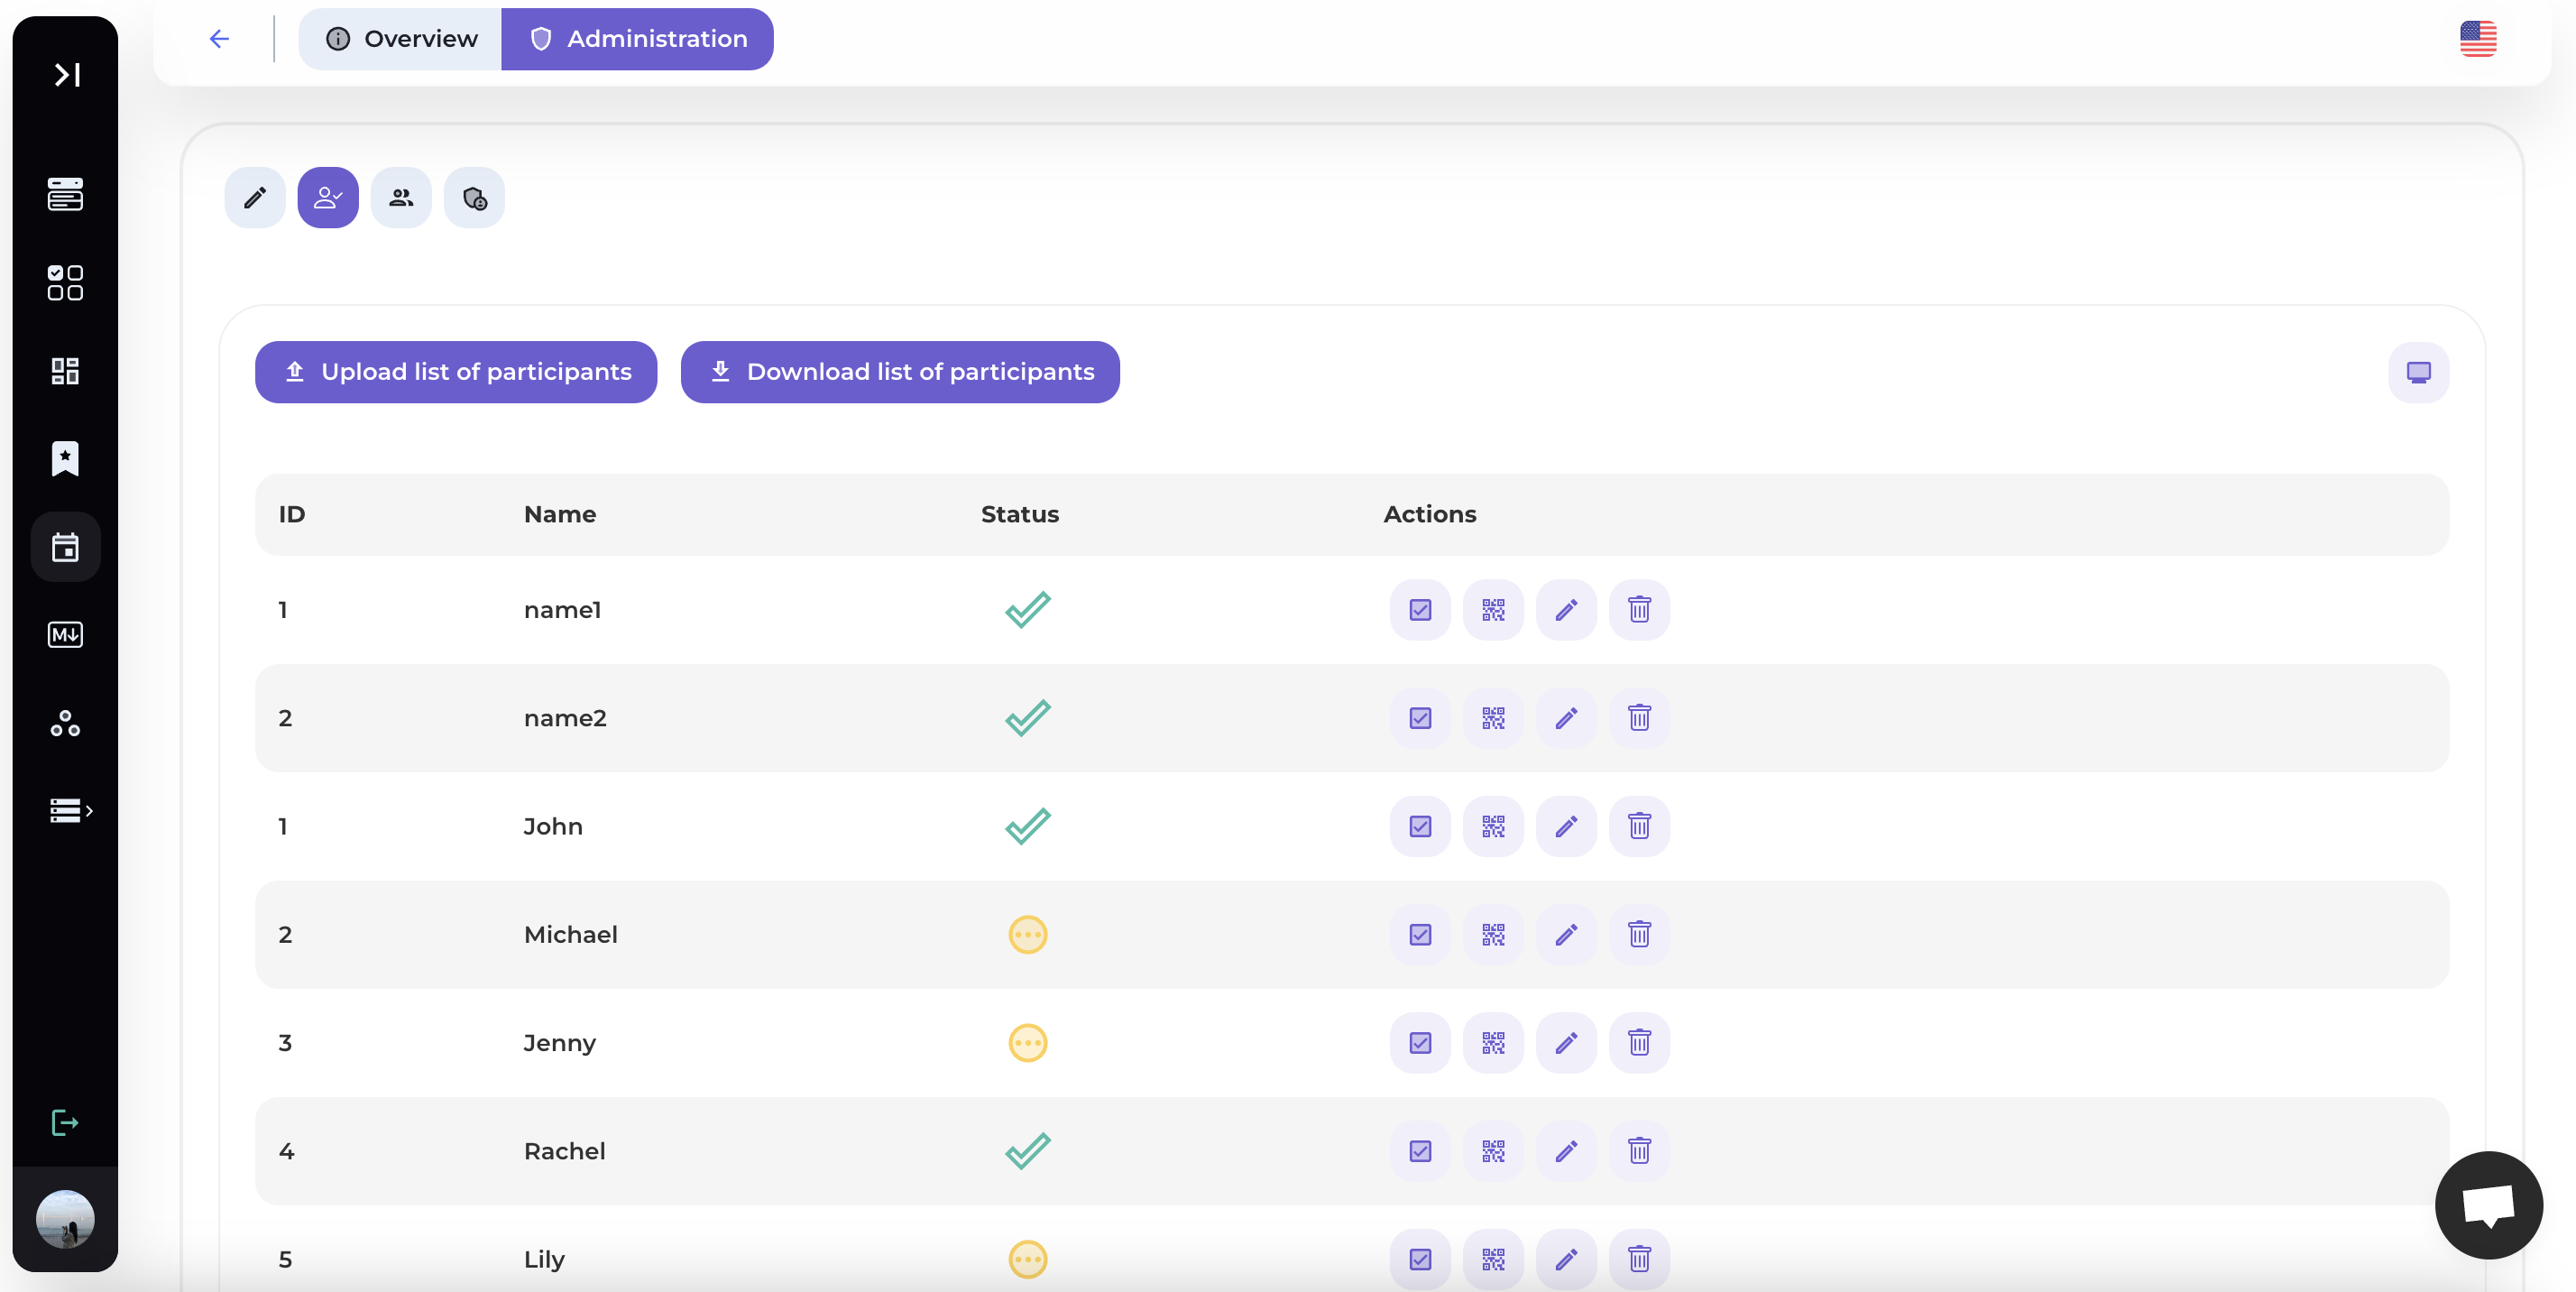
Step 3: Click on Check-in
In the Administration section, access the Check-in section.
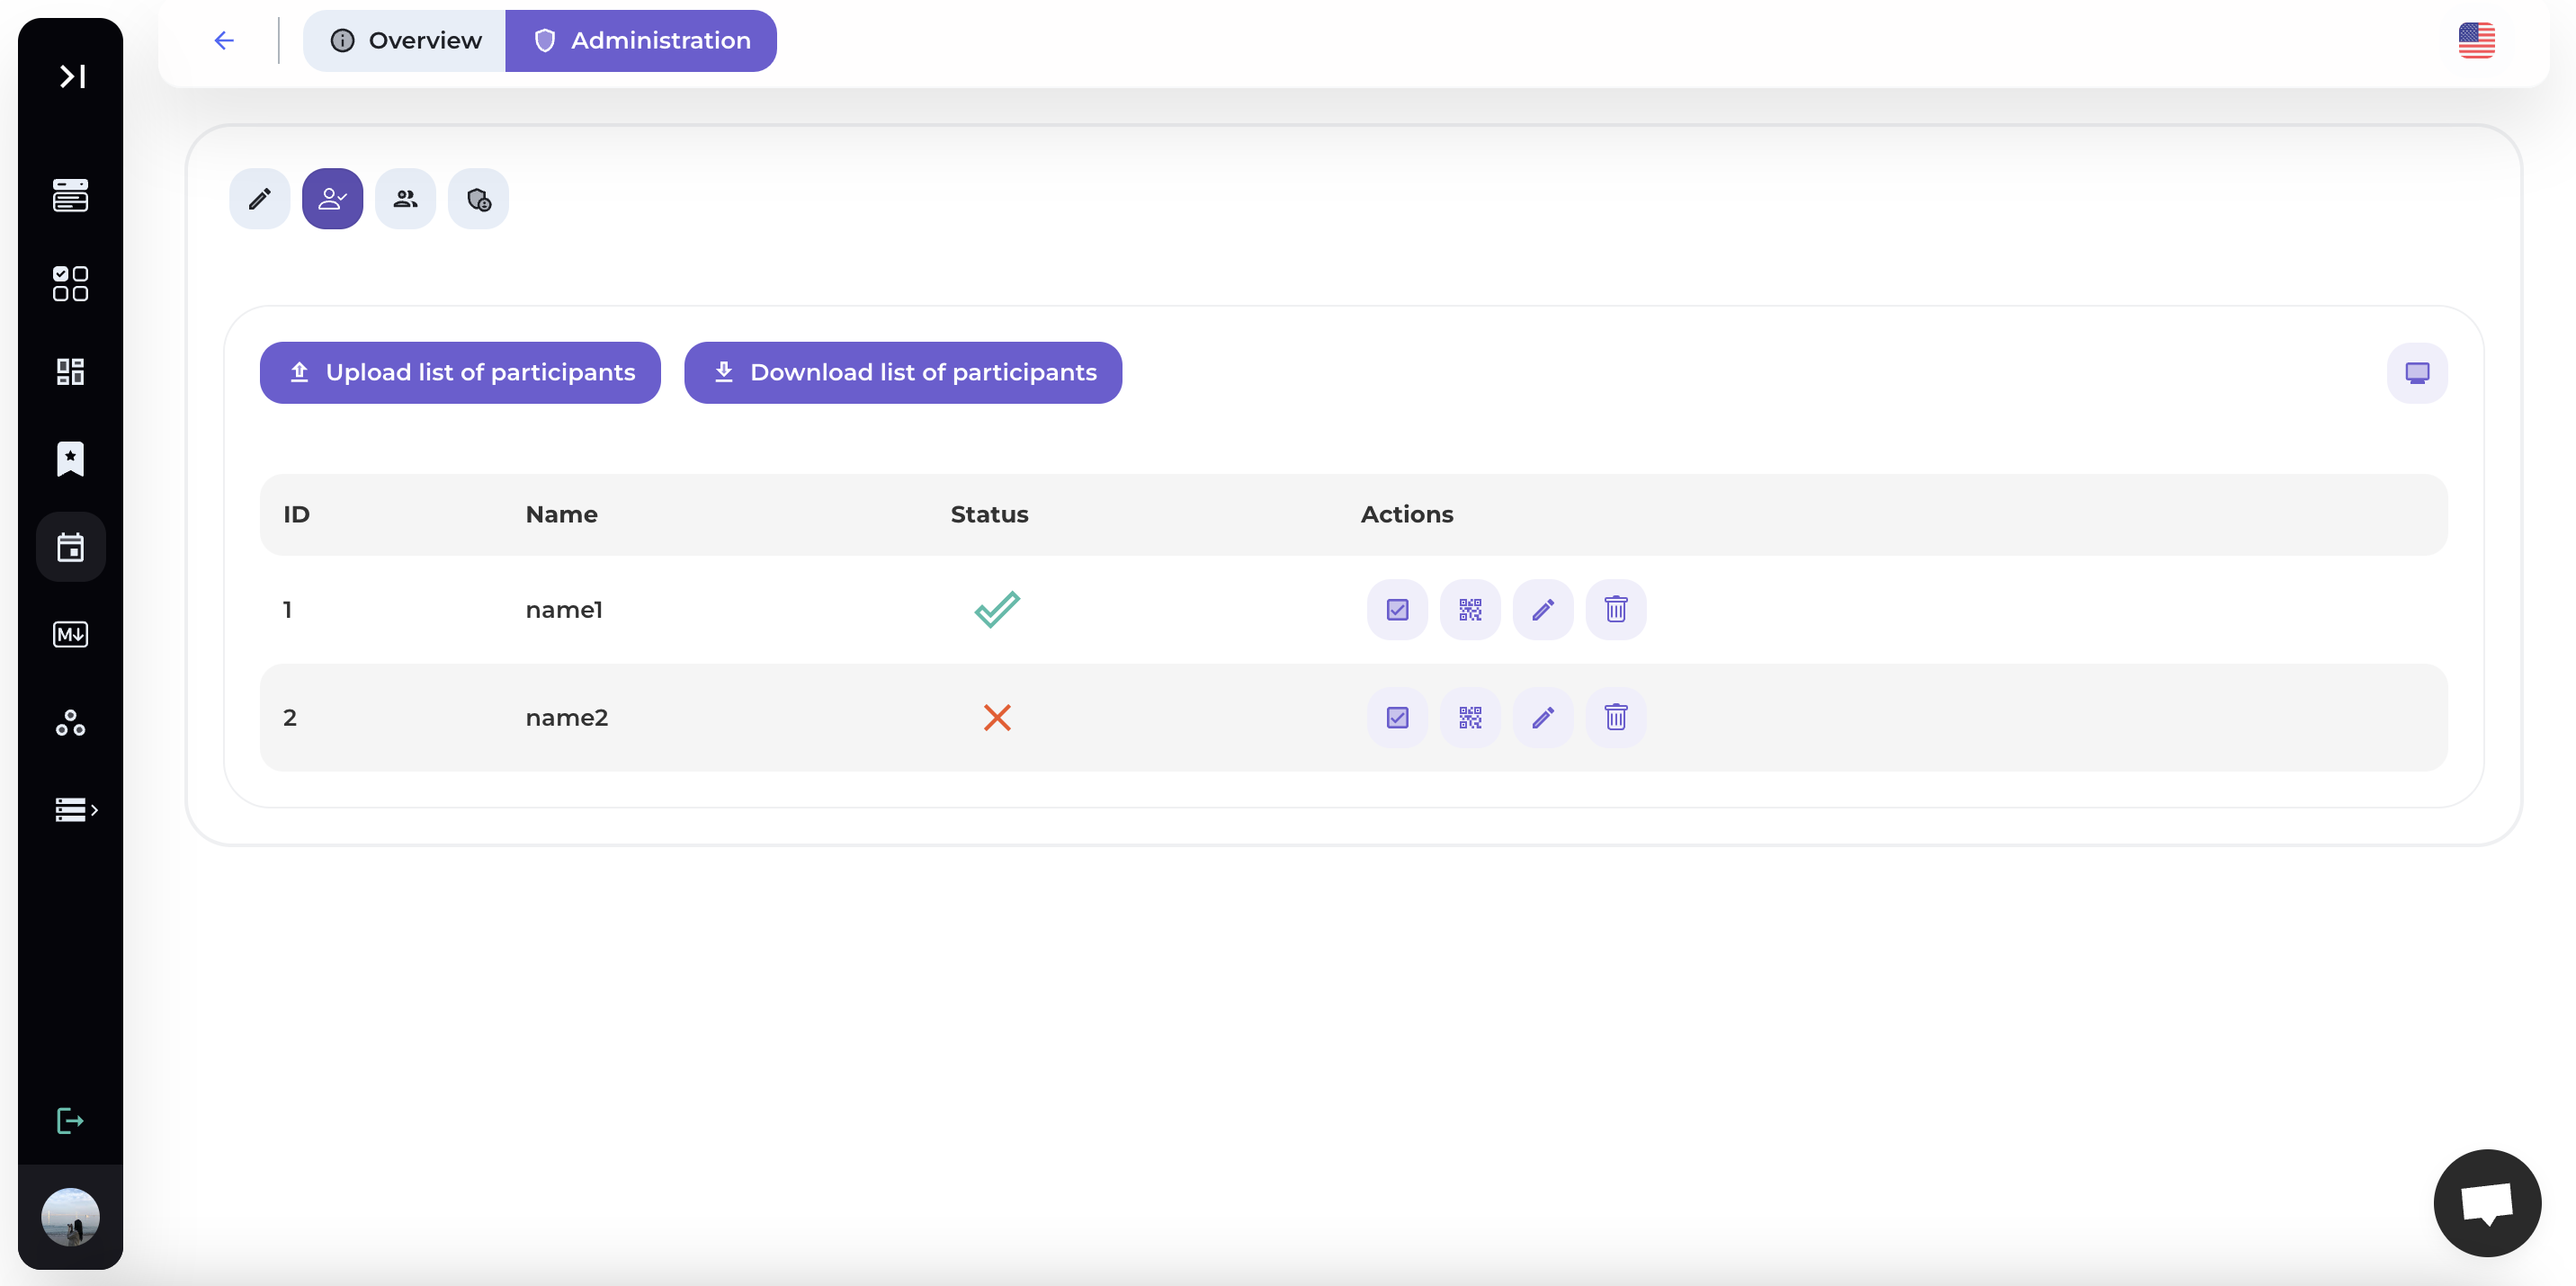
Here, you can upload the attendee list for check-in.
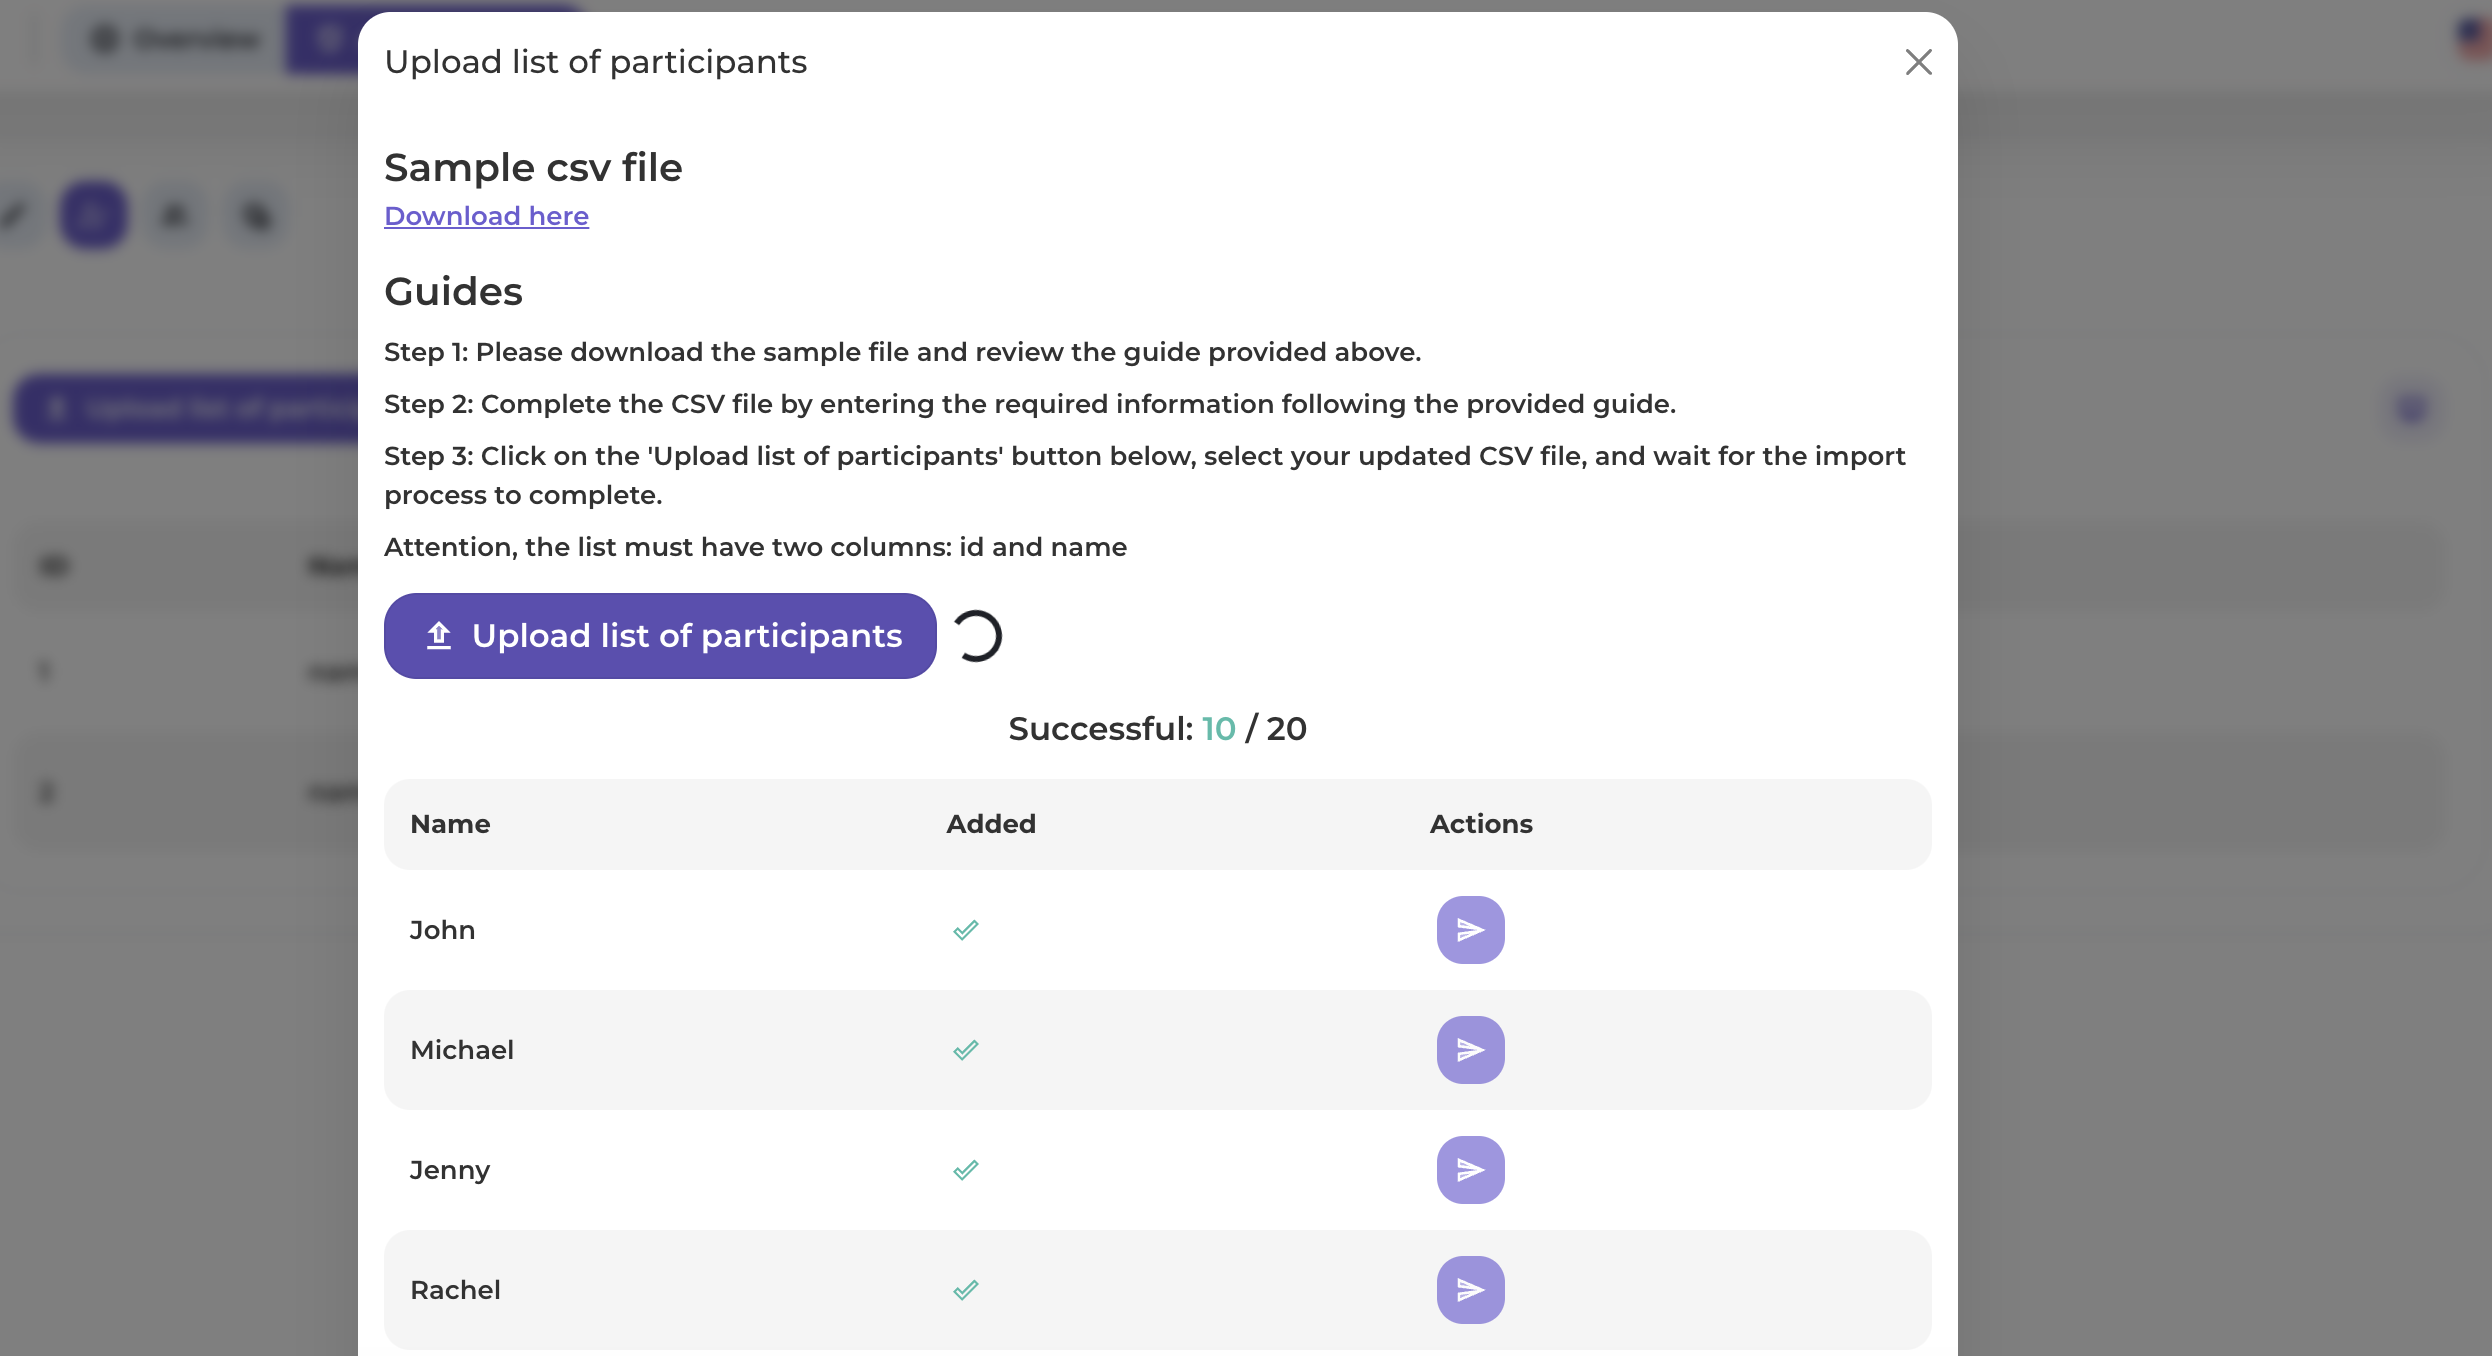
Step 4: Click on Upload list of participants

You should pay attention to the instructions on how to create this participant list file when uploading.
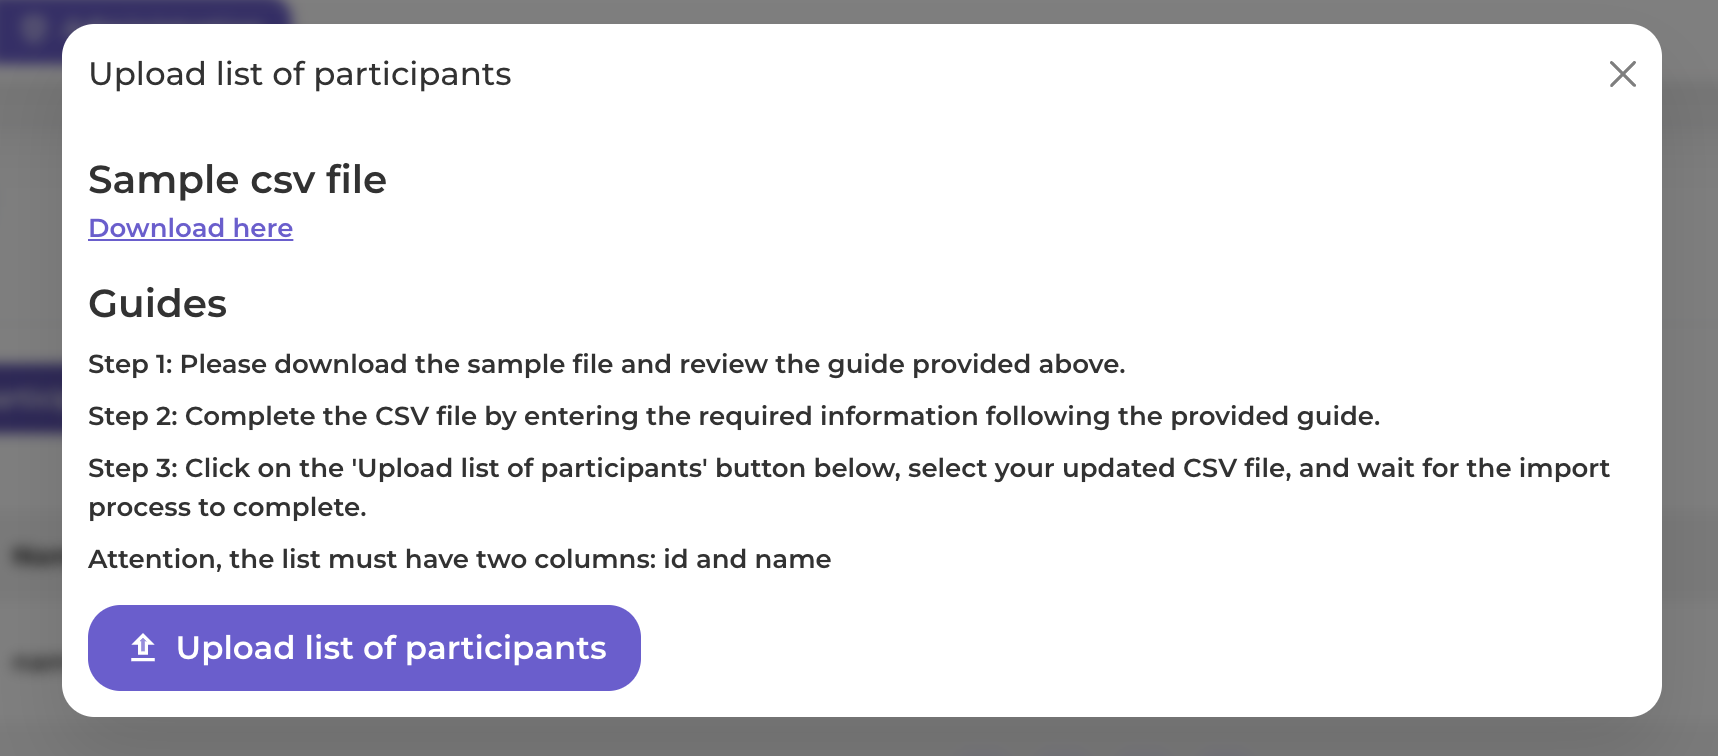
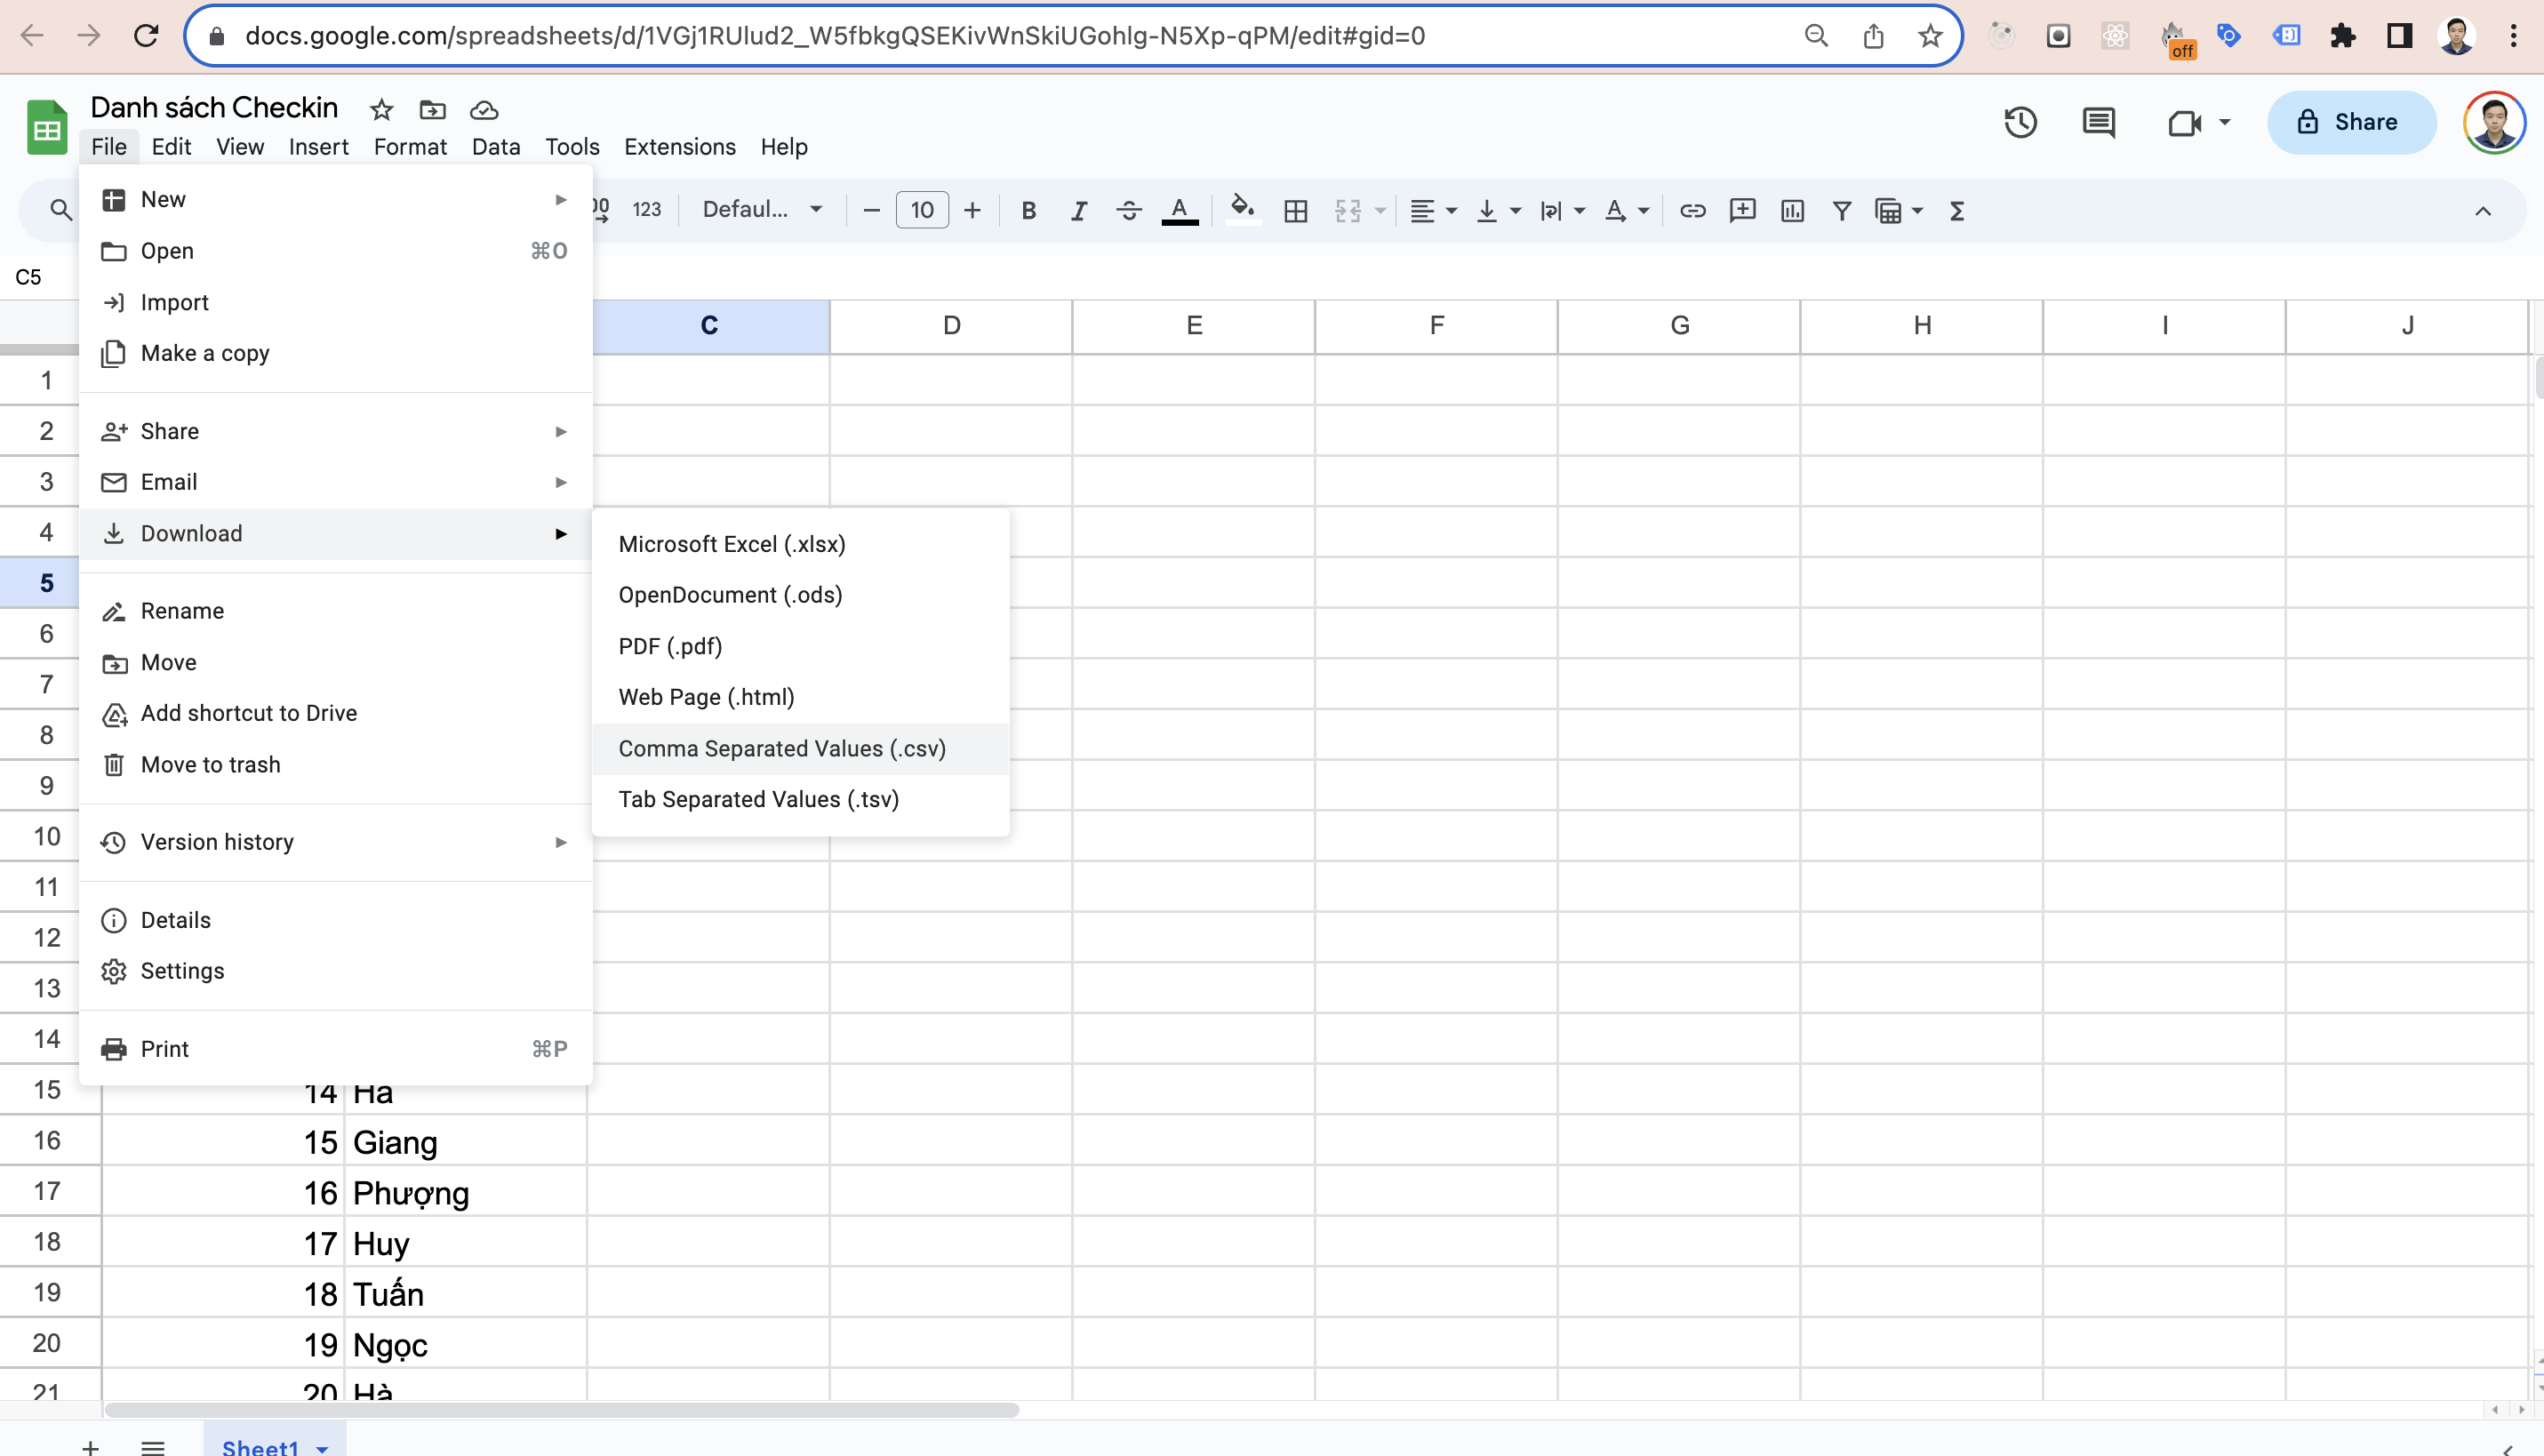
Currently, the platform supports uploading files in CSV format. To obtain this file, you can export it from Google Sheets or Excel as shown below. The list should include the following columns:
- id: To uniquely identify each attendee.
- name: The name of the attendee.
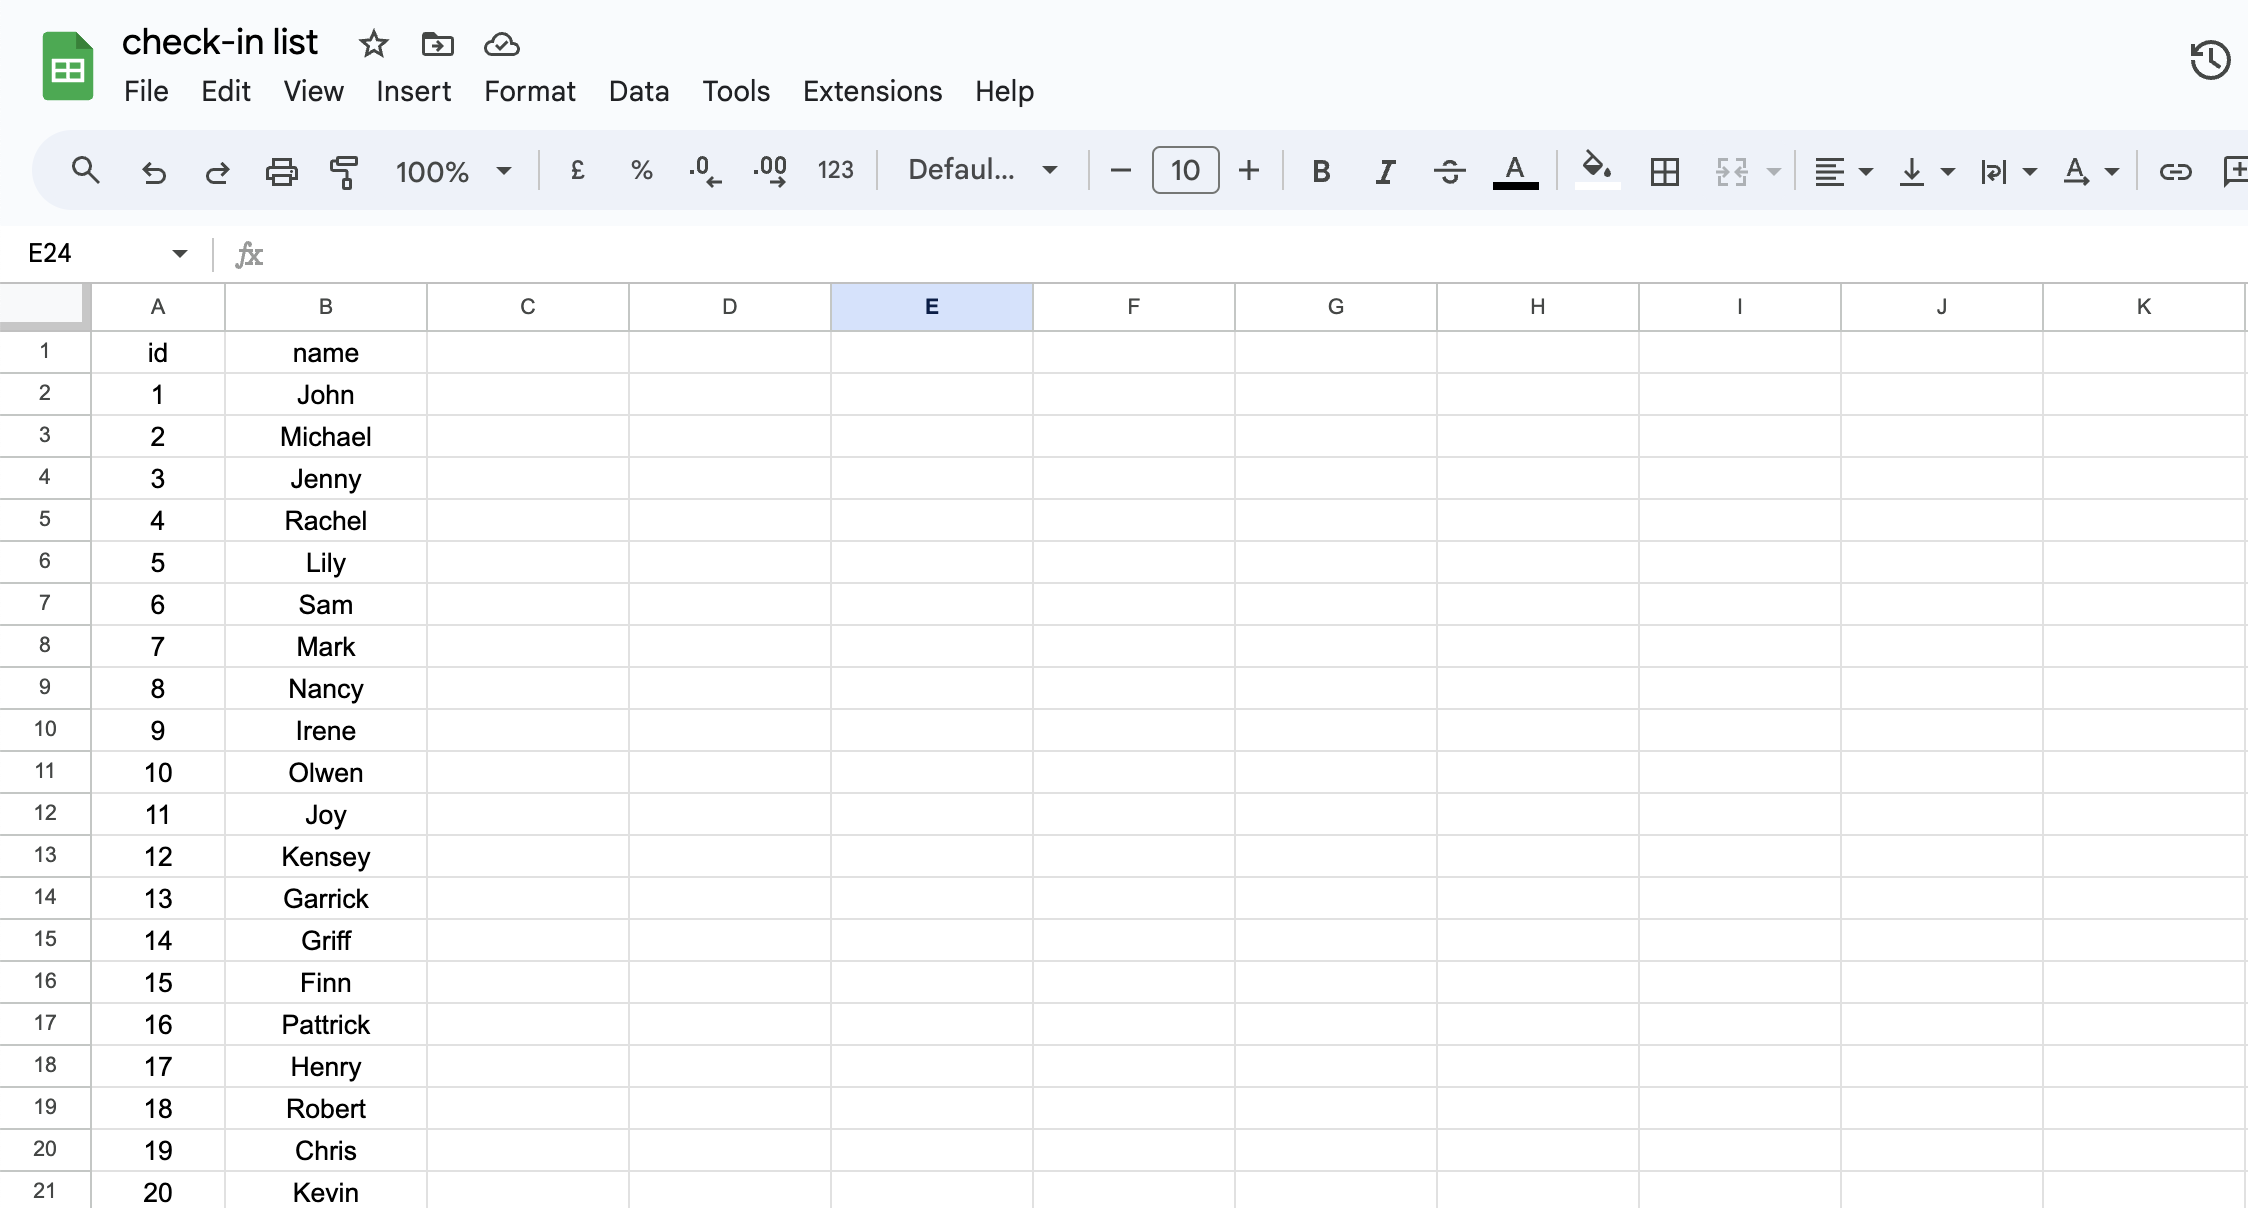
Below is an example of a list created using Google Sheets. You can download this list in CSV format.
In the event management screen, you upload the file you just exported to the system.
The system will automatically add participants one by one.
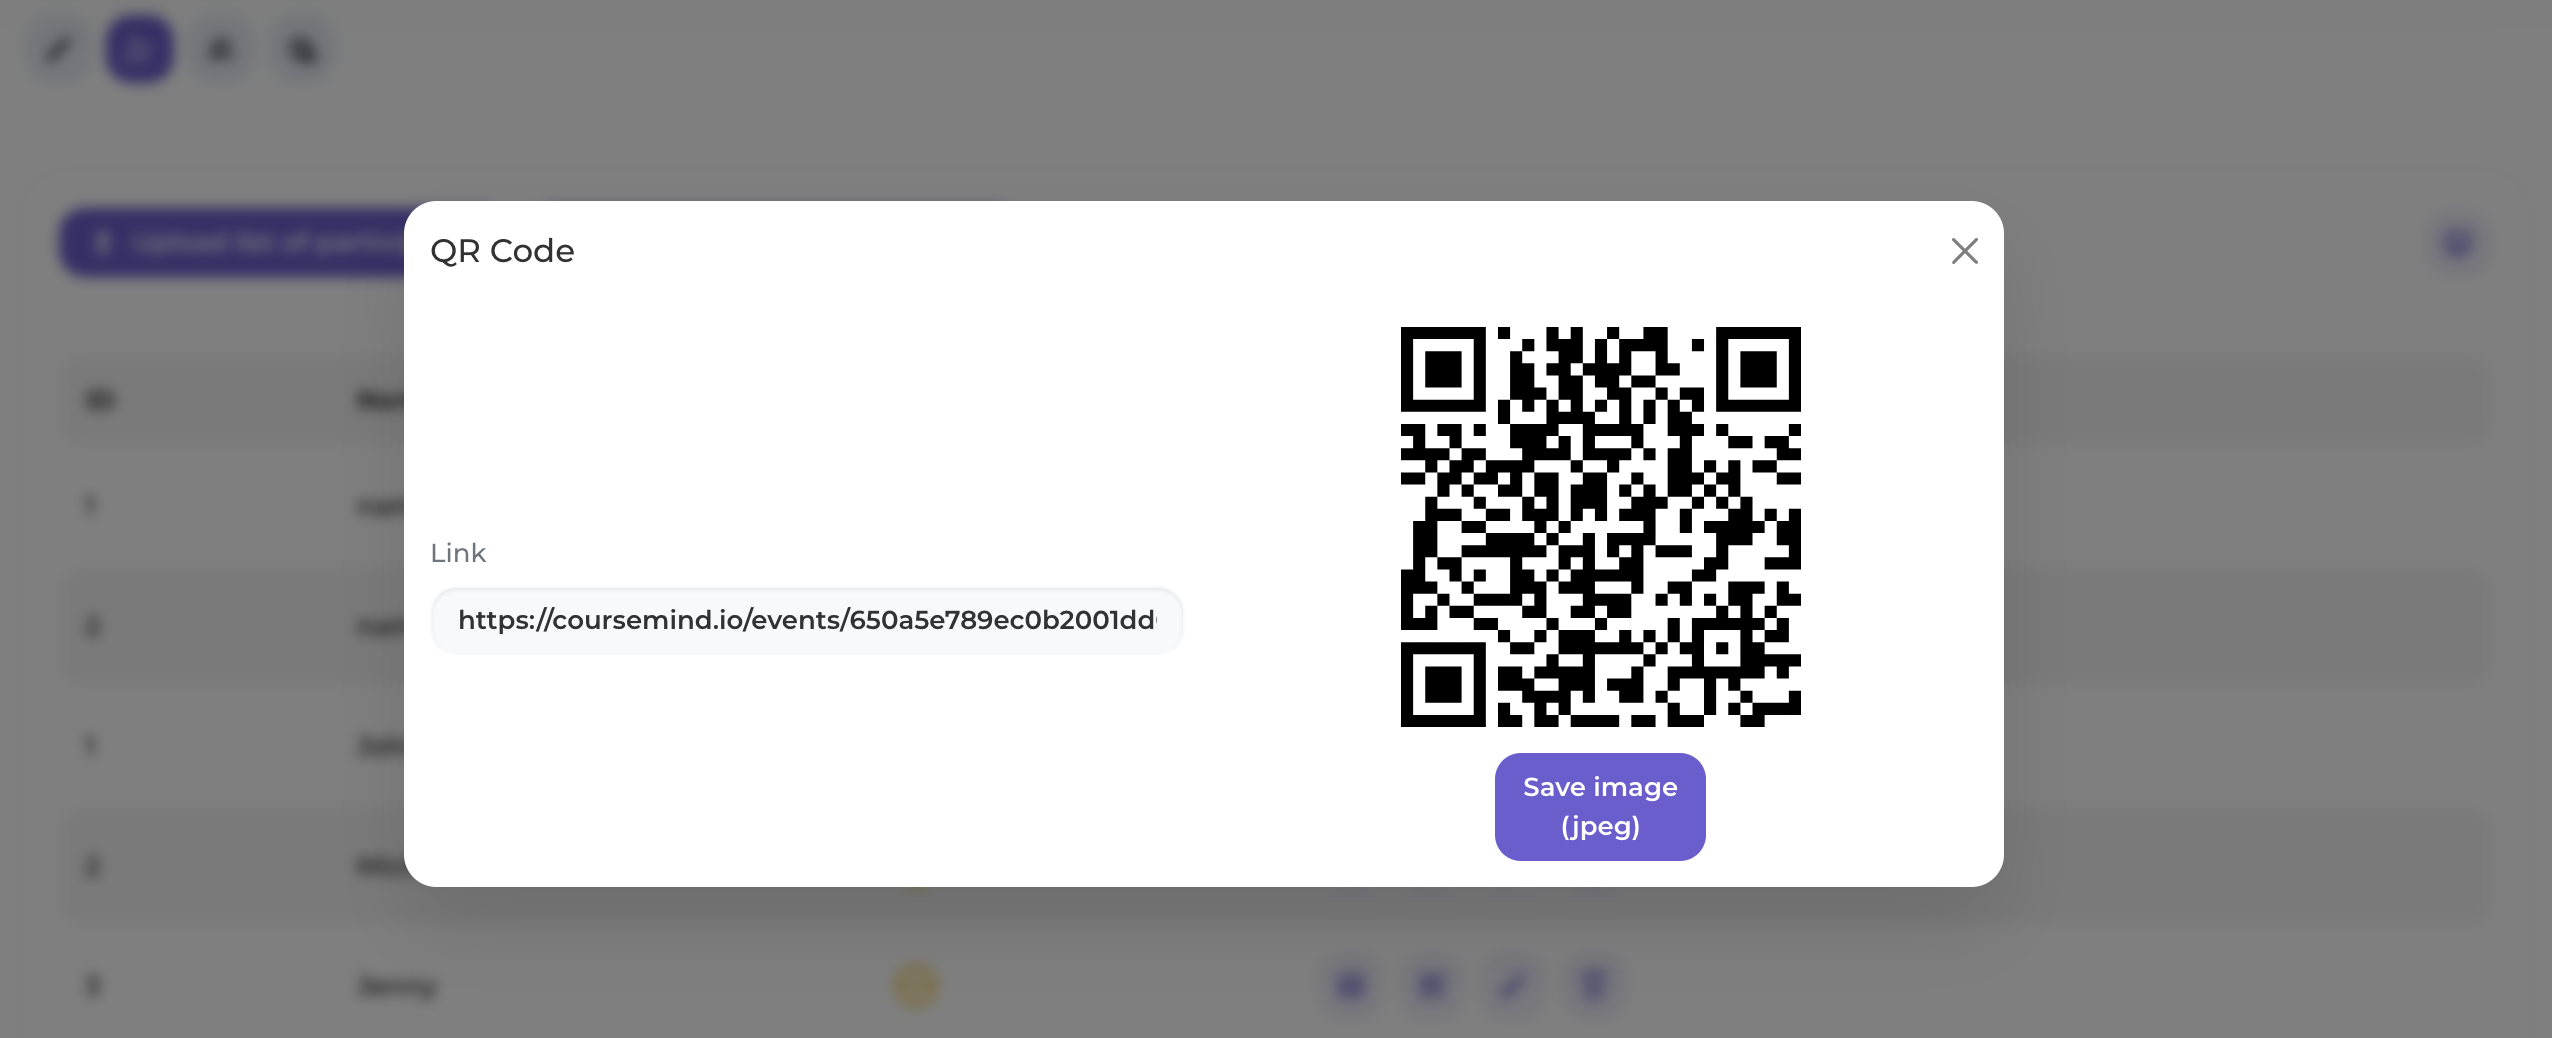
Step 5: Receive the QR Code for Automatic Check-in.
After the system has added all the attendees, each person will be assigned a corresponding QR Code. You can use this code to send to their email.
Display the QR code for a specific participant.
3. Automatic Check-in at Event
To check-in at the event, you need to use a phone that can scan QR codes through a photo capture app or you can install some QR code scanning software.
Step 1: Log into the system
You need to make sure you have successfully logged into the CourseMind system on the web interface that opens when scanning the QR code.
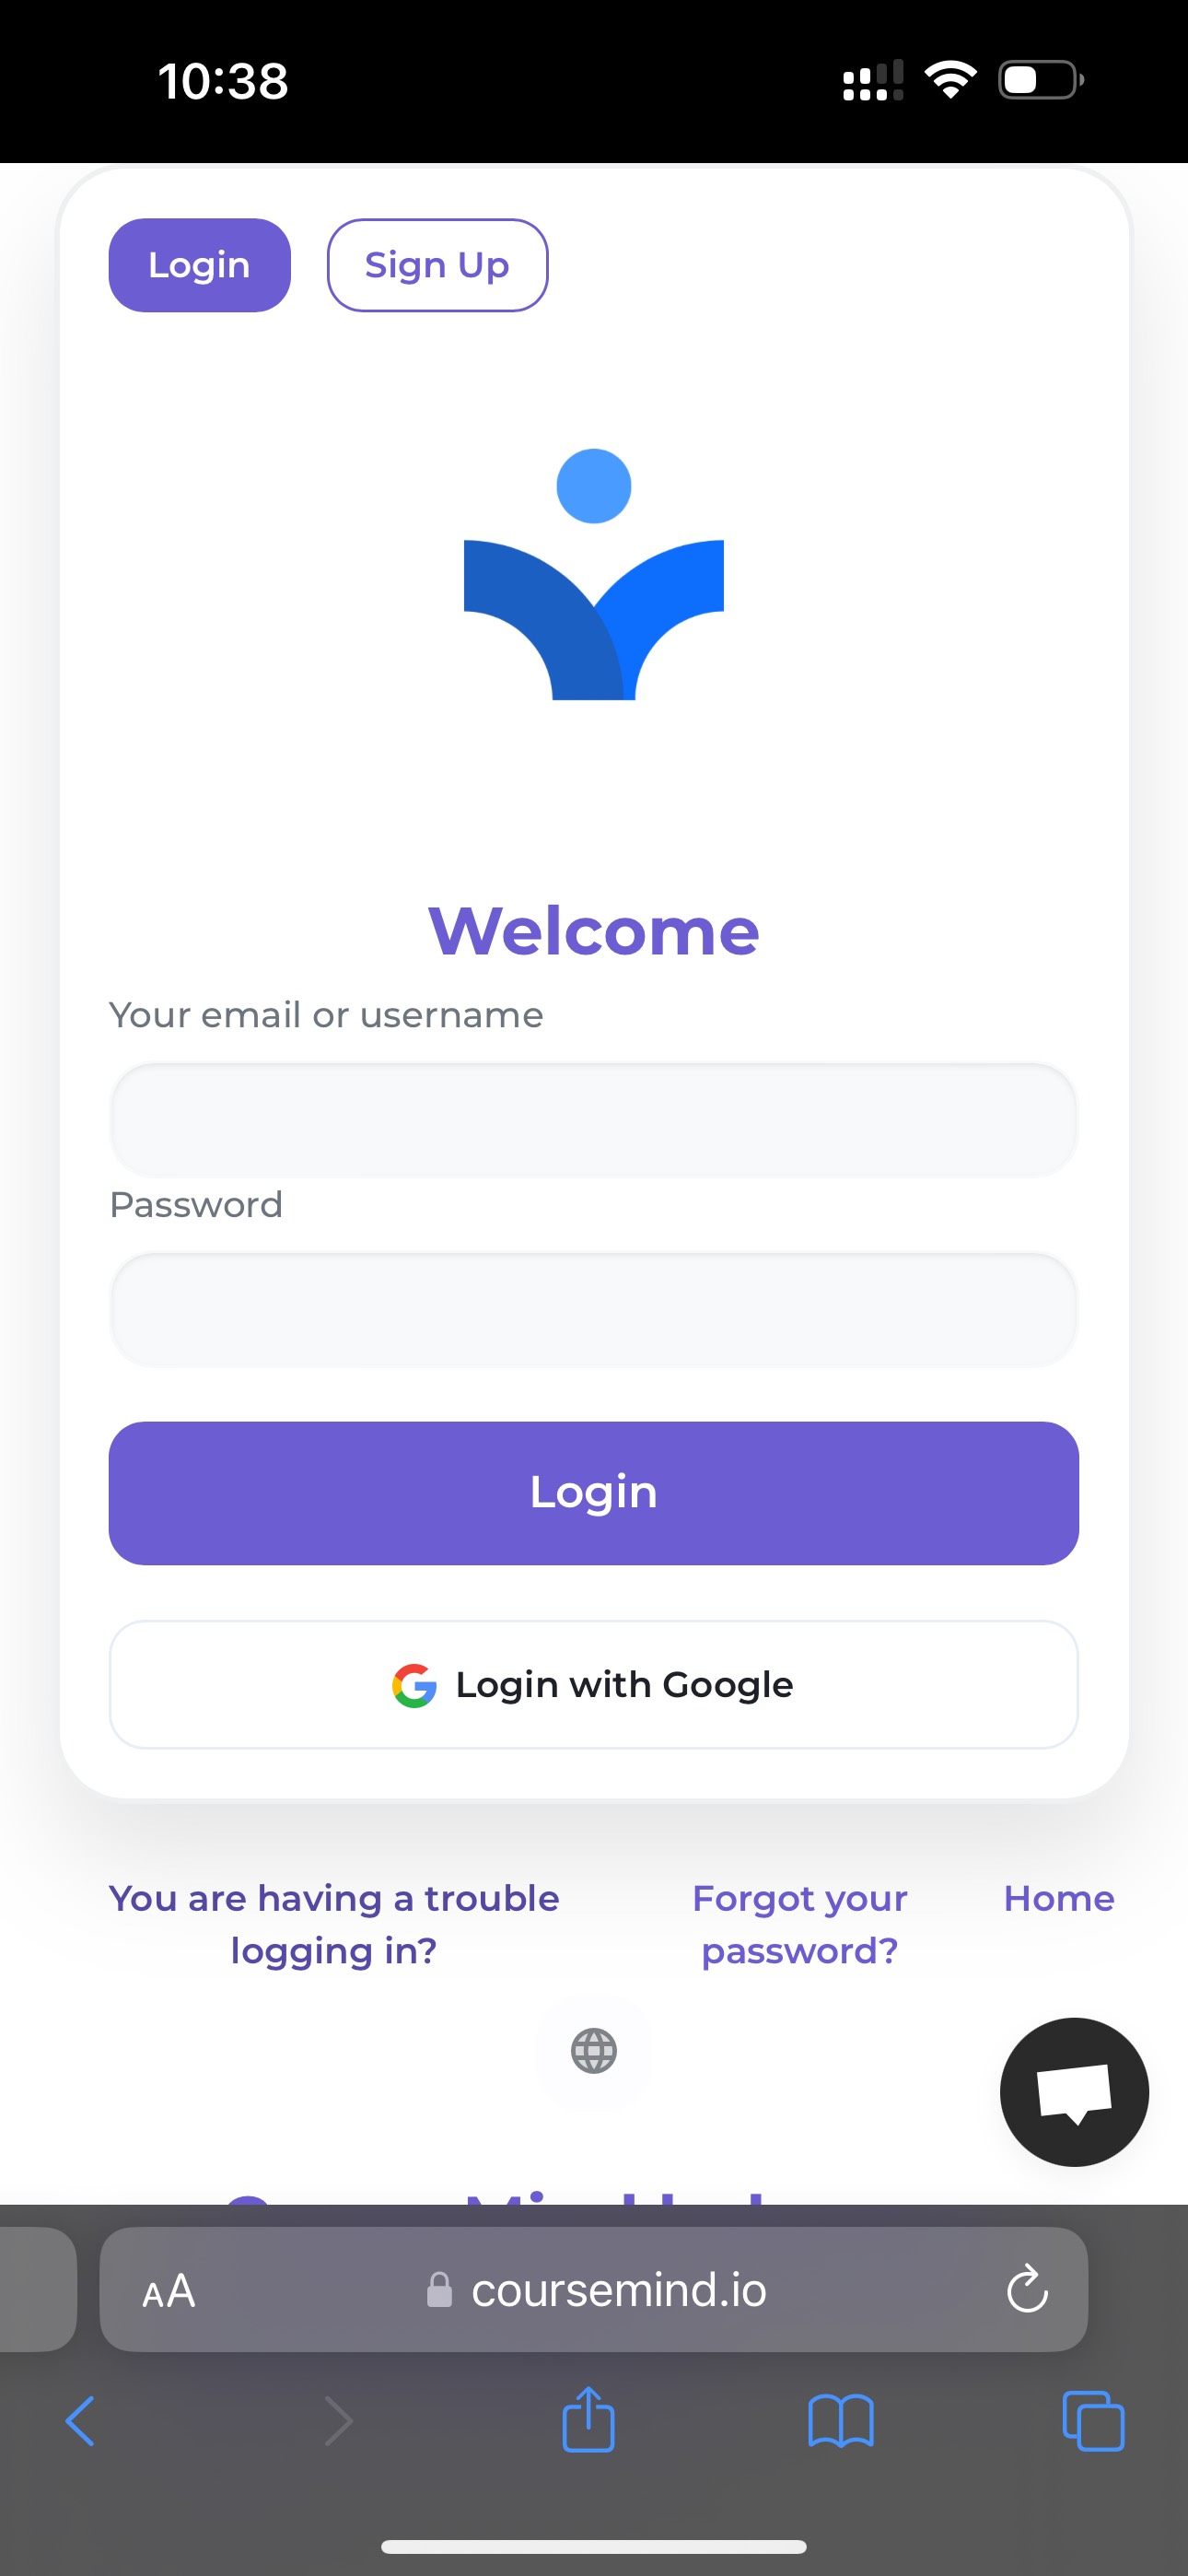
This login process occurs only once.
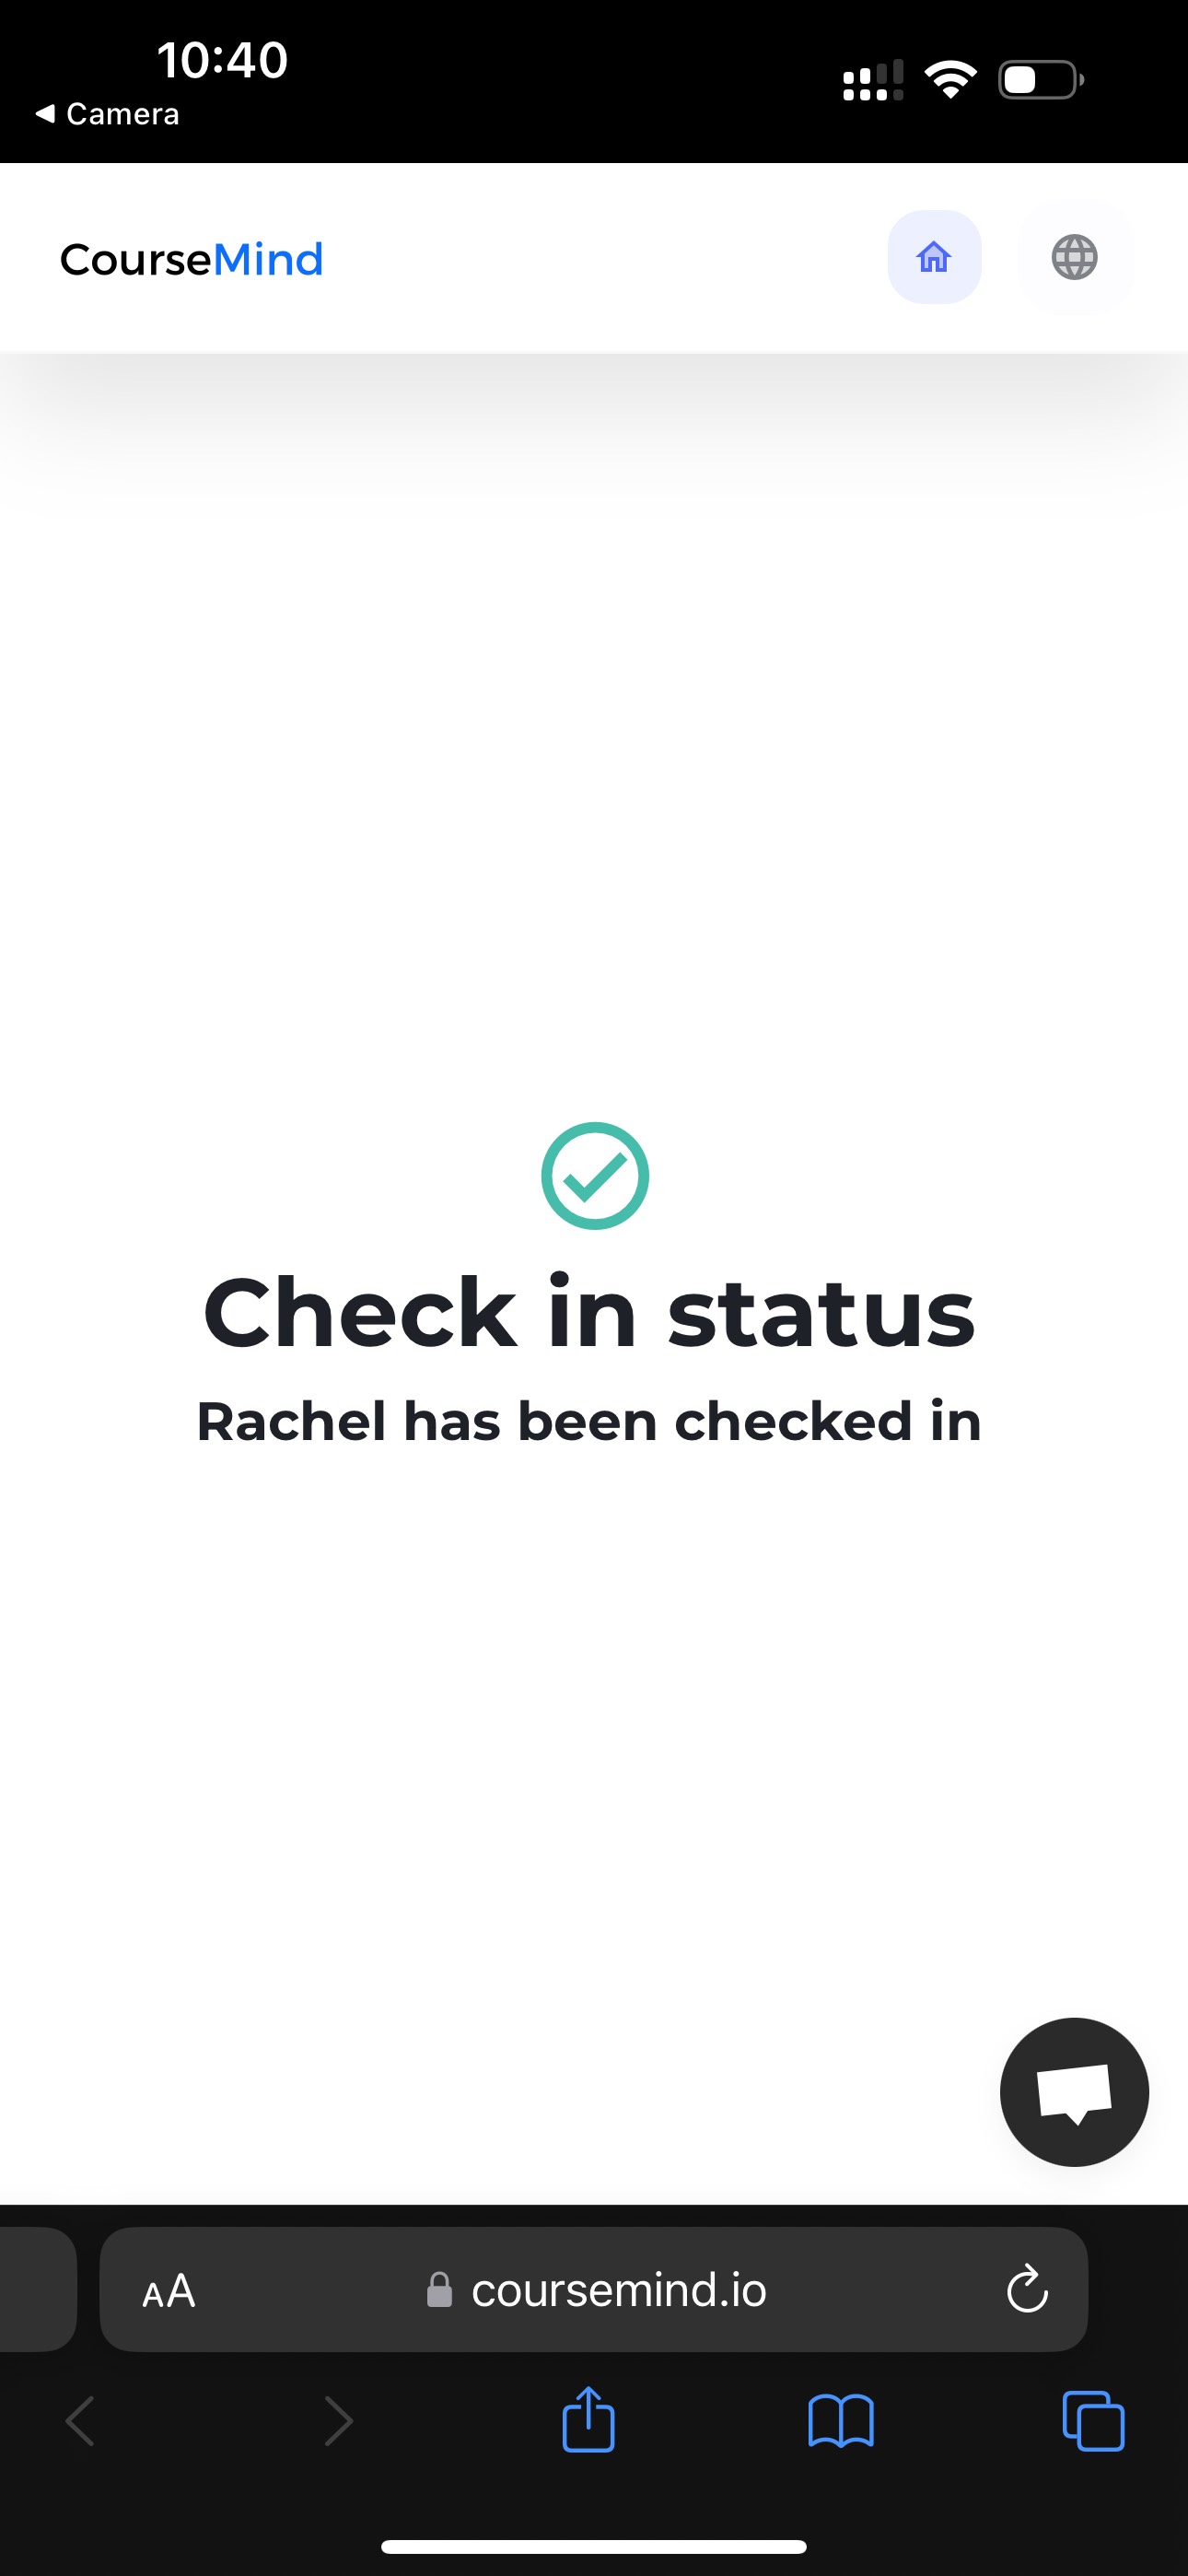
Step 2: Scan the QR code
The screen will display when you successfully scan the QR code.
4. The Welcome Screen for Participants
One of the ways to make participants feel excited when participating in your event is to display a welcome message on a large screen during check-in.
You can display this screen on a monitor using the screen button located in the upper right corner.
This check-in screen will update in real-time every time an attendee successfully checks in.

With this tool, you can ensure that the event participation process becomes swift and creates a professional impression for attendees. As a result, the image of your company/organization will be enhanced.
5. Managing Check-in Status & Attendance Count
You can easily manage the check-in status of attendees and the number of successful or unsuccessful check-ins by viewing the list along with participant statuses in the [Check-in] section.
Wishing you effective utilization of this feature on the [CourseMind platform].(https://coursemind.io/).