Event Management
Step 1: Access https://coursemind.io/events.
Click on the [Events] section in the toolbar or visit https://coursemind.io/events to view, create, and manage events.

Step 2: Select the event you want to edit.

Step 3: Click on [Administration].
Select the "Administration" option from the toolbar.
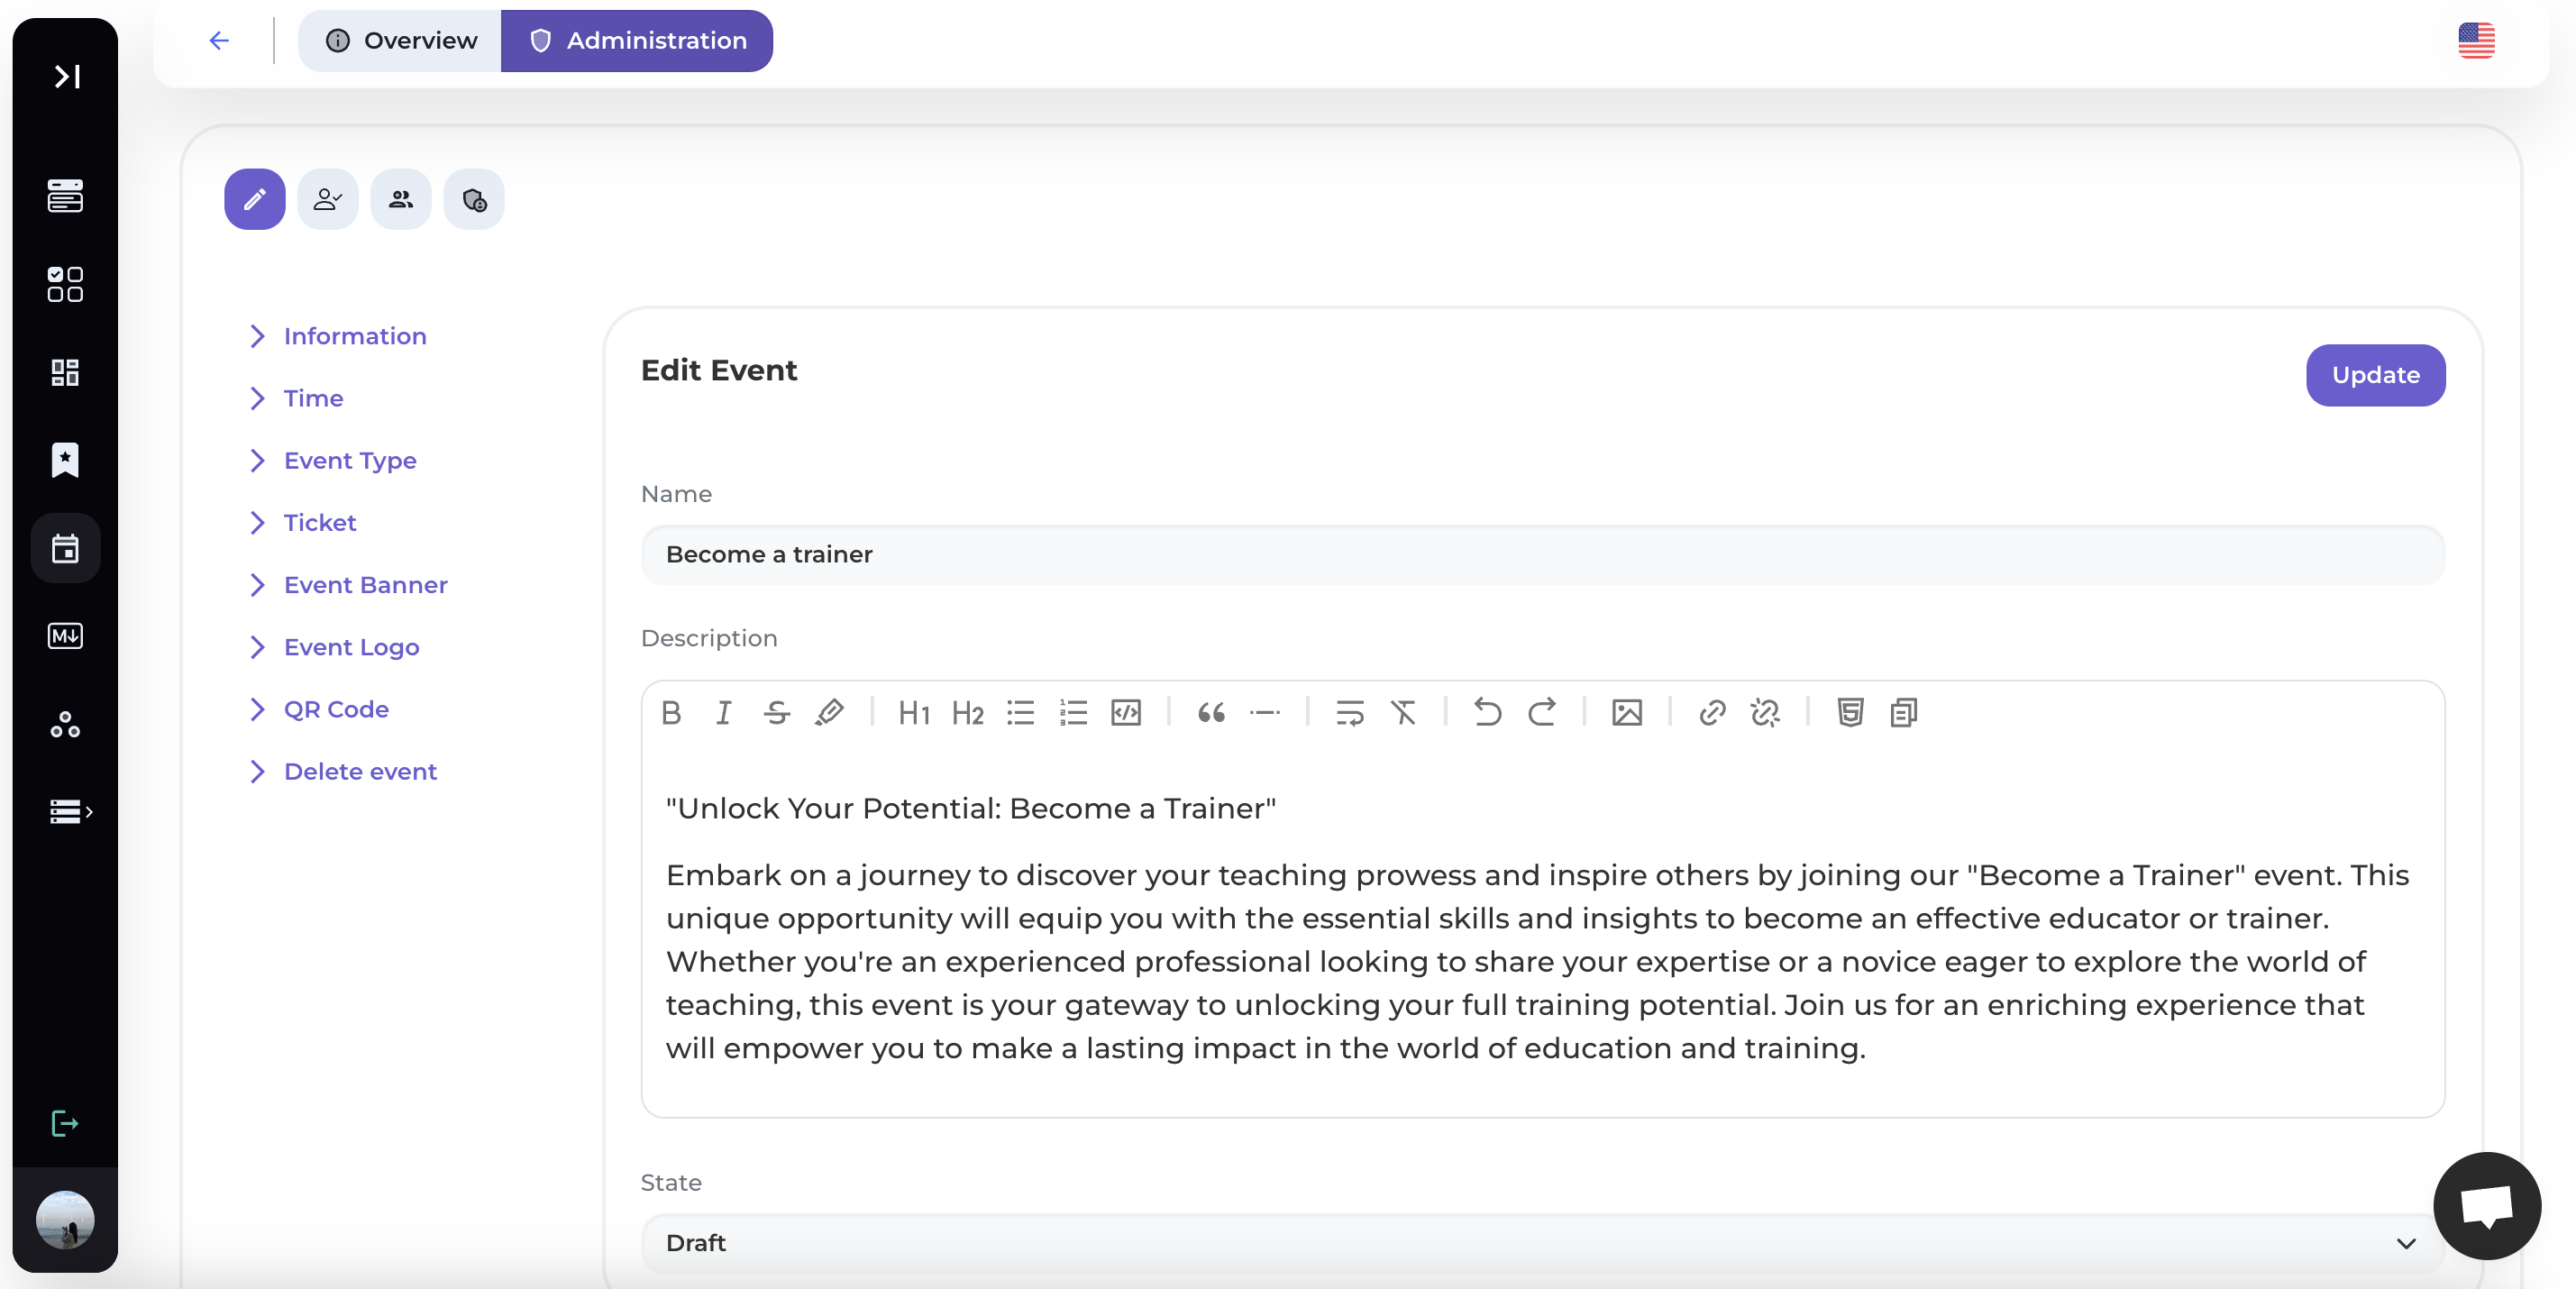
1. Edit Event
Step 1: Click on the Edit Icon
In the Administration section, click on the Edit icon to edit the event.
Step 2: Edit Event Information
Edit various event details, including:
- General Information: Name, description, and public status of the event.
- Time: Set the start and end times for the event.
- Event Type: Specify whether it's an Online or Offline event with the corresponding link.
- Ticket: Provide a link for ticket sales.
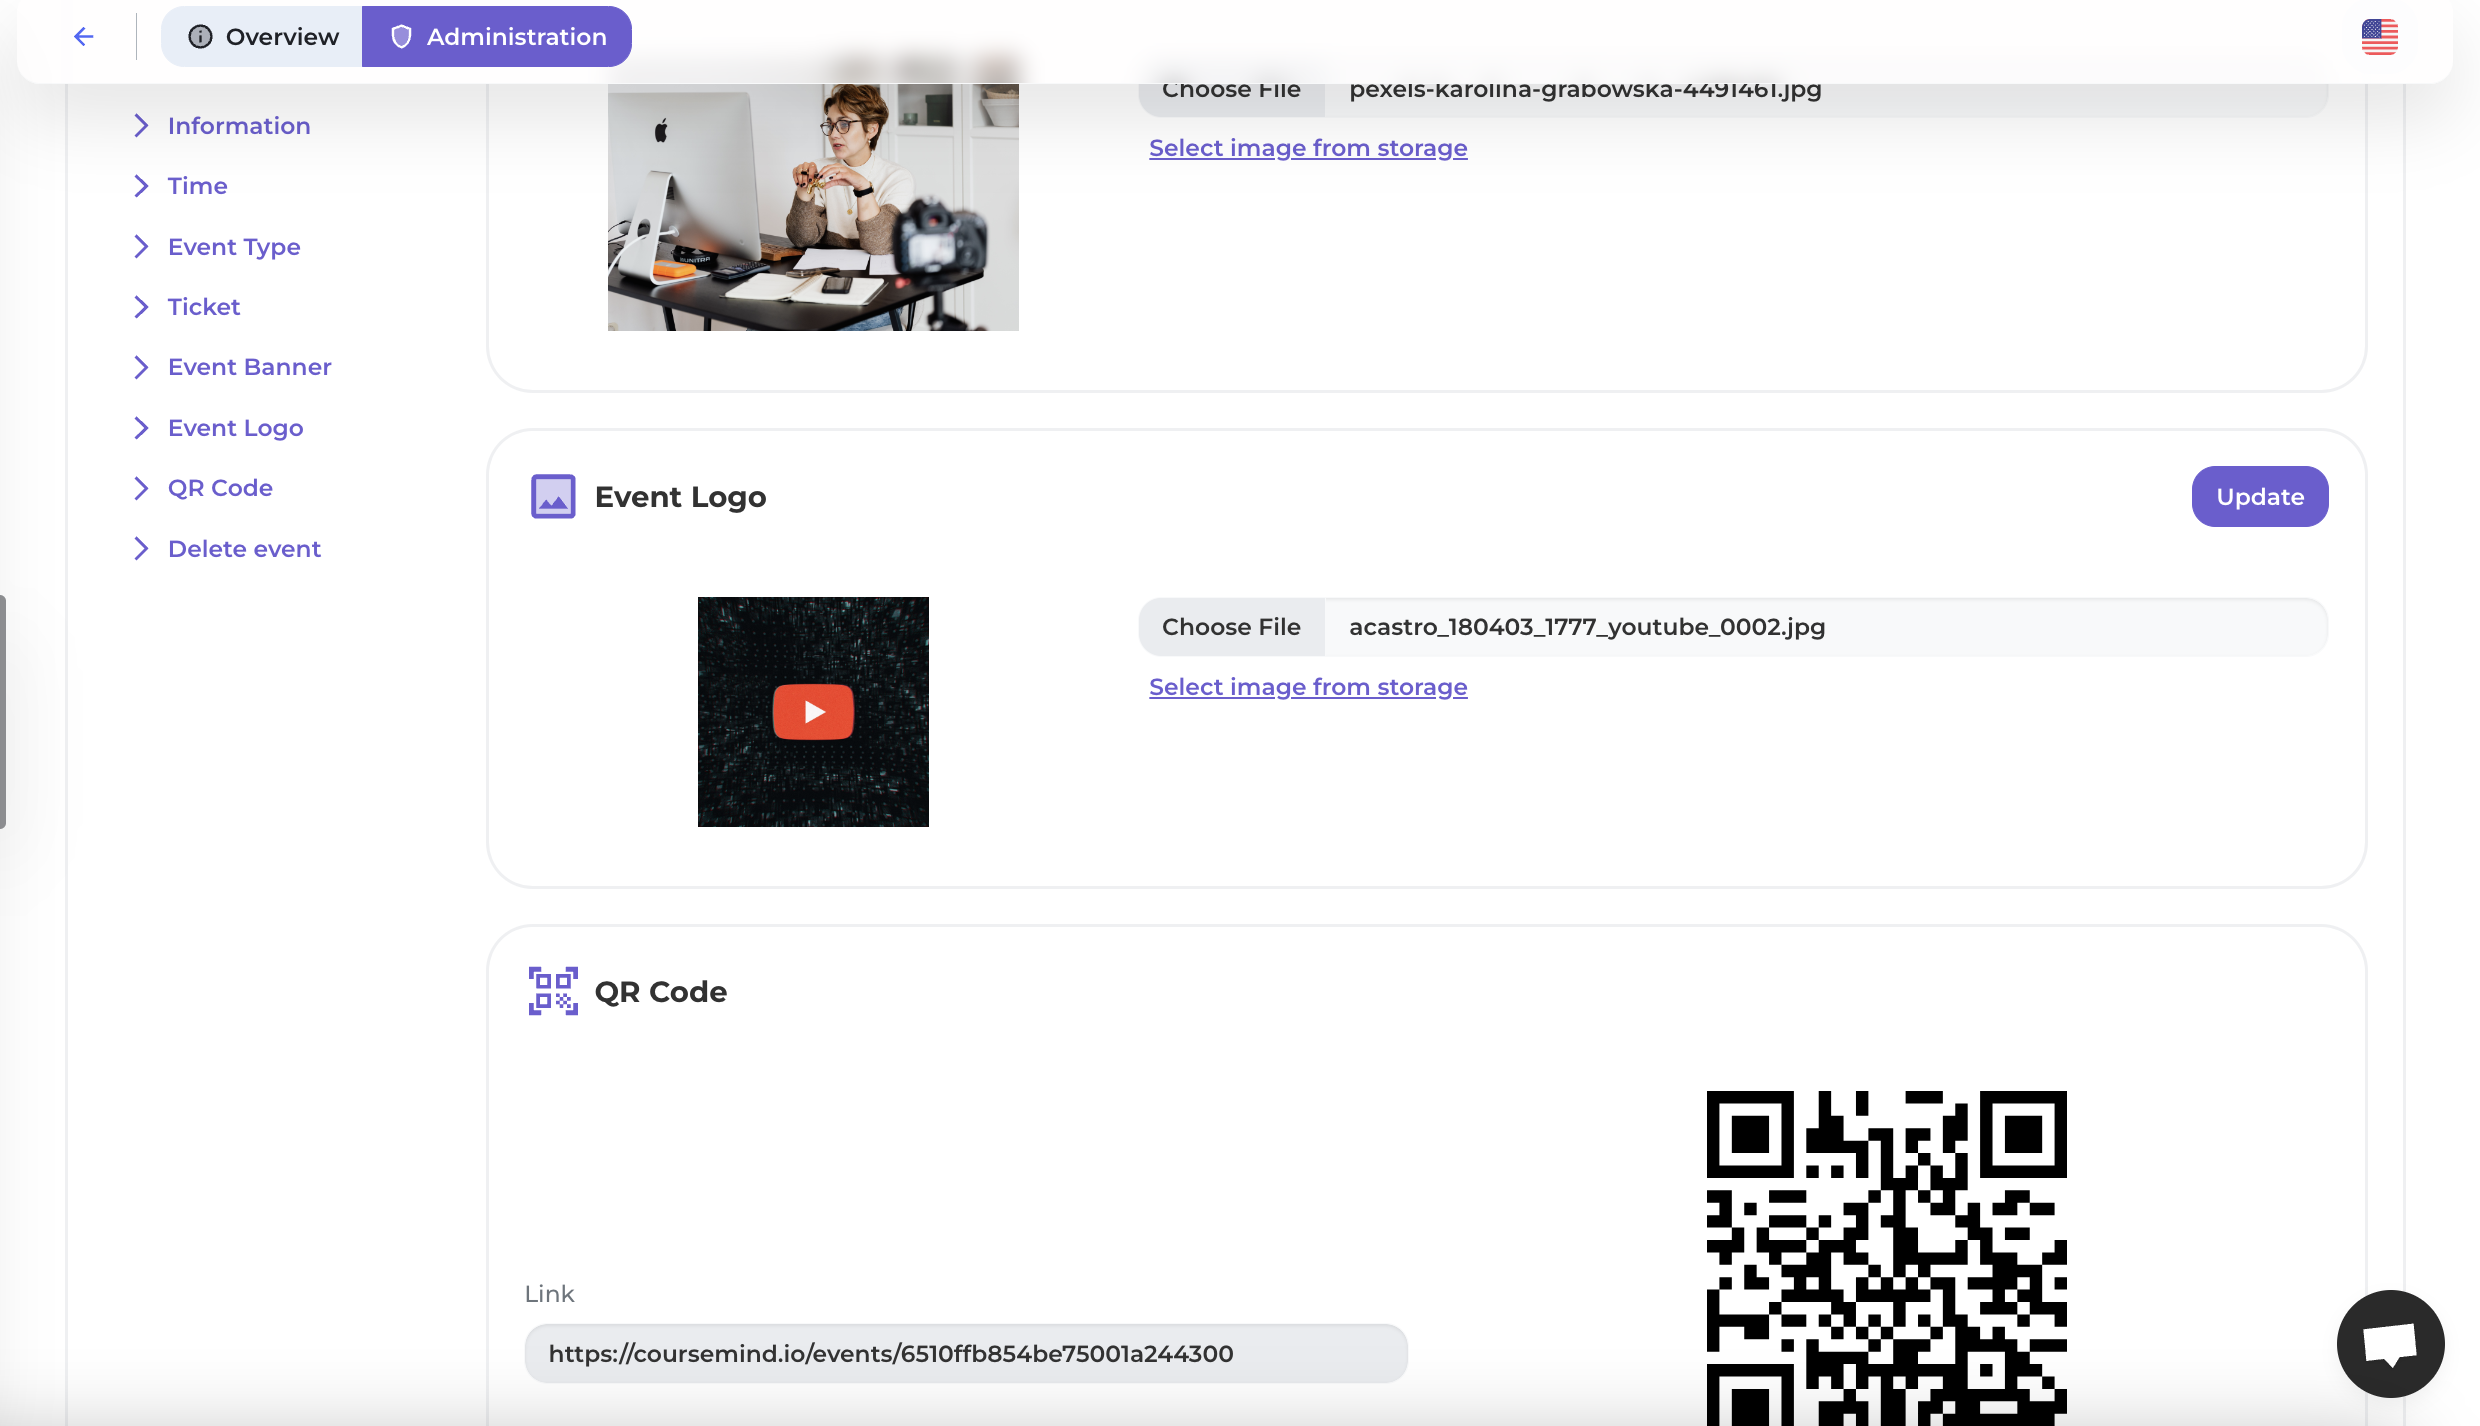
- Event Banner.
- Event Logo.
- QR Code: The event's QR code.
- Delete the event.
Step 3: Update
Click the [Update] button to update and save the event information.
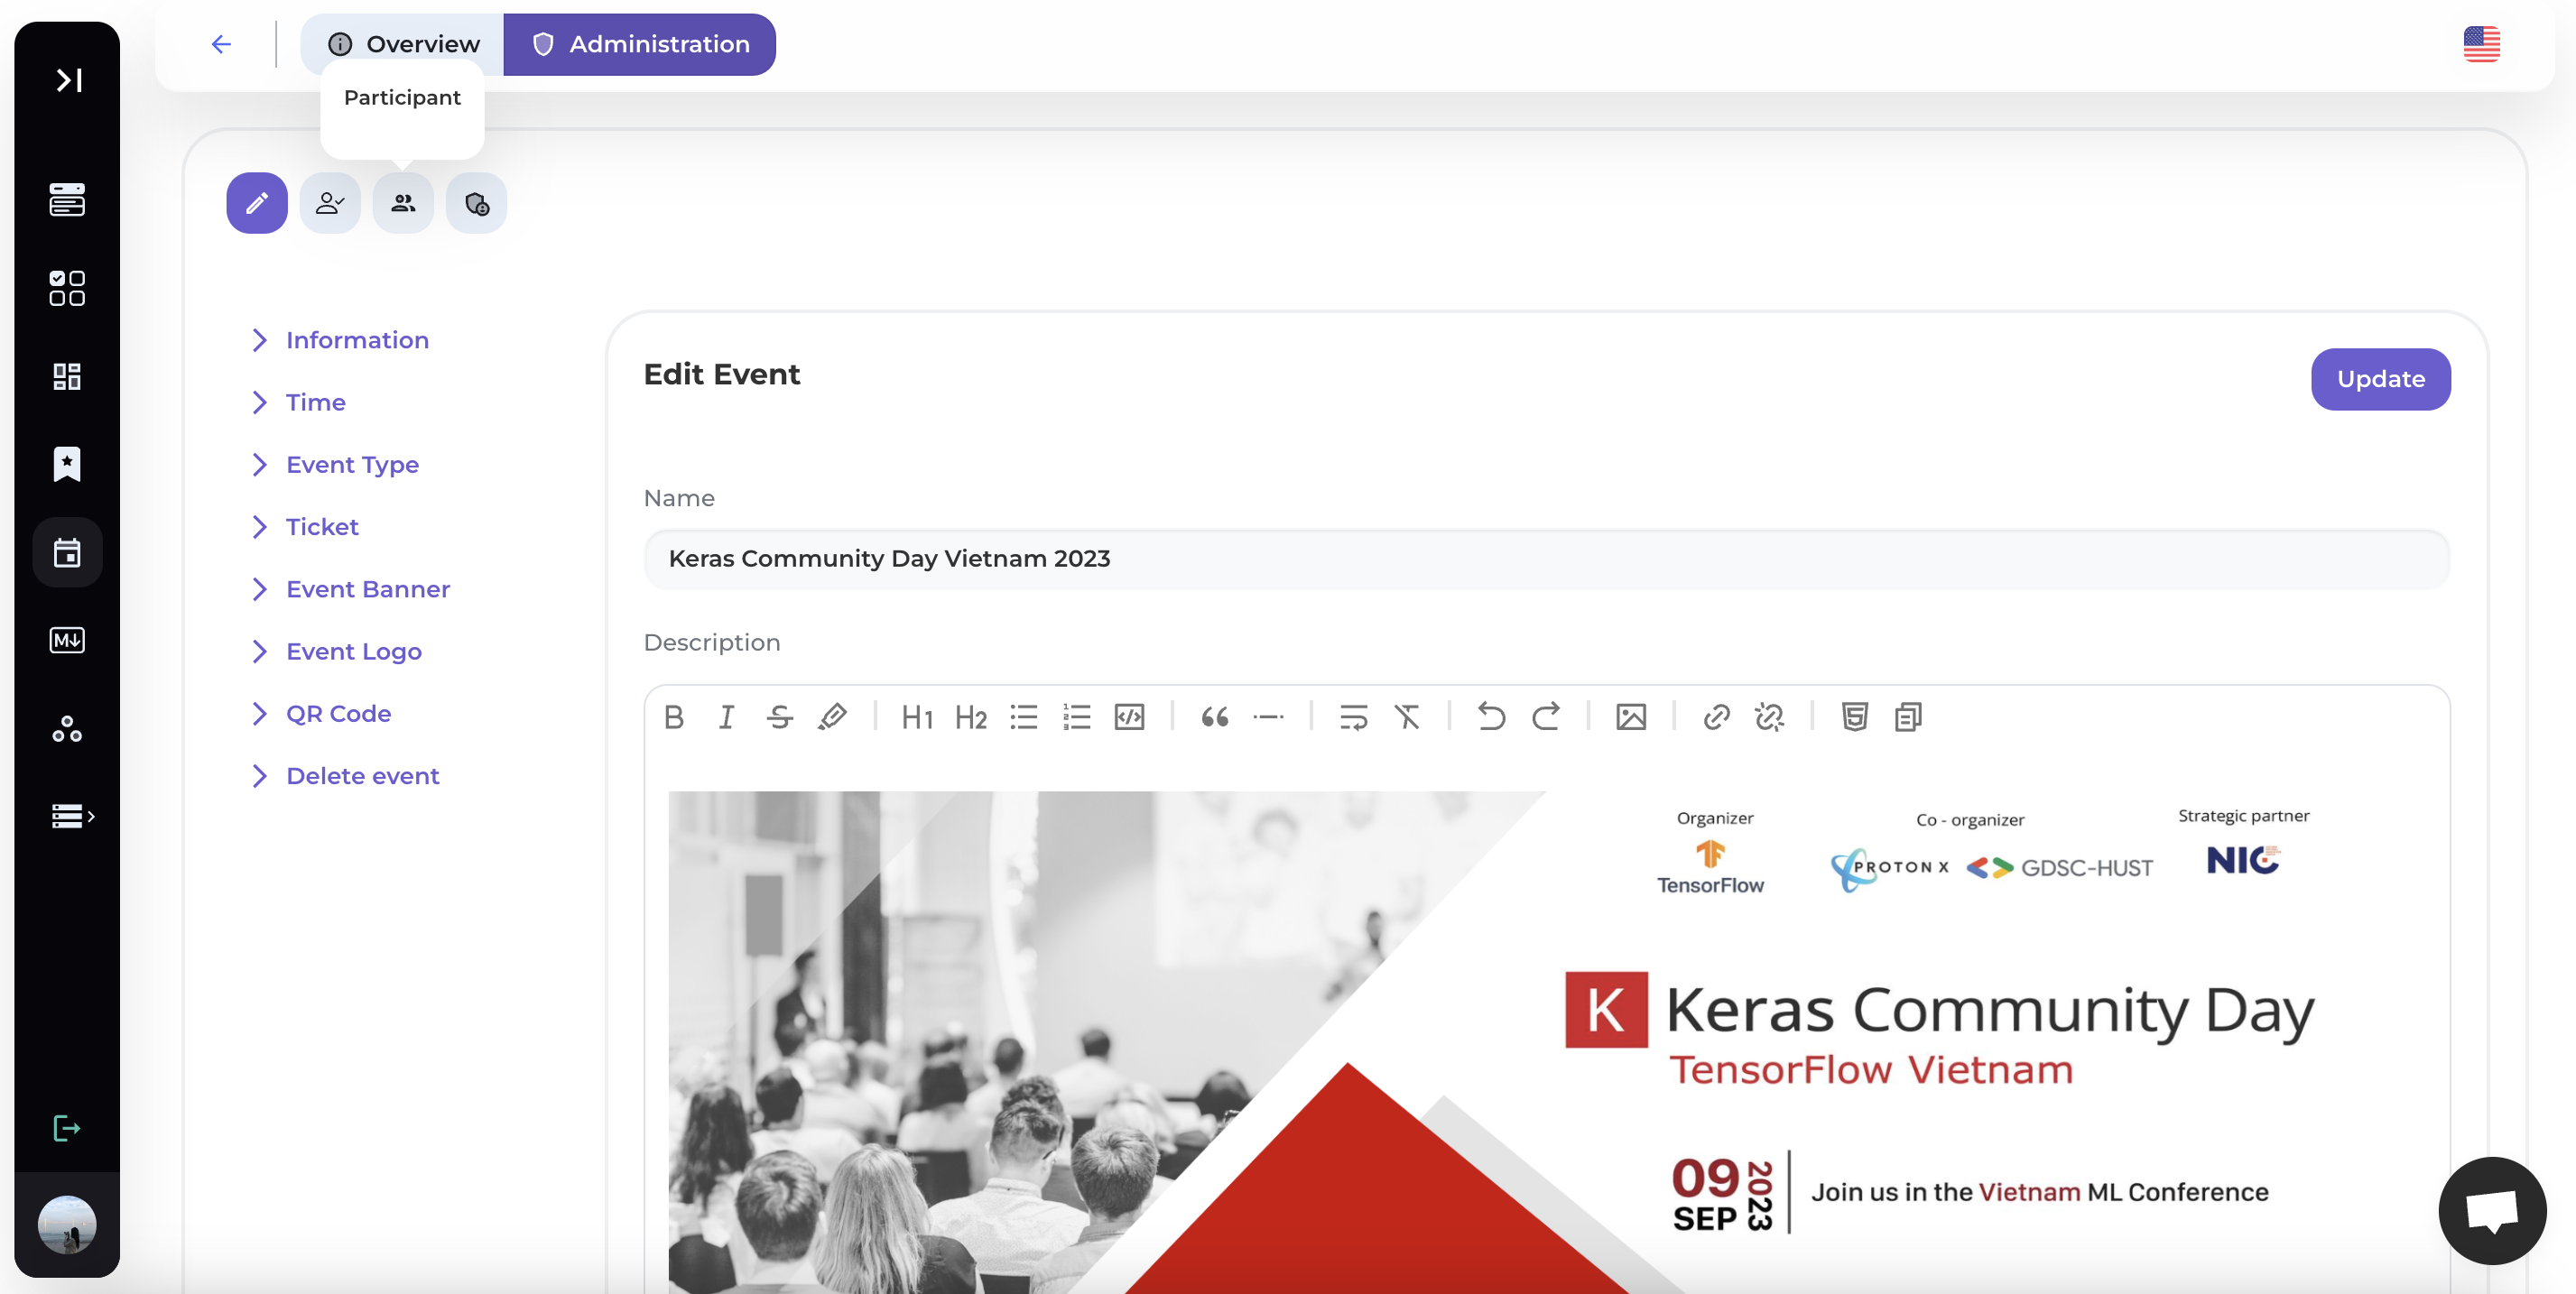
2. Participant
Step 1: Select the Participant Icon
In the Administration section, click on the Participant icon to view, add, and remove participant.
Step 2: View the List of Participants
The system will display a list of attendees, including their names and actions.

Click [Delete] to remove a participant if needed.
Step 3: Add Participants
Press the [Add Participants] button and enter an email to add participants to the event.

Click [Add] to confirm the addition.
3. Managers
Step 1: Select the Manager Icon
In the Administration section, click on the Manager icon to view, add, and remove managers.

Step 2: View the List of Managers
The system will display a list of managers, including their names and actions.
Click [Delete] to remove a manager if needed.
Step 3: Add Managers
Press the [Add Manager] button and enter an email to add event managers.

Click [Add] to confirm the addition.
4. Event Check-in
Please refer to the detailed instructions in the Automatic Event Check-in Guide.