Class Management: Set up auto-email campaign
Step 1: Access https://coursemind.io/courses
Step 2: Access a class that you manage.
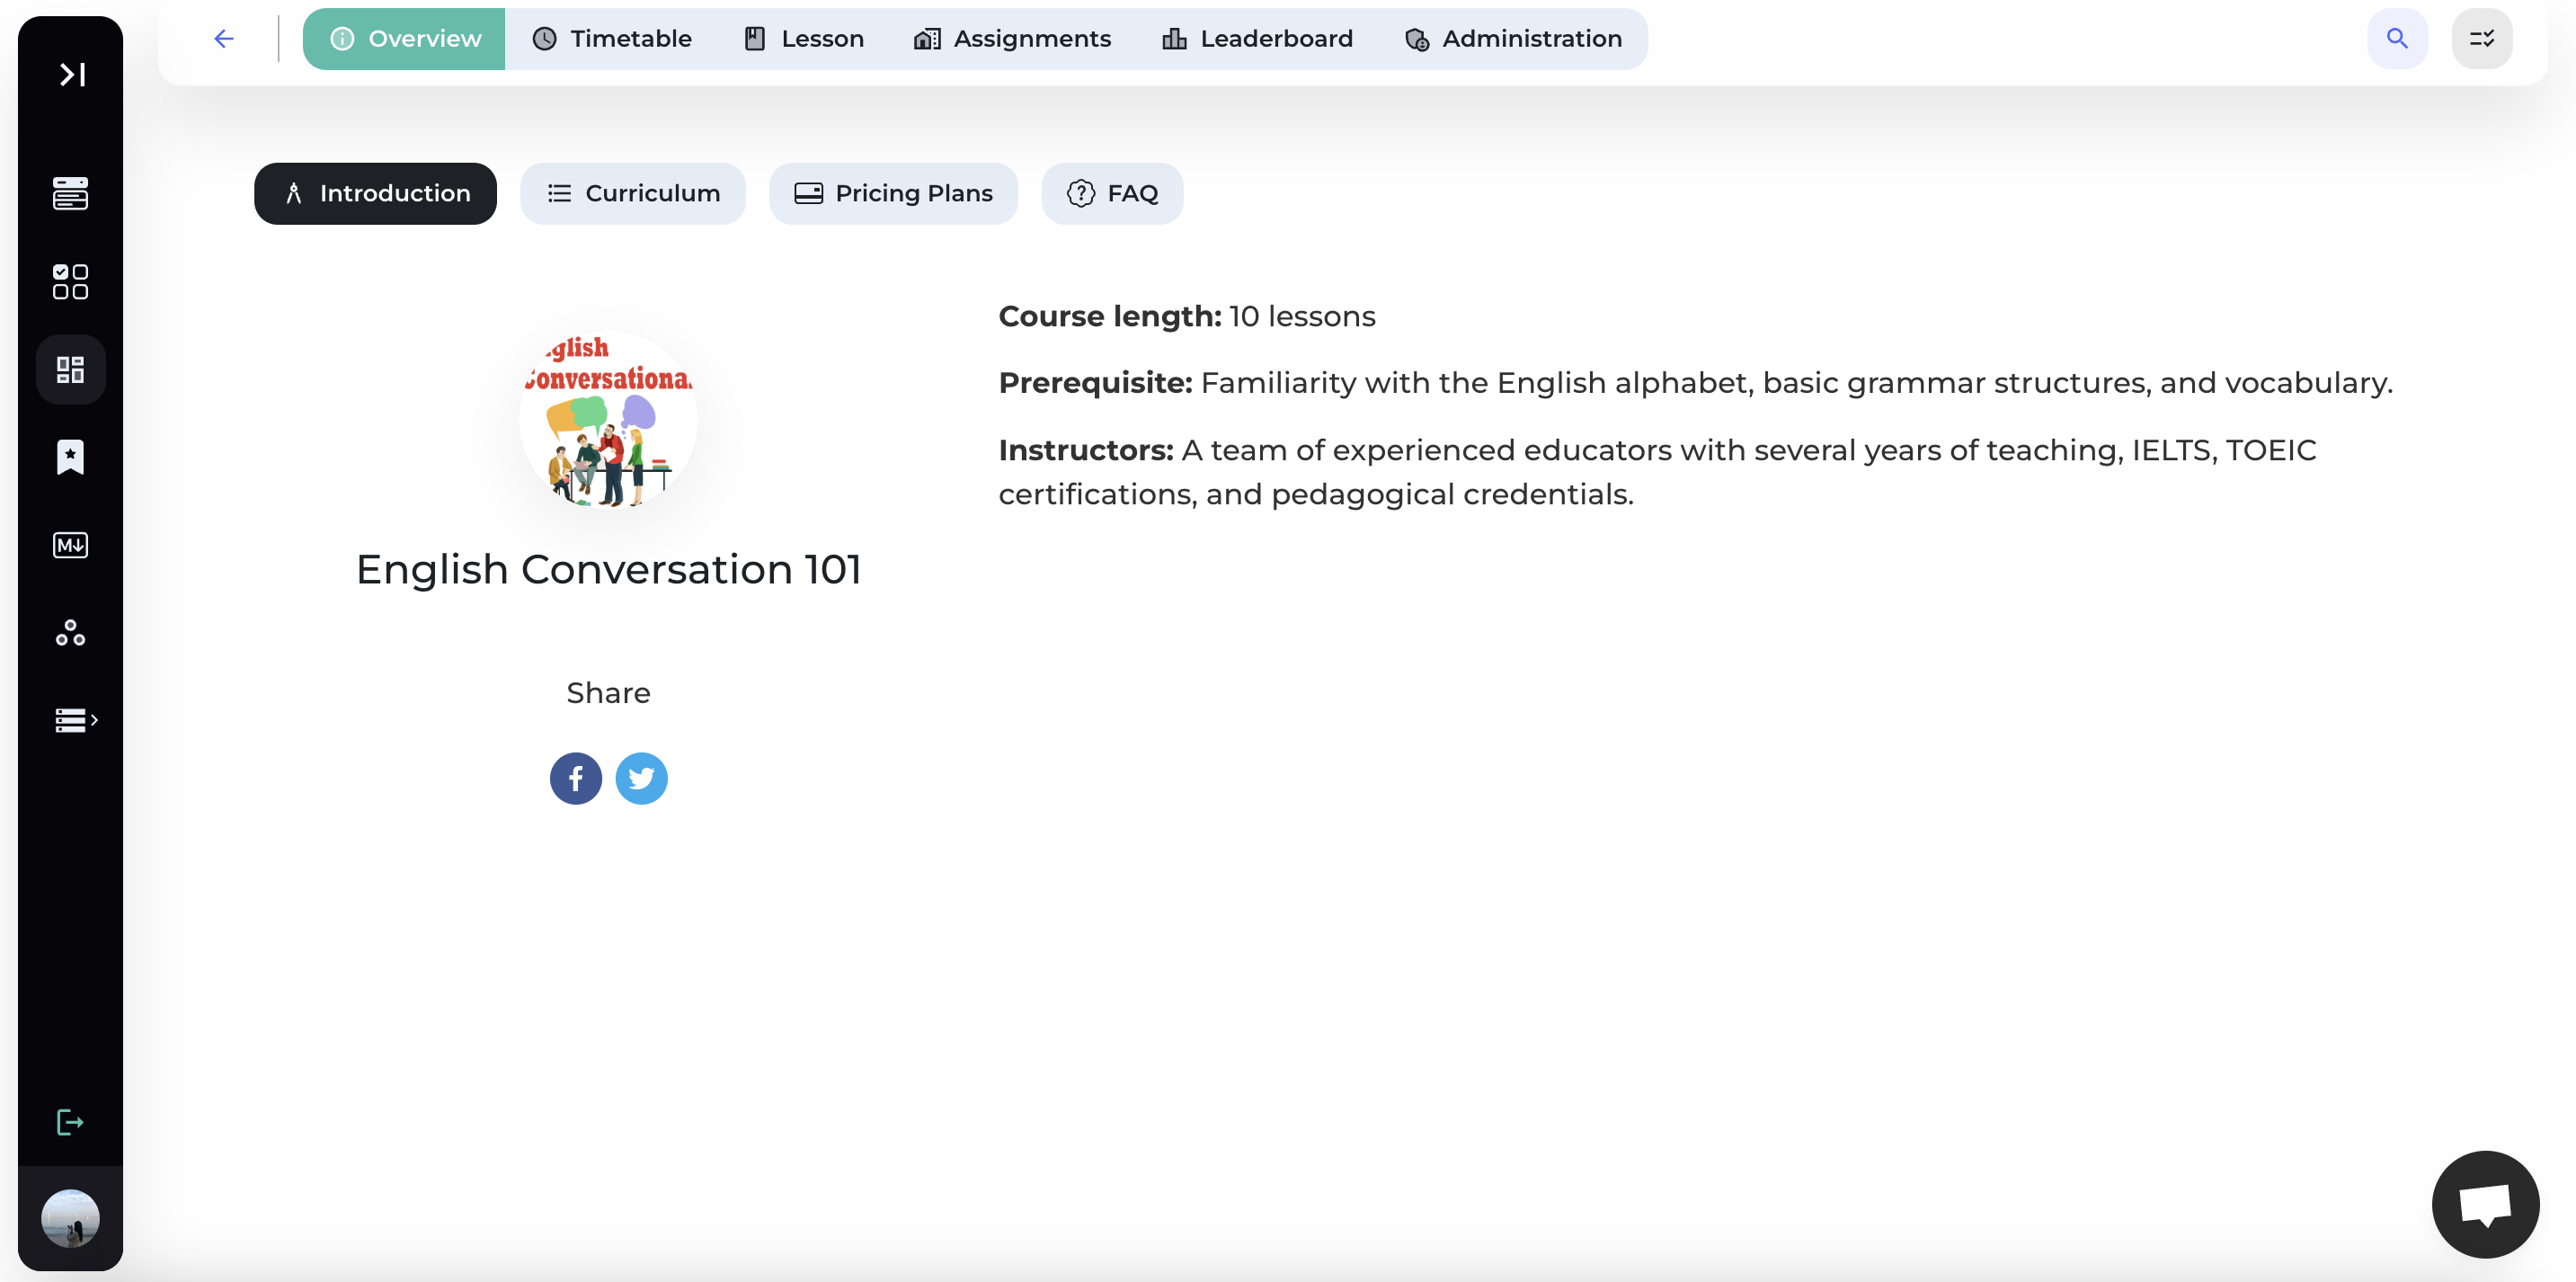
Step 3: Select [Administration] on the toolbar.

Step 4: Select the [Email] section to configure emails for various tasks.

1. Create email
Step 1: Select [Send emails]
Step 2: Select email sent
Select the sending email address for the emails you'll send to your students.

Step 3: Choose the receivers
Choose the recipients for your email campaign. You can select to send it to all students in the class, individual students, or specific groups (e.g., those who have viewed the course but haven't registered/those who have registered but haven't completed the tuition).
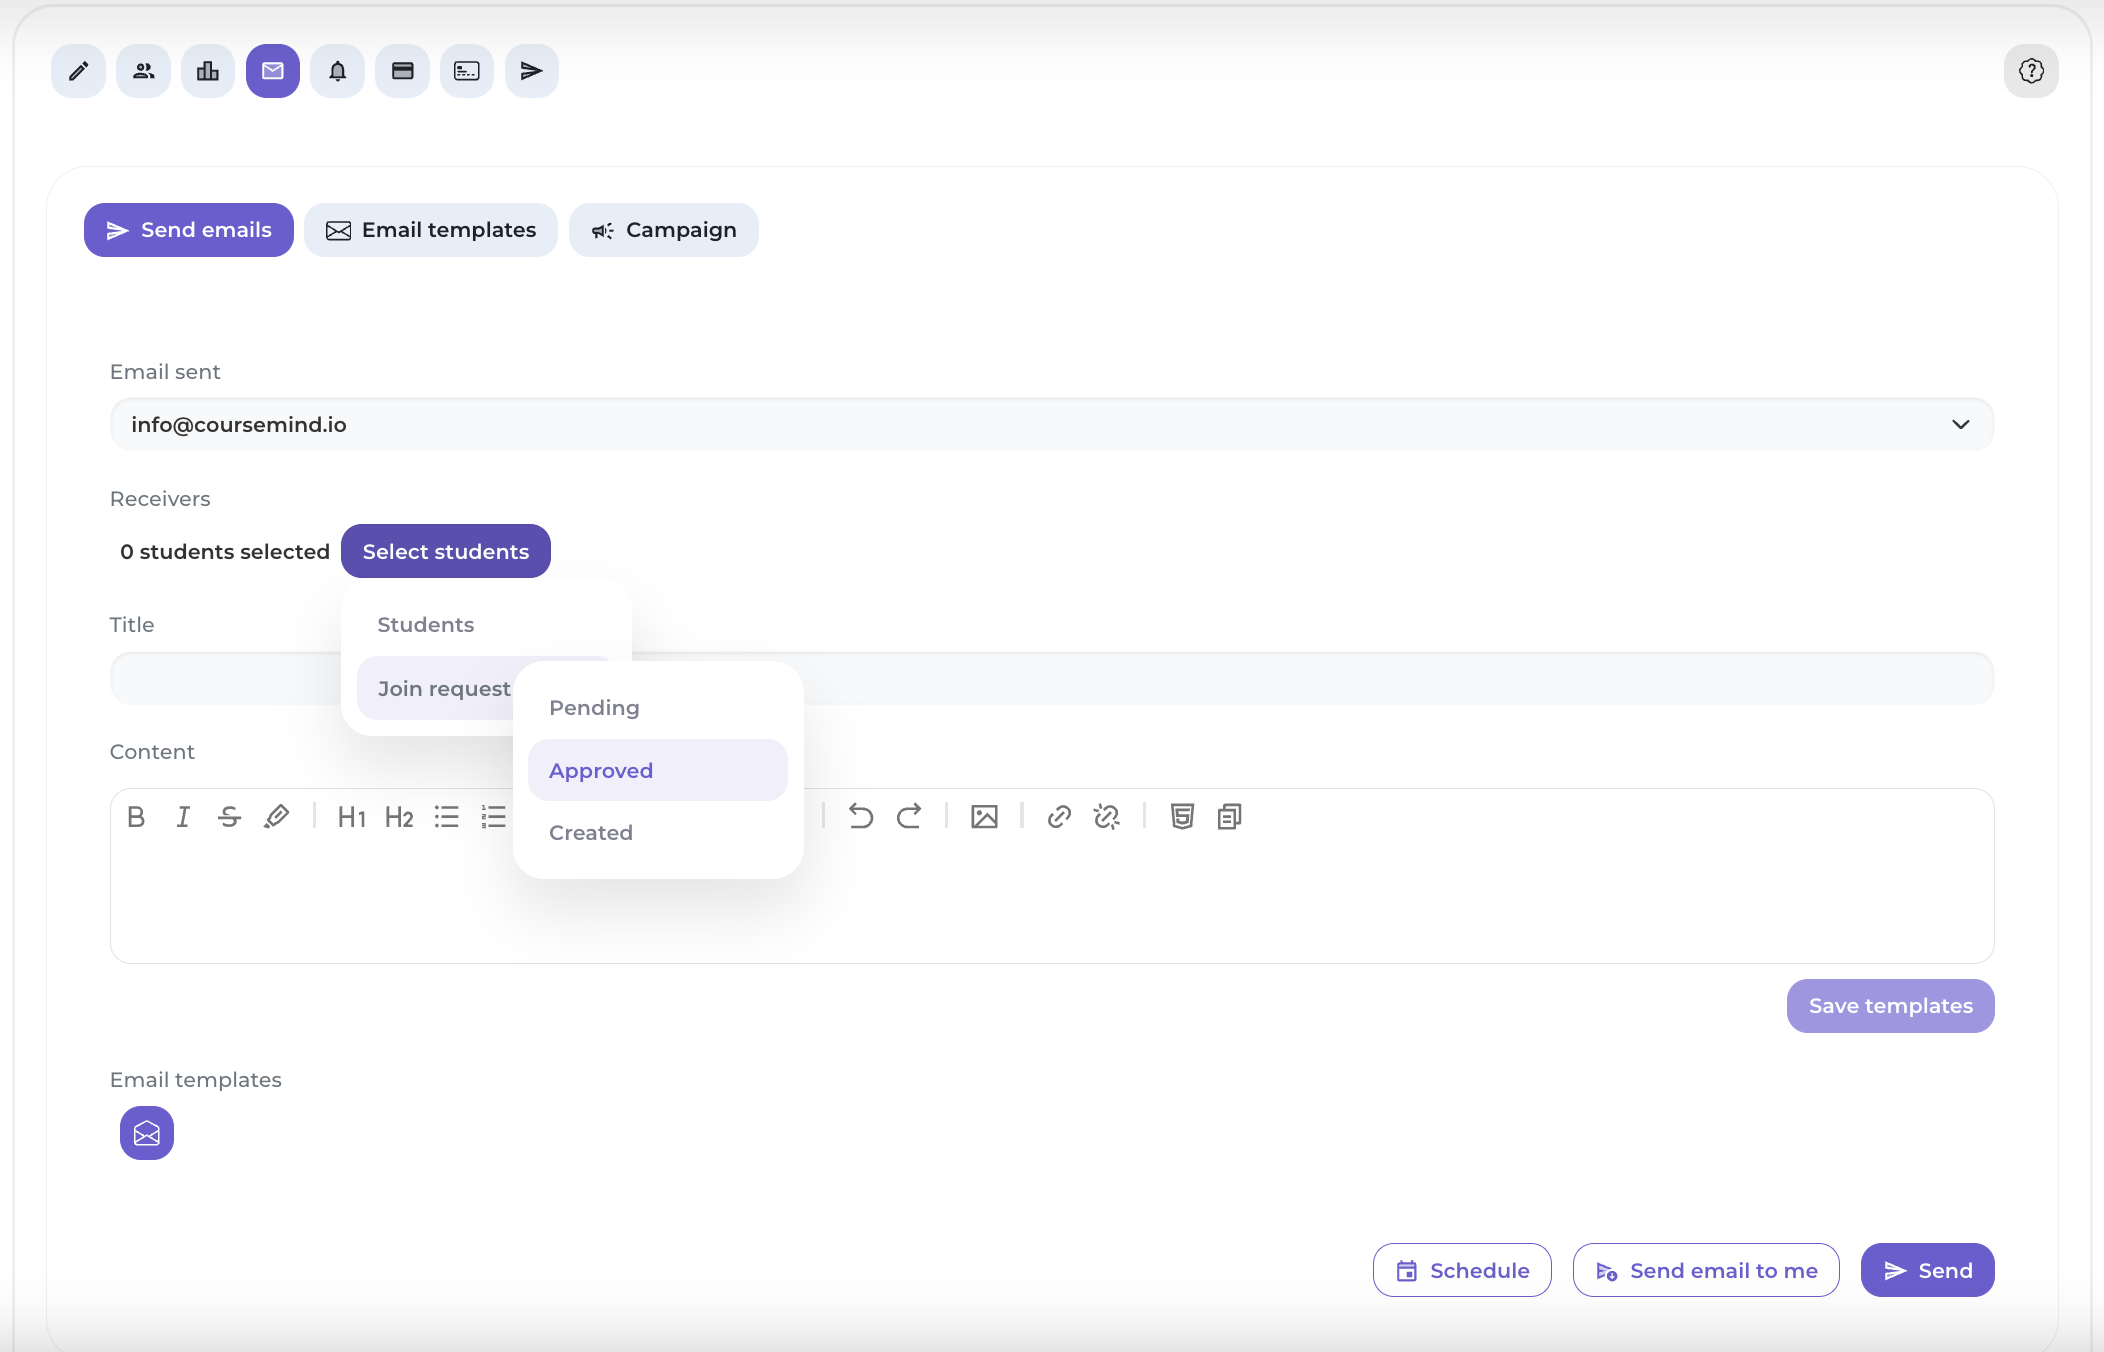

Step 4: Enter email content.
Enter the email title and content you want to send. If you want to use it multiple times, please press [Save Template] to save the email template you've created.

Note: You can choose from available email templates to save time by clicking [Email Templates].

2. Send Email / Create Automated Email Campaign
After creating/selecting the email template, you can proceed to send the email or create an automated email campaign for the students.
Re-check the email / Send a test email.
Click the [Send email to me] button to receive a system test email in your inbox.
Send email
Click the [Send] button to send the email immediately.
Create an automated email campaign.
Click the [Schedule] button to set up an automated email send schedule.

Enter the campaign name, description, and the time for your campaign. When the set time arrives, the system will automatically send emails to the recipient list you've selected.
3. Email templates
Step 1: Click [Email Templates] on the toolbar.
Click [Email Templates] on the toolbar to view and manage your email templates.
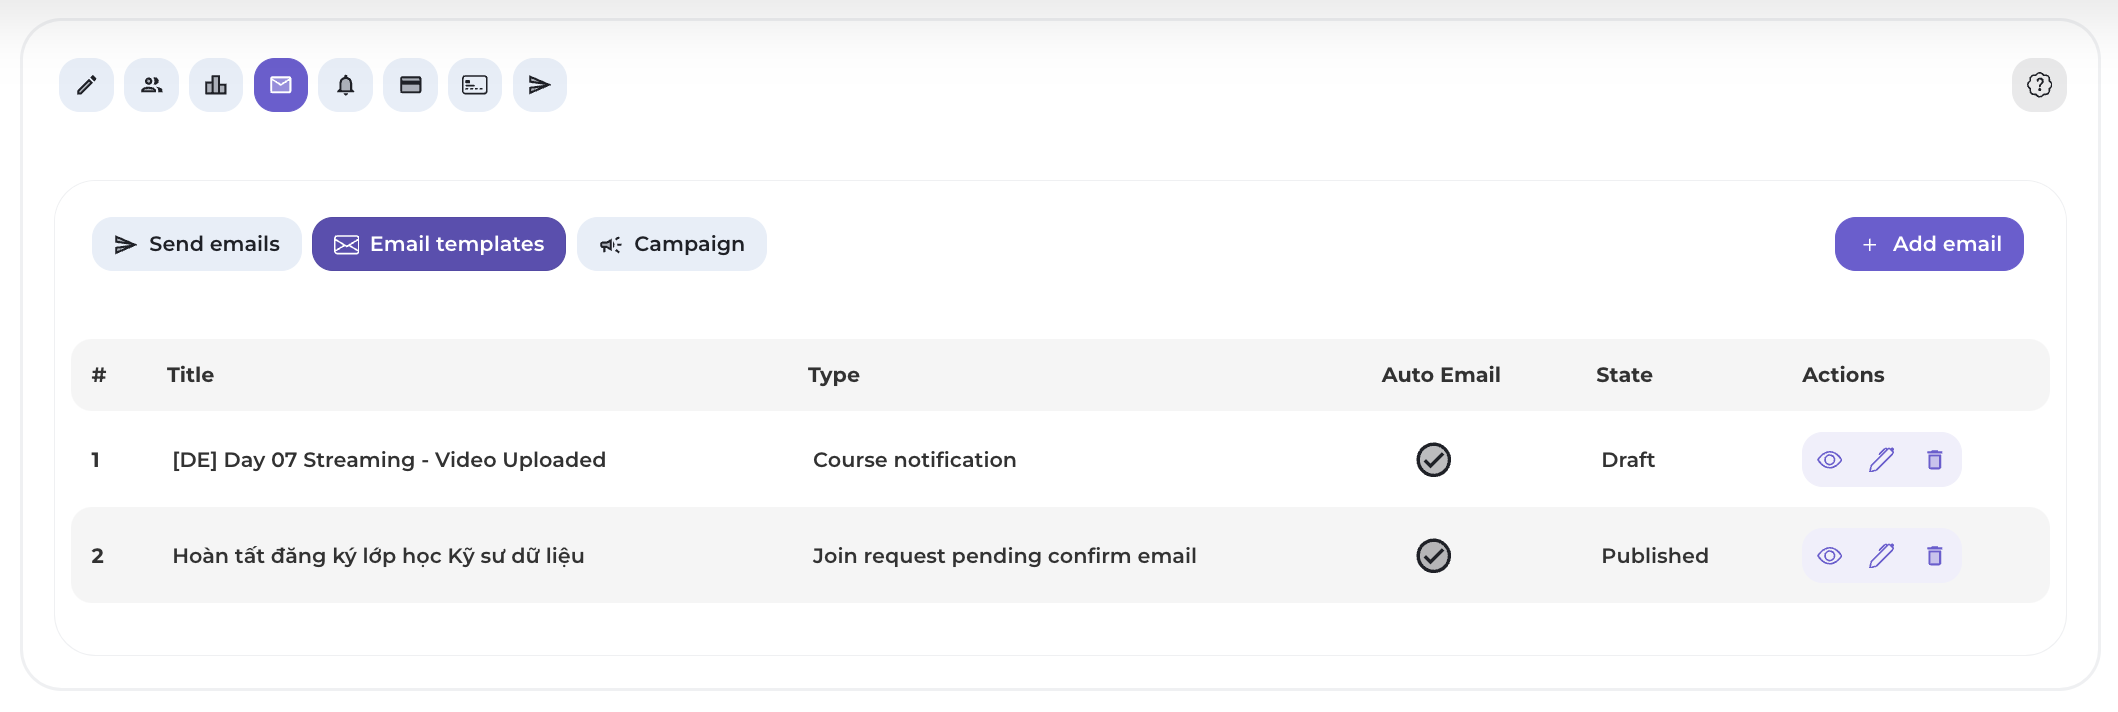
The system will display a list of the email templates you have saved for the course with the following details:
- Title: Email subject
- Type: Email type
- Automated Email: Yes/No
- Status: Published/Draft
- Actions: View/Edit/Delete email
Step 2: Add an email template.
Click the [Add Email] button to create a new email template.

Enter all the necessary information and click [Create] to save the email template.
Note:
- When you select auto email, there are two types of emails for you to choose from, including:

Join request pending confirm email: This email will be sent automatically when a user signs up for a subscription plan for your course.

Auto approval confirm email: This email will be sent automatically when your class turns on auto approval mode, and registrants will receive the email right after they sign up for your course.

- If you only need to send course notifications, please do not select auto email.

Step 3: Manage Email Templates
You can manage email templates through the 'Actions' menu of each specific template.
- Click the [View] icon to view the email template.

- Click the [Edit] icon to edit the email template.

- Click the [Delete] icon to delete the email template.
4. Campaign
To track the email campaigns you've created, please go to the [Campaign] section on the toolbar.
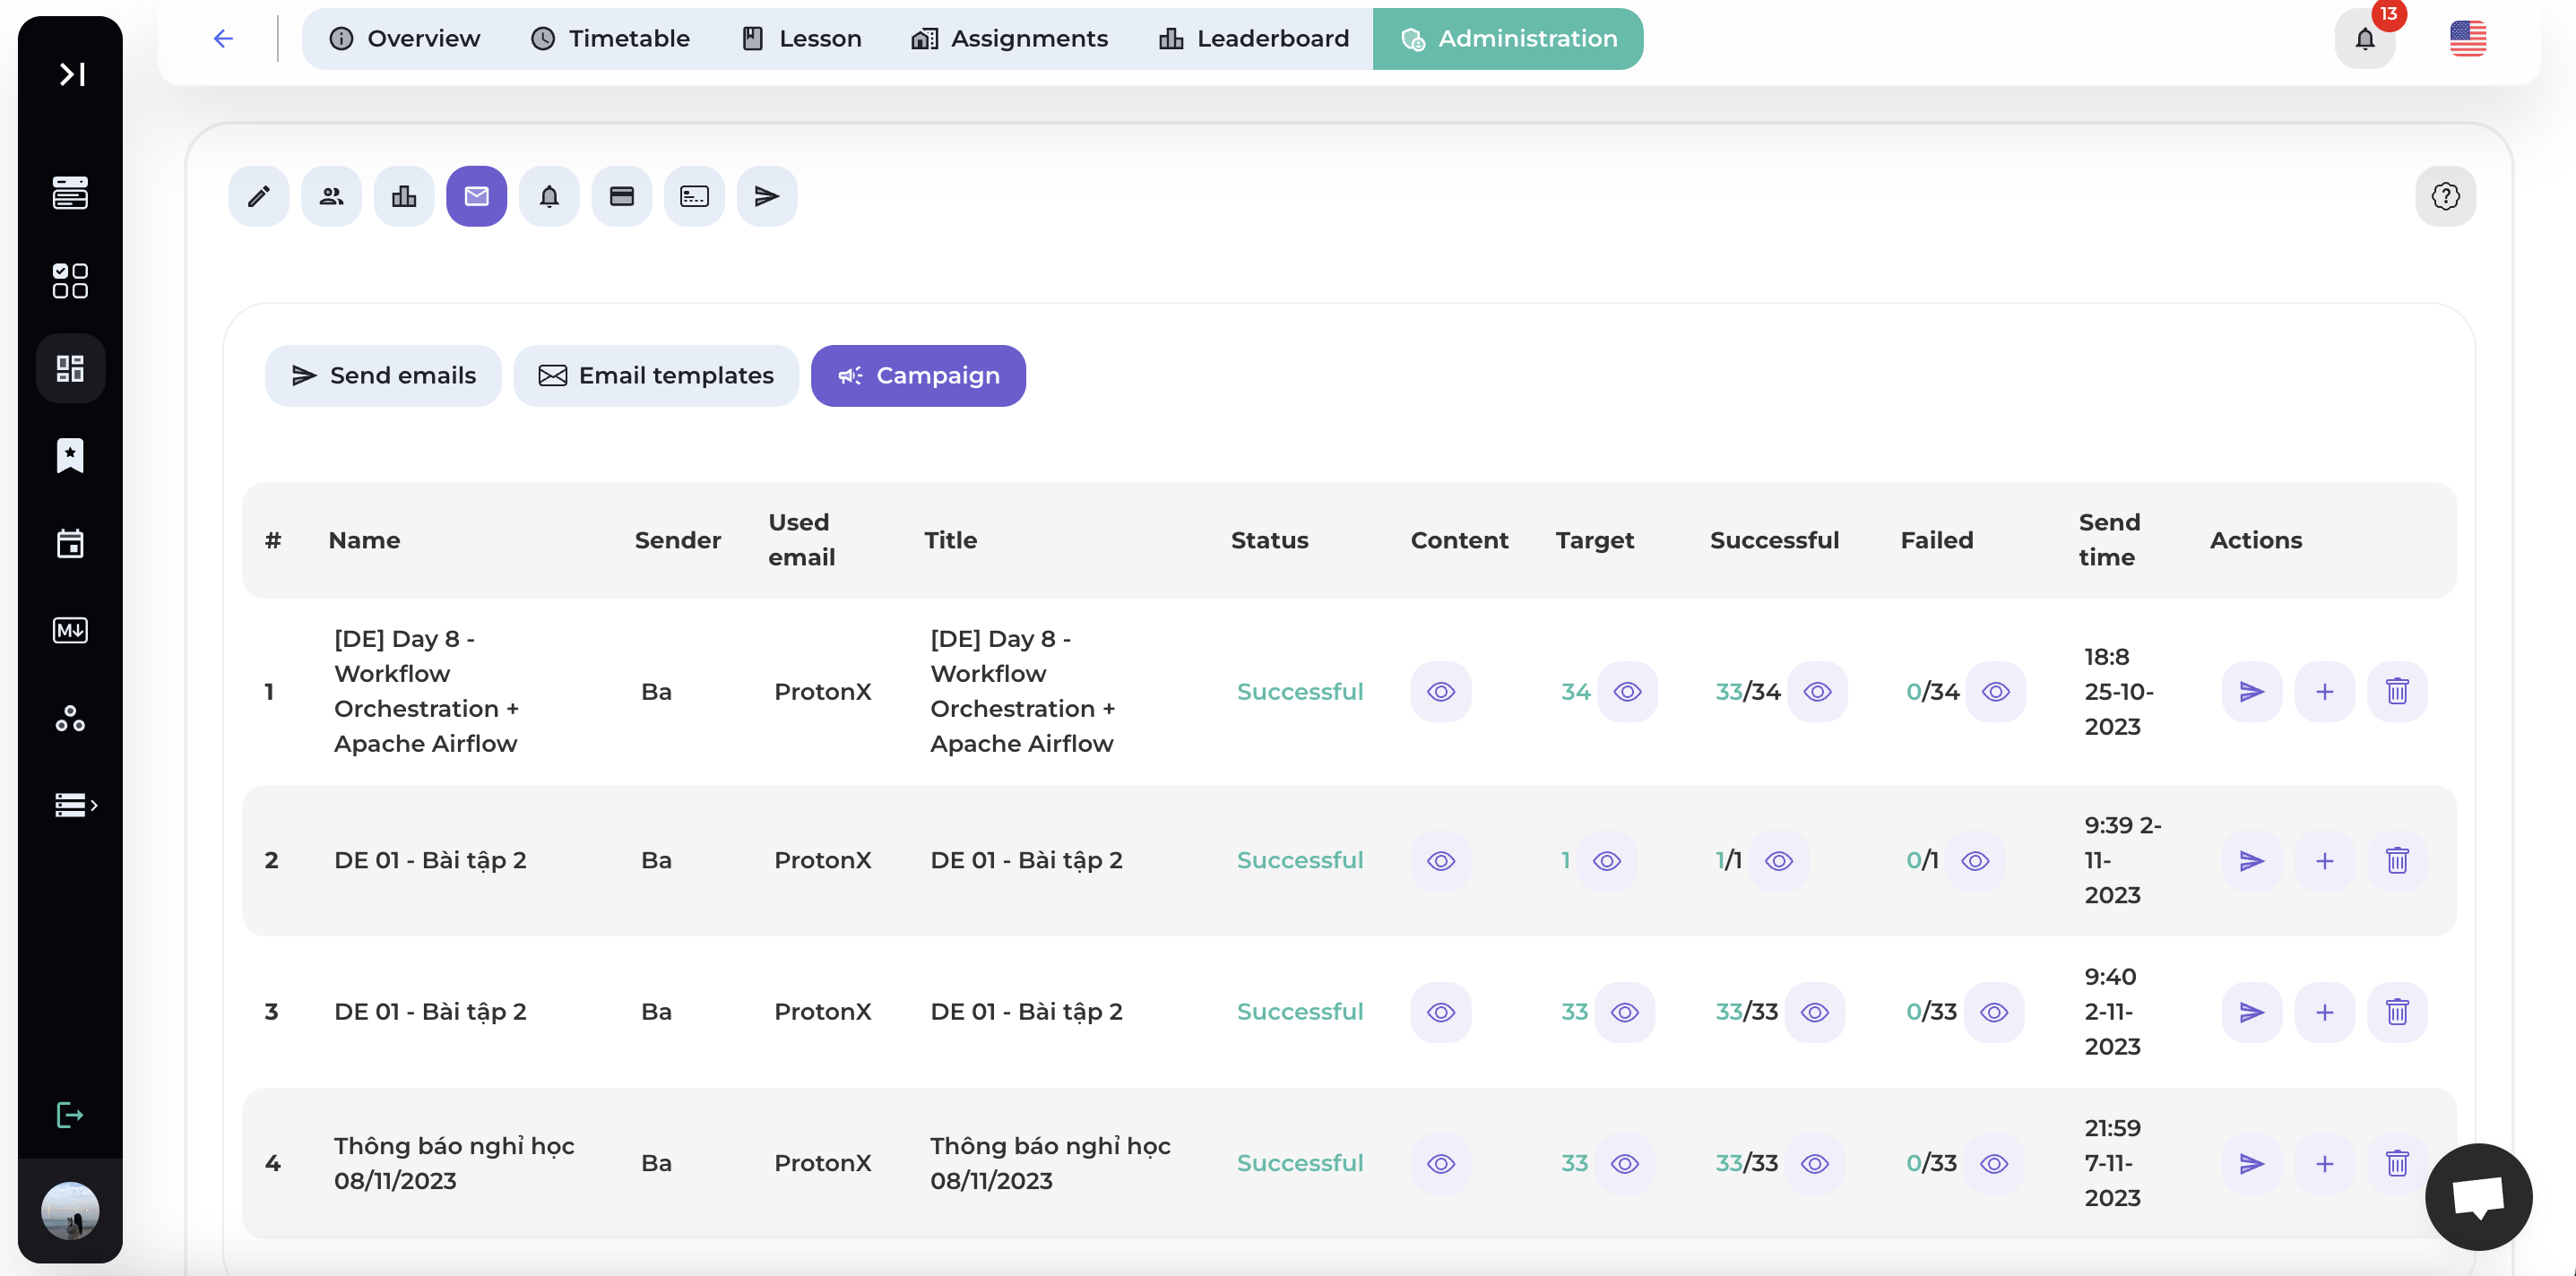
The system will automatically display a list of the campaigns you've created and provide detailed statistics on the campaign's status, the number of successful/failed deliveries.
4.1. Send campaign
Step 1: In the Action section of the campaign you want to send, click the [Send] icon.

Step 2: Choose the target audience for your campaign (Unsend users/ All users).

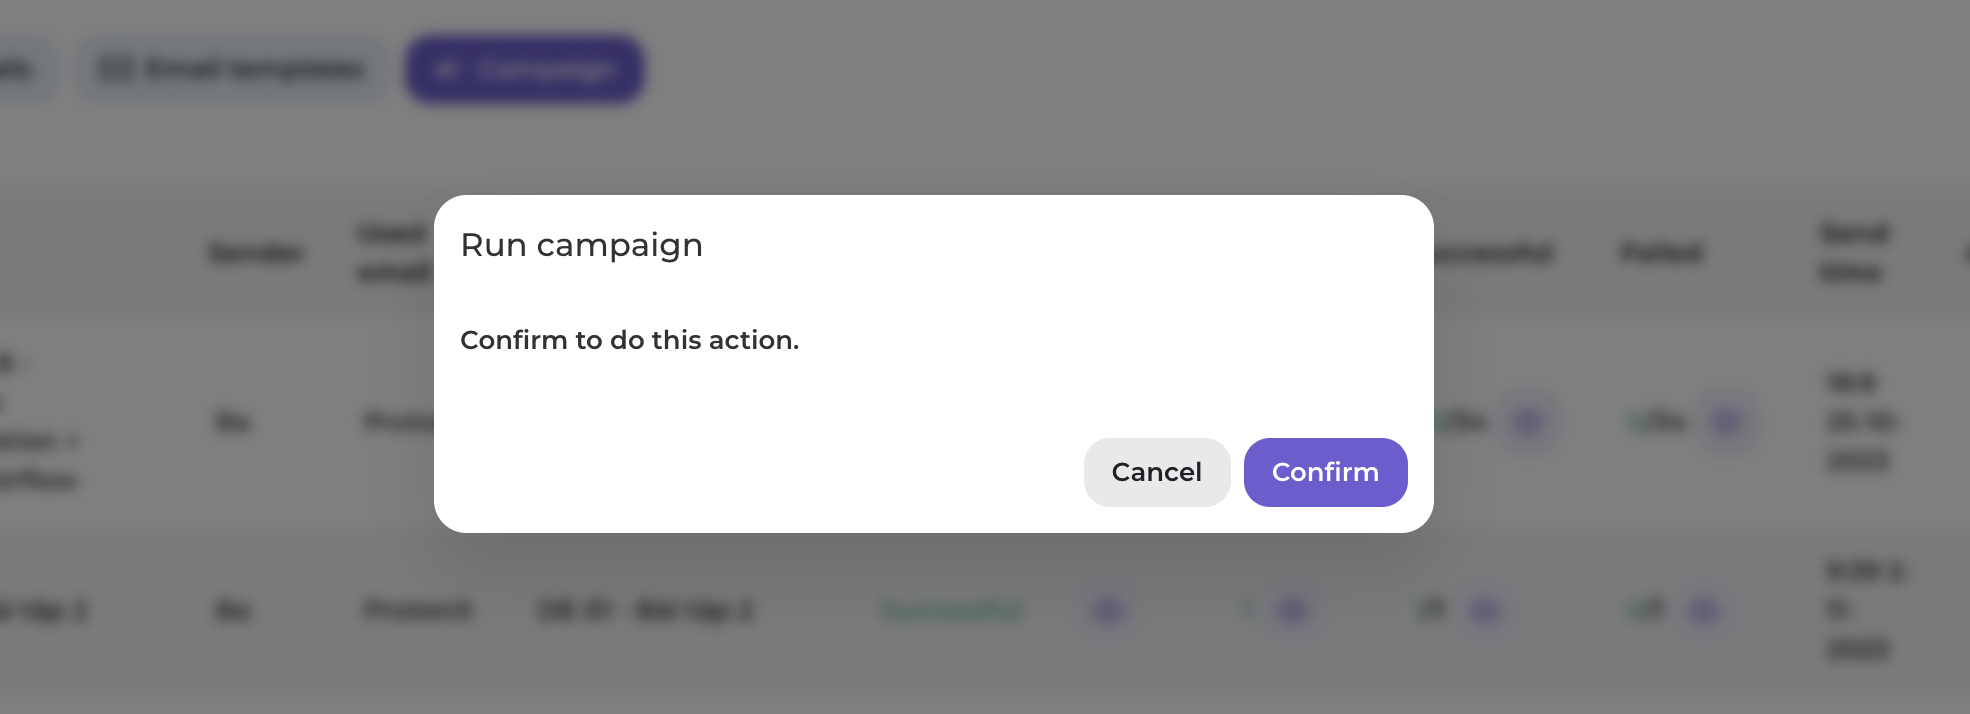
Step 3: Run campaign
4.2. Add Targets
Here, you can proceed to add more targets (recipients) to your campaign.
Step 1: In the Action section of the campaign where you want to add targets, click the [Add Targets] icon

Step 2: Select [From course]

Step 3: Search for or select the course you want to add as a target
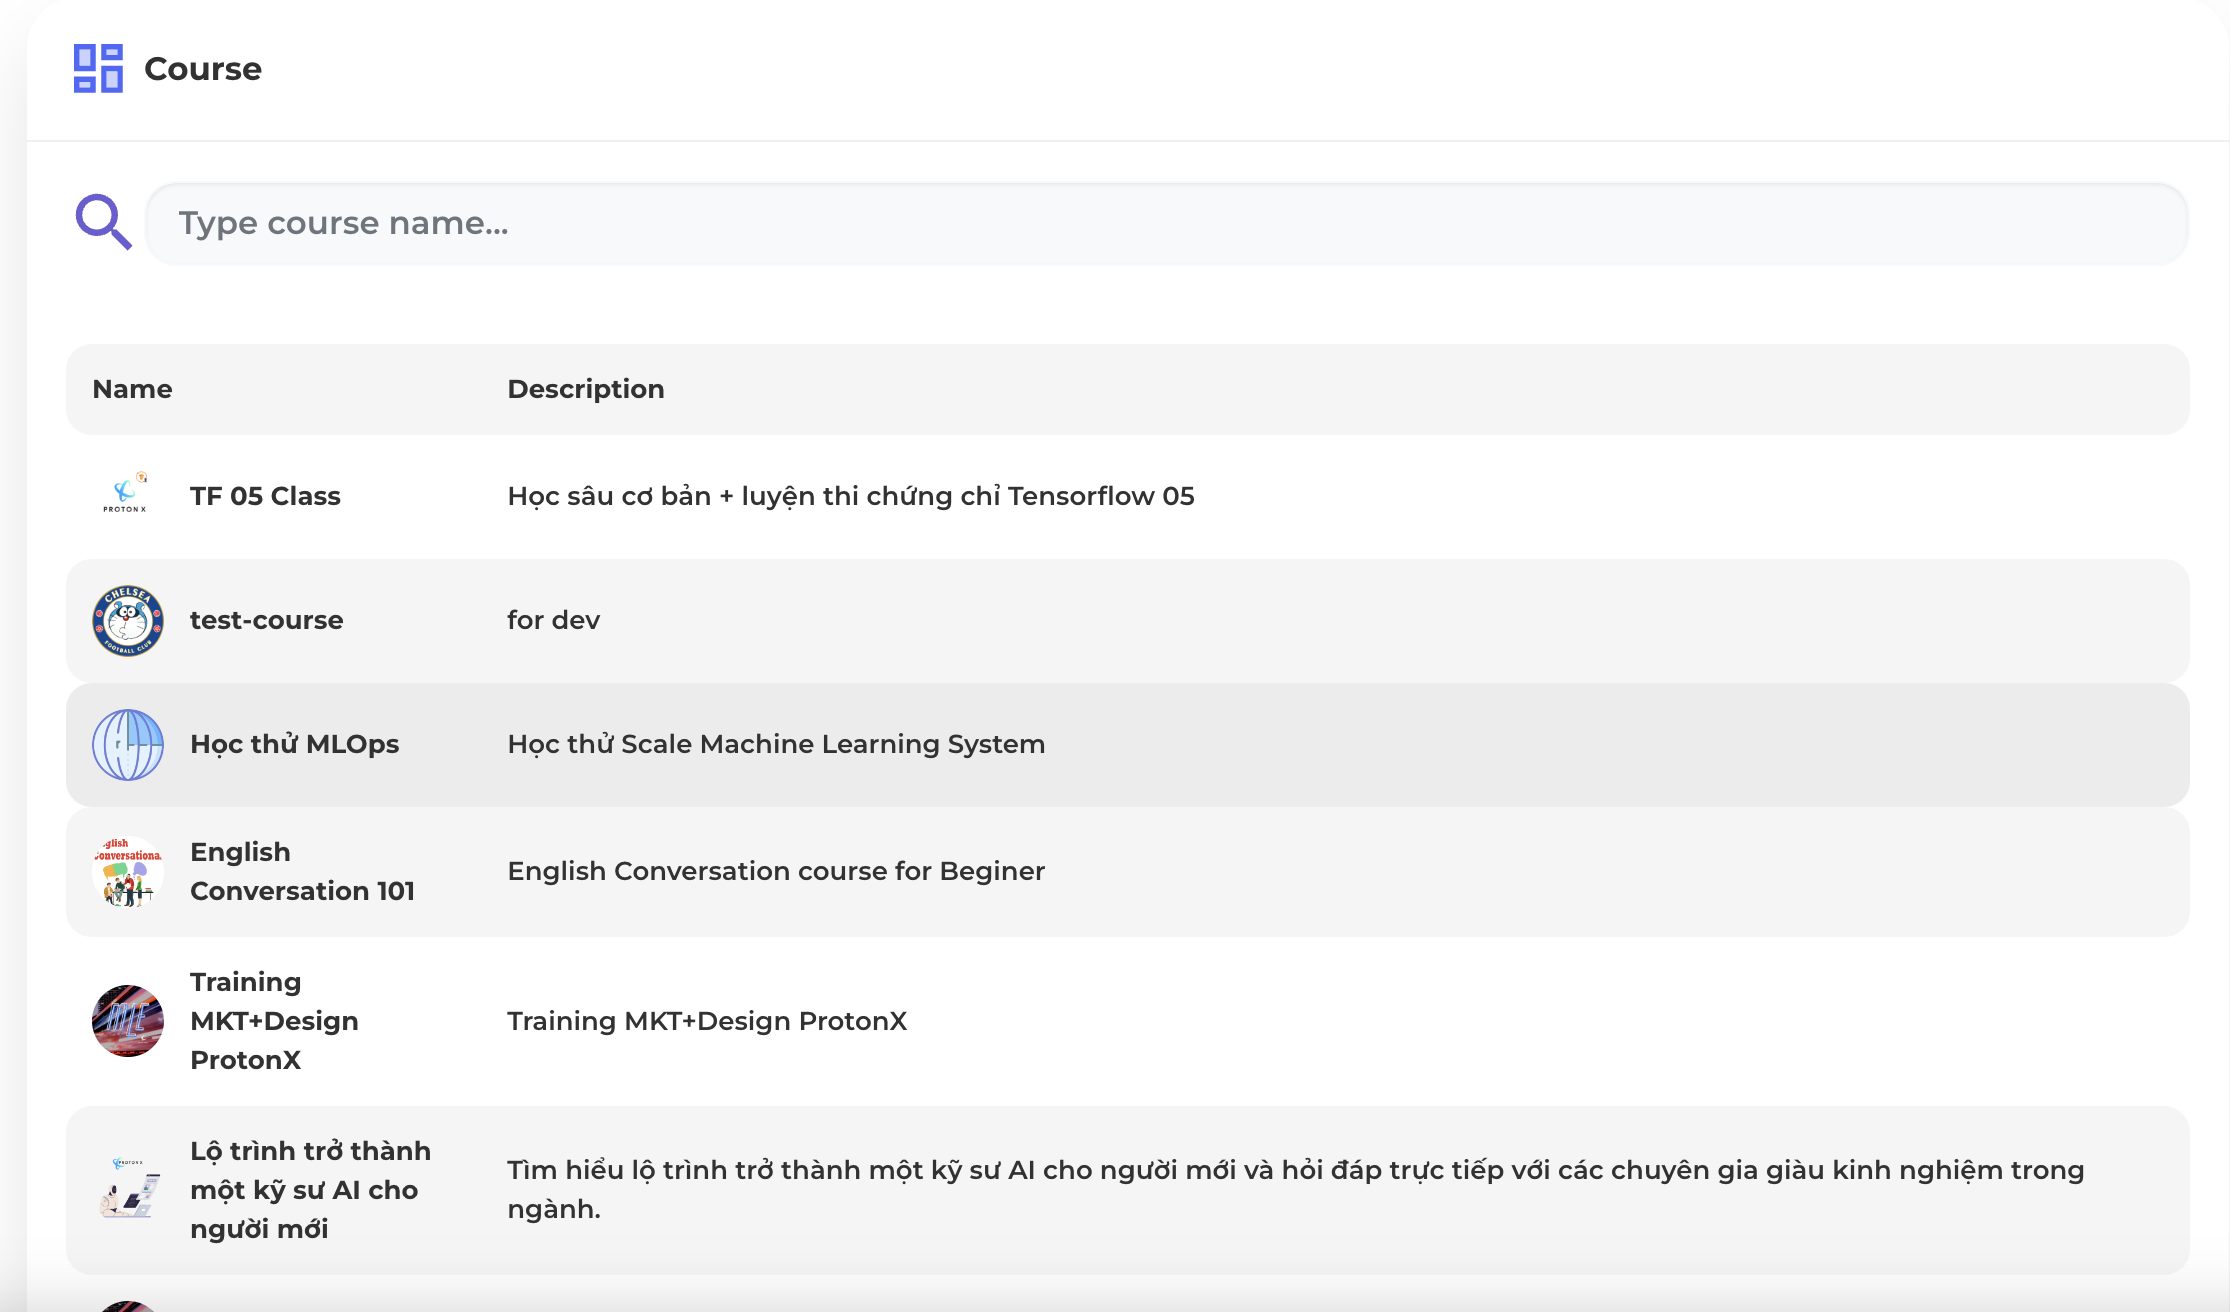
Step 4: Choose the individuals you want to add to the campaign's target list

4.3. Delete Campaign
To delete a campaign, please follow these steps:
Step 1: In the Action section of the campaign you want to delete, click on the [Delete] icon

Step 2: Confirm the deletion
